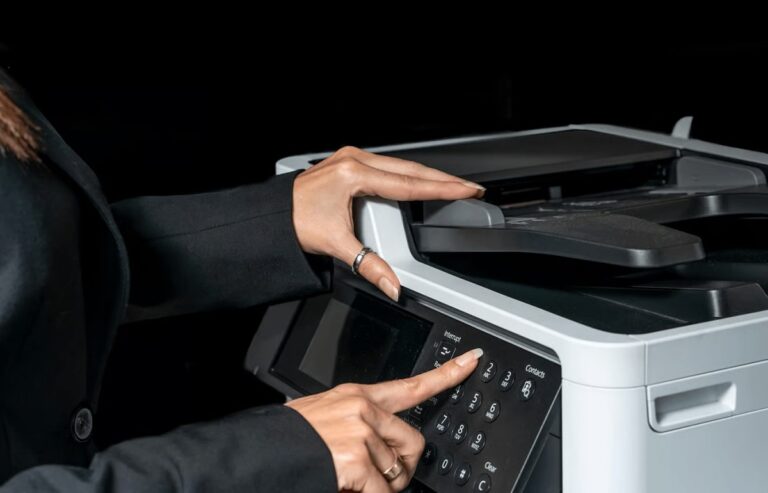
How Do I Set a Printer as Default
To set a printer as your default, start by accessing your device’s printer settings. This process varies slightly depending on your operating system, but the goal is the same: to make one printer your primary choice for all print jobs. Knowing how to set a printer as default can save you time and avoid confusion when printing.
On Windows, open Settings > Devices > Printers & scanners. Turn off the option for Windows to manage your default printer automatically. Then, select your preferred printer and click “Set as default.”
For Mac users, go to System Preferences and find Printers & Scanners. From there, choose your default printer from the dropdown menu.
Chromebooks and mobile devices handle defaults a bit differently, often setting them per app. If you want to avoid print confusion, keep exploring how to manage your printers perfectly.
Key Takeaways
- On Windows, go to Settings > Devices > Printers & scanners, select your printer, then click “Set as default” after disabling automatic management.
- On macOS, open System Preferences > Printers & Scanners, select your preferred printer, and choose it from the “Default Printer” dropdown menu.
- Chromebooks automatically set the last used printer as default; select your printer via the print dialog with Ctrl+P if needed.
- On iOS, choose “Select Printer” from the print menu in your app and pick the desired AirPrint-compatible printer per app.
- Ensure printer drivers are updated and connections stable to avoid issues with setting or recognizing the default printer.
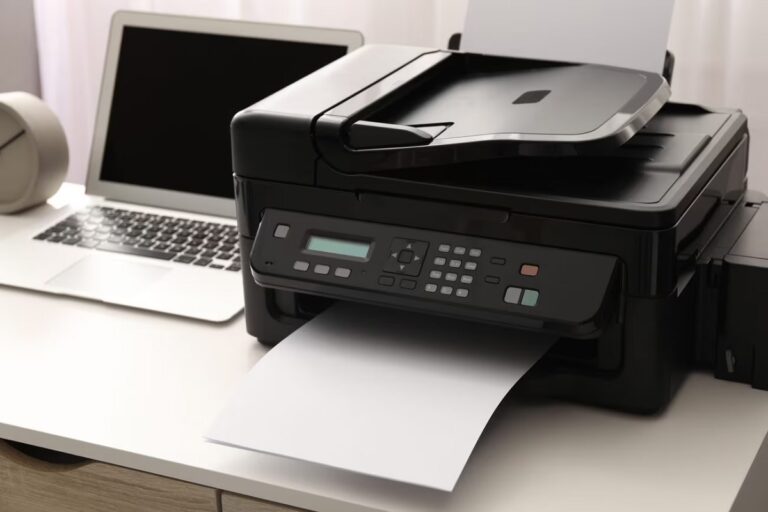
Setting a Default Printer on Windows 10
Although Windows 10 can automatically handle your default printer, you might want to establish one yourself to make certain it’s always ready when you need it.
To set a default printer, open Settings and go to Devices > Printers & scanners. Here, you’ll see a list of installed printers.
If the option “Let Windows manage my default printer” is checked, uncheck it to take control. Next, select the printer you want as default, click on it, and then choose “Manage.”
Finally, click “Set as default.” This ensures that every time you print, Windows sends the job to your chosen printer unless you specify otherwise.
Setting your default printer manually saves you from last-minute printer changes and avoids confusion during urgent printing tasks.
How to Choose a Default Printer in Windows 11
When you want to make sure your printer is always ready in Windows 11, you need to set it as the default manually. Start by opening the Settings app, then navigate to “Bluetooth & devices” and select “Printers & scanners.”
You’ll see a list of available printers. Pick the one you want as your default, then click on it to open its settings. Look for the “Set as default” button and click it.
If you don’t see this option, first make sure the setting “Let Windows manage my default printer” is turned off. This prevents Windows from automatically changing your default printer based on recent use.
Once set, your chosen printer will be the go-to option whenever you print from any app.
Steps to Set a Default Printer on Macos
If you want to make printing easier on your Mac, setting a default printer is a simple step you should take. First, click the Apple menu and select “System Settings” or “System Preferences,” depending on your macOS version. Then, choose “Printers & Scanners.”
You’ll see a list of available printers. Find the printer you want to set as default and click on it. Next, look for the “Default Printer” dropdown menu at the bottom of the window.
Select your preferred printer from that list. Once chosen, your Mac will automatically send print jobs to this printer unless you specify otherwise. That’s it—you’ve set your default printer on macOS, making your next prints quick and hassle-free.
Changing the Default Printer on a Chromebook
Since Chromebooks handle printing differently than other systems, changing the default printer involves adjusting settings through your device’s print dialog or the Google Cloud Print service. To change your default printer, open any document and press Ctrl+P to bring up the print dialog.
Look for the “Destination” section to see the current printer. Click “See more” to view all available printers, then select the one you want as default. Chrome OS will remember your last used printer as default for future print jobs.
| Step | Action |
|---|---|
| 1 | Open document and press Ctrl+P |
| 2 | Click “Destination” in print dialog |
| 3 | Select “See more” to view printers |
| 4 | Choose desired printer as default |
Setting a Default Printer on Android Devices
Changing your default printer on a Chromebook relies on the print dialog and Google Cloud Print, but setting one on Android devices works a bit differently. On Android, there’s no system-wide default printer setting; instead, you manage defaults within individual printing apps.
To set a default printer on Android:
- Open the app you want to print from (like Google Docs or Photos).
- Tap the menu and select Print.
- In the print preview, tap the drop-down printer list.
- Choose your preferred printer; this selection will be remembered for future print jobs within that app.
If you switch apps, you may need to select your default printer again, as Android treats printer choices on a per-app basis rather than globally.
How to Select a Default Printer on Ios
To select a default printer on iOS, you’ll first need to access the printer settings through the app you’re using or your device settings. From there, you can choose the printer you want to set as default for your print jobs.
This helps streamline your printing process by automatically selecting your preferred printer each time.
Accessing Printer Settings
Although iOS doesn’t let you set a default printer in the traditional sense, you can still choose which printer to use each time you print.
To access printer settings on your iPhone or iPad, follow these steps:
- Open the app you want to print from and tap the Share icon or the menu with a print option.
- Tap “Print” to open the Printer Options screen.
- Tap “Select Printer” to see a list of available AirPrint-compatible printers.
- Choose the printer you want to use for this print job.
Each time you print, you’ll repeat this process to select a printer. This method guarantees you pick the right printer without setting a permanent default.
Choosing Default Printer
While iOS doesn’t offer a traditional way to set a default printer, there are workarounds that help you streamline your printing process. When you print from an app, iOS remembers the last printer you used for that app. So, if you consistently print from the same app, it’ll default to that printer next time.
To choose your “default” printer, open the app you print from, tap the share icon, then select Print. Tap Select Printer and pick the one you want. Next time, iOS will suggest that printer first in that app.
If you switch apps, you’ll need to repeat this, but it keeps your most-used printer handy without extra settings.
Troubleshooting Common Default Printer Issues
If your printer isn’t staying set as the default or isn’t responding when you send a document, there are a few common issues you can check before seeking help. First, verify your printer drivers are up to date; outdated drivers can cause connectivity problems. Second, confirm that Windows isn’t automatically managing your default printer, as this can override your settings.
Third, check the printer’s connection—whether it’s wired or wireless—to make sure it’s stable. Finally, inspect your print queue for stuck jobs that might block new print commands. Addressing these four areas often resolves default printer issues quickly and gets your printing back on track without hassle.
Frequently Asked Questions
Can I Set a Default Printer for Multiple Users on One Computer?
Yes, you can set a default printer for multiple users on one computer, but each user must configure their own default printer in their profile settings.
You can’t set a global default printer for all users simultaneously.
How Do I Set a Default Printer for a Specific Application?
You can’t usually set a default printer per application system-wide.
Instead, check the app’s print settings or preferences; many let you choose a printer each time or remember your last used printer for that specific app.
Will Setting a Default Printer Affect Network-Shared Printers?
Setting a default printer won’t change network-shared printers themselves, but it’ll affect which one your computer uses automatically.
You can still manually select any network printer when printing, so your sharing setup stays intact.
Can I Set a Default Printer Using Command Line or Scripts?
Yes, you can set a default printer using command line or scripts.
For example, use “RUNDLL32 PRINTUI.DLL,PrintUIEntry /y /n ‘PrinterName'” in Windows Command Prompt to set your default printer quickly.
How Do Printer Drivers Impact Setting a Default Printer?
You might not realize it, but printer drivers can make or break setting a default printer. If the driver’s faulty or incompatible, your system might reject the choice, causing errors or defaulting to another printer unexpectedly.
Conclusion
Now that you know how to set a default printer across different devices, isn’t it easier to keep your printing tasks hassle-free? Whether you’re on Windows, Mac, Chromebook, Android, or iOS, choosing a default printer saves you time and effort every day.
If you run into issues, remember troubleshooting steps can quickly get you back on track. So, why not set your default printer today and enjoy seamless printing? Setting a printer as default ensures your documents print smoothly without extra clicks.