How to Scan Documents From Printer
To scan documents from your printer, first verify it’s powered on, connected via USB or Wi-Fi, and has the right drivers installed.
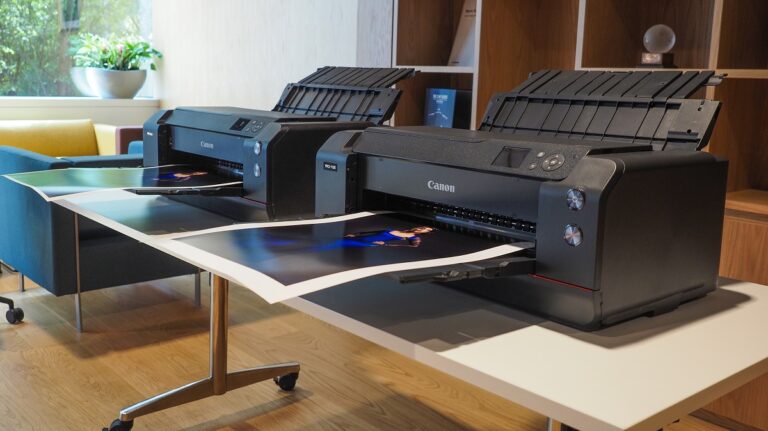
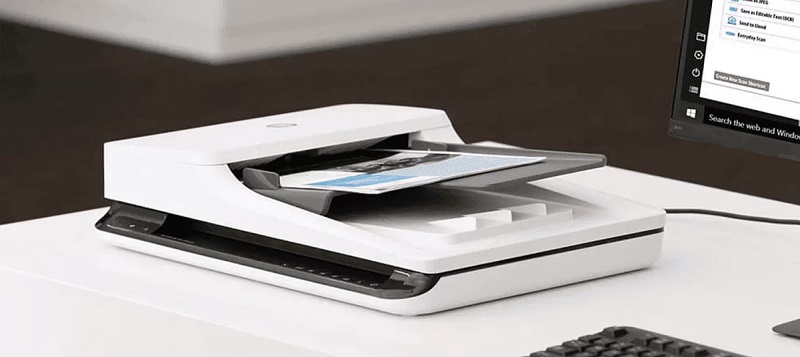
Scanning documents from your printer is a straightforward process that allows you to digitize important papers quickly. Place your document face down on the scanner glass or use the automatic feeder for multiple pages.
Use the printer’s scanning software or an app to choose your format like PDF, adjust settings, and start the scan. Save your files clearly and organize them for easy access.
Keep going to discover helpful tips and troubleshooting tricks for smooth scanning.
Key Takeaways
- Ensure the printer is powered on, connected to your computer or network, and the scanner glass is clean before scanning.
- Place the document face down on the scanner glass or load multiple pages into the automatic document feeder (ADF).
- Open the printer’s scanning software or app, select scan settings like file format and resolution, then initiate the scan.
- Save scanned files with clear names in organized folders, choosing PDF for multi-page documents or image formats for photos.
- Regularly update scanning software and drivers, and maintain the scanner hardware to ensure consistent, high-quality scans.
Preparing Your Printer for Scanning

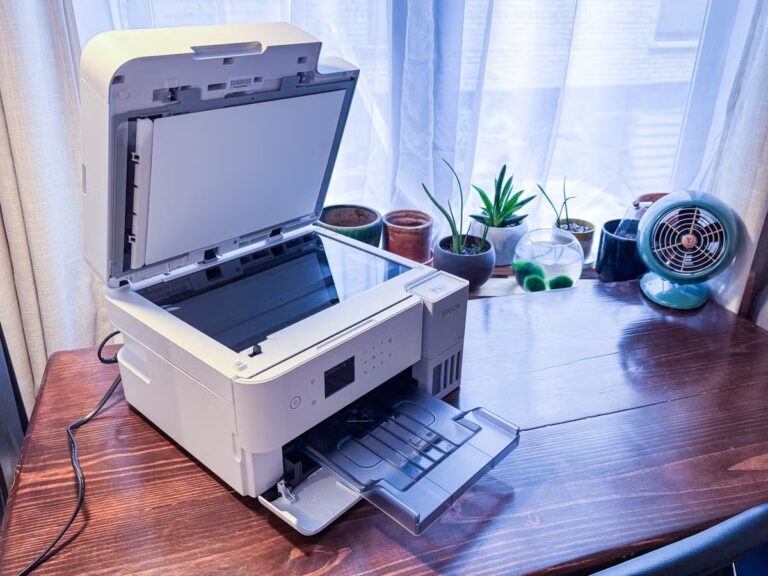
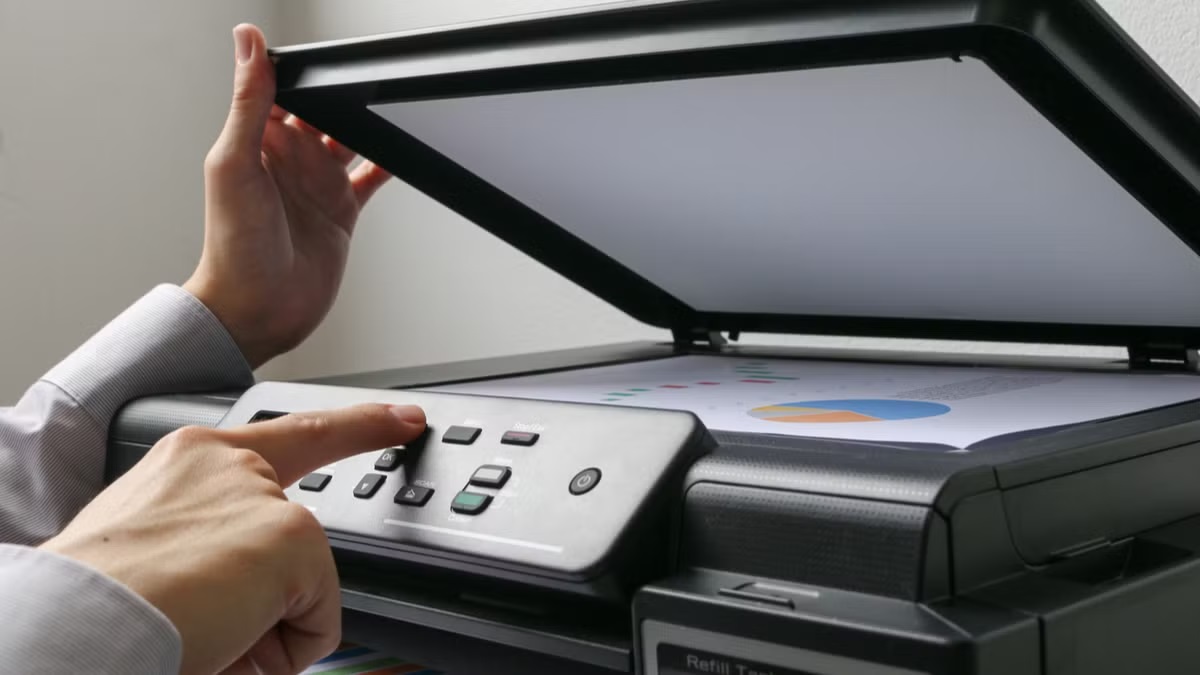
Before you start scanning, make sure your printer is properly set up and connected to your device. Check that it’s powered on and has enough ink or toner, as low supplies might affect scan quality. Clean the scanner glass gently with a soft, lint-free cloth to remove dust or smudges that could cause streaks or blurry images.
Lift the scanner lid and place your document face down on the glass, aligning it with the indicated corner or guides. If your printer has an automatic document feeder (ADF), ensure the pages are neatly stacked without creases. Finally, confirm your printer’s scanning software is installed and up to date, so you’ll avoid glitches during the scanning process.
Taking these steps helps ensure a smooth, high-quality scan every time.
Connecting Your Printer to Your Computer
To start scanning, you’ll need to connect your printer to your computer using USB, Wi-Fi, or Ethernet. Make sure to install the correct printer drivers so your device communicates smoothly.
Once set up, verify the connection to guarantee your printer is ready to scan documents.
Printer Connection Methods
There are three main ways you can connect your printer to your computer: USB cable, Wi-Fi, or Ethernet. Using a USB cable is straightforward—just plug it into your computer, and the connection is direct and reliable. Wi-Fi lets you connect wirelessly, giving you flexibility to place your printer anywhere within range without messy cables.
For a stable network connection, Ethernet is ideal; just plug your printer into your router or switch for consistent speed. Your choice depends on convenience and setup—USB is simple for single devices, Wi-Fi is great for multiple devices in a home, and Ethernet suits office environments. Once connected, your computer will recognize the printer, allowing you to proceed with scanning and printing tasks efficiently.
Installing Printer Drivers
Getting your printer ready to scan means installing the right drivers on your computer. These drivers act as a bridge between your device and the printer, ensuring smooth communication. Without them, your computer won’t recognize the printer’s scanning capabilities.
To install the drivers properly, follow these steps:
- Visit the printer manufacturer’s official website.
- Locate the support or downloads section.
- Select your printer model and operating system.
- Download the latest driver package for scanning.
- Run the installer and follow on-screen prompts.
Make sure you download drivers specifically tailored for scanning, not just printing. Once installed, your computer will be equipped to send scan commands and receive scanned images seamlessly, setting the stage for efficient document scanning.
Verifying Printer Connectivity
Once you’ve installed the necessary drivers, you’ll want to confirm that your printer is properly connected to your computer. Start by checking the physical connection—if you’re using a USB cable, ensure it’s securely plugged into both the printer and your computer. For wireless printers, verify that your printer is connected to the same Wi-Fi network as your computer.
You can usually do this by printing a network configuration page directly from the printer’s control panel. On your computer, open the “Devices and Printers” section in the Control Panel (Windows) or “Printers & Scanners” in System Preferences (Mac). Make sure your printer appears on the list and shows as “Ready.”
If it doesn’t, try restarting both devices or reconnecting the network to verify any connectivity issues before scanning your documents.
Installing Necessary Software and Drivers
Before you can start scanning, you’ll need to install the software and drivers that make your scanner compatible with your computer. Without these, your device won’t communicate properly, and scanning won’t be possible. Here’s what you should do:
- Visit the printer manufacturer’s official website.
- Locate the support or downloads section for your printer model.
- Download the latest scanning software and driver package.
- Follow the installation prompts carefully to ensure all components are installed.
- Restart your computer if prompted to finalize the setup.
Installing the correct software guarantees smooth scanning operations and access to all features, like image adjustments and multi-page scanning. Avoid using generic drivers, as they might limit functionality or cause errors during scanning.
Scanning Documents Using a Wired Connection
After installing the necessary software and drivers, you’re ready to connect your scanner using a wired connection. Start by plugging the USB cable from your printer or scanner into your computer.
Once connected, launch the scanning software provided by the manufacturer or use a built-in app like Windows Fax and Scan. Place your document on the scanner bed, select your scan settings, and hit the scan button.
| Step | Action |
|---|---|
| 1. Connect Cable | Plug USB cable into computer |
| 2. Open Software | Launch scanning application |
| 3. Scan Document | Place paper, set preferences, scan |
This straightforward wired connection guarantees a stable and fast scan every time.
Scanning Documents Over a Wireless Network
If you want to scan documents without cables, start by connecting your printer to your Wi-Fi network. Once connected, you can use mobile scanning apps to easily scan and send documents directly from your phone.
This wireless setup makes scanning more flexible and convenient.
Connecting Printer to Wi-Fi
How do you connect your printer to Wi-Fi for scanning documents wirelessly? First, verify your printer supports wireless connectivity. Then, follow these steps to get connected:
- Power on the printer and access its control panel or touchscreen.
- Navigate to the wireless settings or Wi-Fi setup menu.
- Select your home or office Wi-Fi network from the list of available networks.
- Enter the Wi-Fi password carefully to avoid errors.
- Confirm the connection and wait for the printer to connect.
Once connected, your printer will communicate with your computer or mobile device over the network, allowing you to scan documents without cables. Make sure both devices are on the same Wi-Fi network to enable seamless scanning.
If you encounter issues, restarting the printer or router often helps.
Using Mobile Scanning Apps
Wondering how you can scan documents directly from your phone without cables? Using mobile scanning apps is a game-changer. Once your printer and phone are connected to the same Wi-Fi network, download the printer’s official app or trusted third-party scanning apps.
These apps let you control the scanner remotely, preview scans, and save files directly to your phone or cloud storage. Simply open the app, select the scan option, and place your document in the printer’s scanner. You can adjust settings like resolution or color before scanning.
After scanning, you can edit, crop, or enhance the image within the app. This wireless method saves time, reduces clutter, and makes managing scanned documents from anywhere super easy and efficient.
Choosing the Right Scan Settings
When preparing to scan your documents, selecting the right settings guarantees you get the best quality without wasting time or storage space. You’ll want to adjust settings based on your document type and how you intend to use the scanned file. Choosing the wrong resolution or color mode can either reduce clarity or create unnecessarily large files.
Consider these key scan settings:
- Resolution (DPI): 300 DPI is ideal for text documents; higher for photos.
- Color Mode: Use grayscale or black & white for text, color for images.
- File Format: PDF for multipage documents, JPEG or PNG for images.
- Duplex Scanning: Enable if your printer supports double-sided scanning.
- Compression: modify to balance quality and file size.
Tweaking these ensures your scans meet your needs efficiently.
Saving and Managing Your Scanned Files
Once you’ve picked the right scan settings, the next step is saving and organizing your scanned files effectively. Start by choosing a clear file name that reflects the document’s content, making it easier to find later. Save your scans in a dedicated folder on your computer or cloud storage to keep everything organized.
You can create subfolders by date or document type for better management. Select an appropriate file format, like PDF for multi-page documents or JPEG for single images. Don’t forget to back up important files regularly to avoid data loss.
Finally, consider using document management software if you scan frequently, as it can automate organization and enhance searchability. Staying organized saves time and keeps your documents accessible.
Troubleshooting Common Scanning Issues
Although scanning seems straightforward, you might run into issues like blurry images, incomplete scans, or connection errors. When this happens, don’t get frustrated—there are simple fixes you can try first. Check your scanner glass for smudges or dust that can blur images.
Ensure the document is correctly aligned on the scanner bed. If scans cut off, verify the scan area settings in your scanning software. Connection problems often stem from loose cables or Wi-Fi issues, so double-check those.
Finally, outdated drivers can cause unexpected errors, so keep them updated.
Here are quick troubleshooting tips:
- Clean the scanner glass regularly
- Align documents properly
- Adjust scan area settings
- Check cables and Wi-Fi connections
- Update scanner drivers and software
Frequently Asked Questions
Can I Scan Documents Directly to My Smartphone Without a Computer?
Yes, you can scan documents directly to your smartphone if your printer supports wireless scanning and has a compatible app.
Just connect both devices to the same Wi-Fi, open the app, and follow the scanning prompts.
How Do I Scan Double-Sided Documents Automatically?
You don’t need a magical genie—just a duplex scanner! Load your double-sided docs, hit the auto-scan button, and voilà!
The printer’s clever enough to scan both sides without you turning every page like it’s 1999.
Are There Any Privacy Concerns When Scanning Over a Wireless Network?
Yes, you should be cautious. Wireless scanning can expose your documents to interception if your network isn’t secure. Always use strong Wi-Fi encryption,
keep your printer’s firmware updated, and avoid scanning sensitive info over public networks.
Can I Scan Photos Without Damaging Them?
You wouldn’t toss a photo in the washing machine, right? Luckily, scanning photos won’t damage them if you handle them gently and keep the scanner glass clean.
Just avoid pressing down hard or using harsh light.
How Do I Scan Large Documents That Don’t Fit on the Scanner Bed?
You can scan large documents by scanning them in sections, then stitching the images together using software.
Just carefully align each part on the scanner bed and use editing tools to merge the scans seamlessly afterward.
Conclusion
Now that you’ve revealed your printer’s scanning powers, think of it as a magic window turning paper into digital treasures. With your connections set and settings tuned, your documents flow seamlessly from physical to virtual.
Even if a hiccup tries to cloud your path, you’re equipped to clear the fog. Keep these steps in your toolkit, and scanning will become as effortless as flipping a page. This makes your workflow smooth and bright every time when you scan documents from printer.