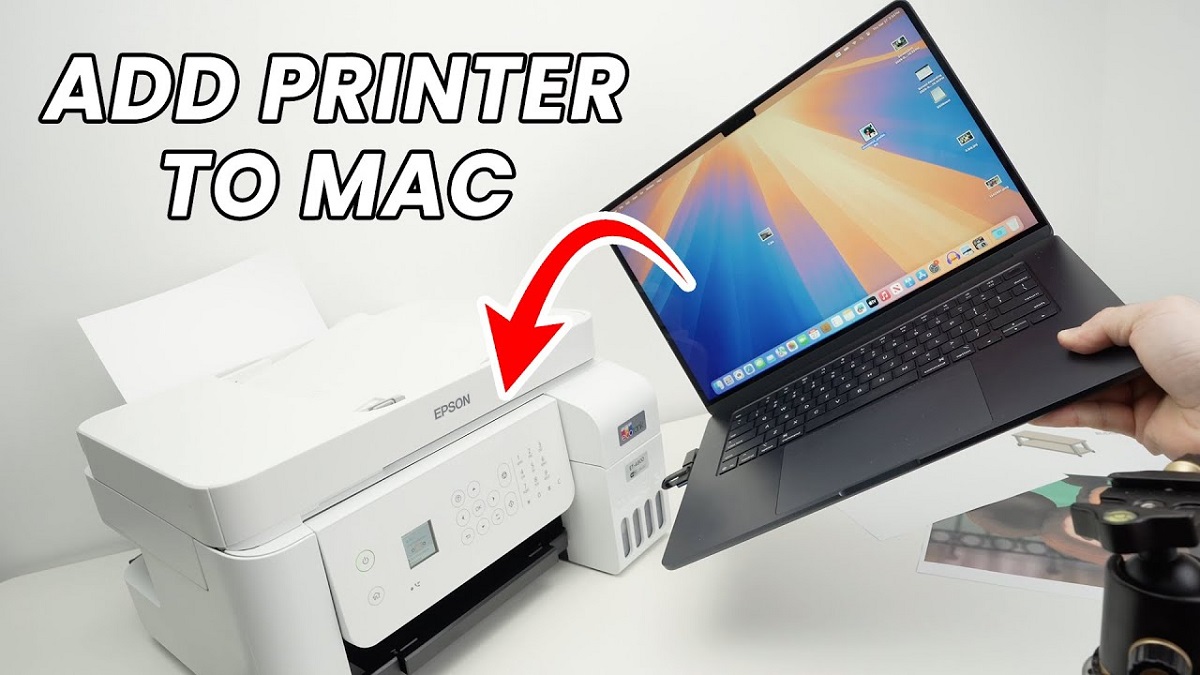
How to Add Printer to Mac
To add a printer to your Mac, first confirm it’s compatible, ideally with AirPrint for easy setup. Adding a printer to Mac is straightforward when your device supports AirPrint.
Connect your printer via USB or Wi-Fi to the same network as your Mac.
Then, go to System Settings > Printers & Scanners, and select your printer from the list. If needed, download and install drivers from the manufacturer’s site.
Once added, you can adjust preferences and resolve issues.
Keep going to discover tips for managing and troubleshooting your printer effectively.
Key Takeaways
- Confirm your printer supports AirPrint or has macOS-compatible drivers before adding it to your Mac.
- Connect the printer via USB cable or ensure it is on the same Wi-Fi network as your Mac.
- Open System Settings > Printers & Scanners, then click the add button to select your printer from the list.
- For non-AirPrint printers, download and install the latest drivers from the manufacturer’s website first.
- Adjust printer preferences and save settings for future use after successfully adding the printer.
Check Printer Compatibility With Your Mac
Before you try connecting a printer, make sure it’s compatible with your Mac. Not all printers work seamlessly with macOS, so you’ll want to check the manufacturer’s website for compatibility details. Look for a printer that supports AirPrint, as this allows you to print without installing extra drivers.
If AirPrint isn’t available, verify the printer offers a macOS driver or software. You can also check Apple’s official support page for a list of compatible printers. Additionally, confirm your Mac’s operating system version meets the printer’s requirements.
If you skip this step, you might face frustrating setup issues or limited functionality. Taking a moment to confirm compatibility saves time and guarantees your printer will work smoothly with your Mac.
Connect Your Printer via USB
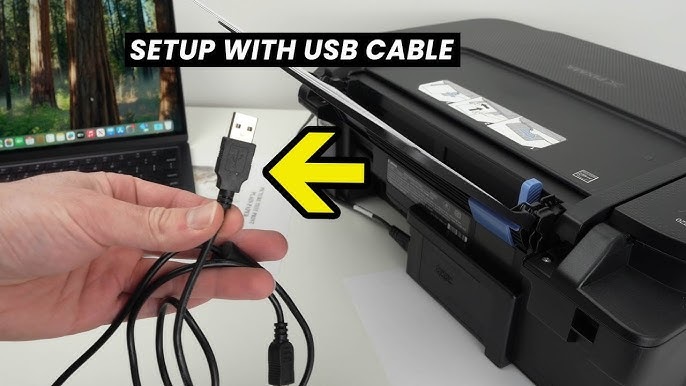
Wondering how to connect your printer directly to your Mac using a USB cable? It’s simple. First, plug one end of the USB cable into your printer and the other into your Mac.
Once connected, your Mac should automatically detect the printer. If it doesn’t, go to System Settings > Printers & Scanners. Click the plus (+) button to add a new printer.
If your Mac doesn’t detect the printer automatically, add it manually via System Settings > Printers & Scanners.
Your printer should appear in the list—select it and click Add. Your Mac may download necessary drivers automatically, so stay connected to the internet just in case. After this, your printer will be ready to use for your documents or photos.
Using a USB connection guarantees a stable, direct link without needing any wireless setup.
Set Up a Wireless Printer Using Wi-Fi
If your printer supports Wi-Fi, you can easily connect it to your Mac without any cables. First, verify your printer is powered on and connected to the same Wi-Fi network as your Mac. Access your printer’s control panel or settings menu to find the wireless setup option, then select your Wi-Fi network and enter the password if prompted.
On your Mac, open System Preferences and go to Printers & Scanners. Click the plus (+) button to add a new printer. Your Mac should detect your Wi-Fi printer automatically.
Select it from the list, and the necessary drivers will download and install. Once added, your printer will be ready for wireless printing, offering you convenience and flexibility without the clutter of cables.
Add a Printer Using AirPrint
Although many printers connect via Wi-Fi, you can add a printer to your Mac even more easily using AirPrint. AirPrint lets you print directly from your Mac without installing additional drivers. To start, make sure your printer supports AirPrint and is connected to the same Wi-Fi network as your Mac.
Then, open System Settings and go to Printers & Scanners. Click the plus (+) button to add a new printer. Your Mac will scan for nearby AirPrint-enabled printers.
Select your printer from the list and click Add. Once added, you can print from any application by choosing File > Print and selecting your AirPrint printer. This method makes printing quick and hassle-free, streamlining your workflow with minimal setup.
Install Printer Drivers and Software
Since not all printers support AirPrint, you’ll often need to install specific drivers and software to guarantee your Mac communicates correctly with your printer.
Start by visiting the printer manufacturer’s website and downloading the latest Mac-compatible drivers. Sometimes, the necessary software comes on a CD or is automatically detected by your Mac when you connect the printer.
Installing these ensures full functionality like scanning or using advanced printer features.
| Step | Action | Tip |
|---|---|---|
| 1 | Visit manufacturer’s website | Use exact printer model |
| 2 | Download Mac drivers | Choose latest version |
| 3 | Run installer | Follow on-screen instructions |
| 4 | Connect printer | Restart Mac if needed |
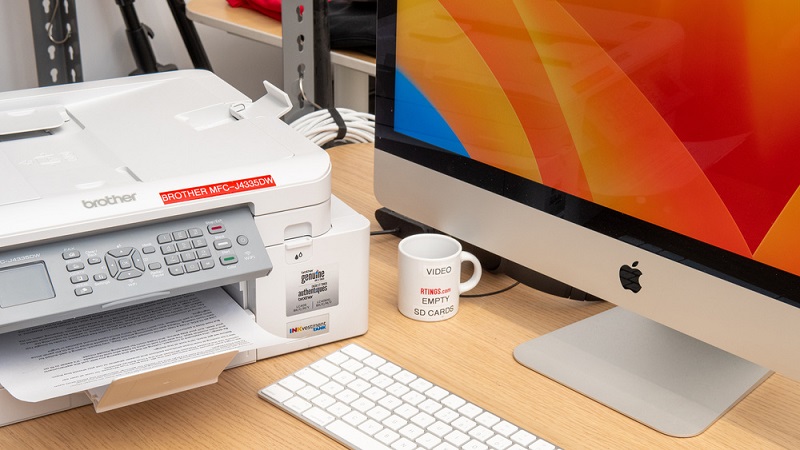
Manage Printer Settings on Mac
Once your printer is set up, you’ll want to access Printer Preferences to customize your experience. You can configure print options like paper size and quality to fit your needs.
Don’t forget to check and manage your printer queues to keep track of your print jobs.
Accessing Printer Preferences
When you want to customize your printer settings on a Mac, accessing Printer Preferences is the first step. To do this, open System Settings and select “Printers & Scanners.” From the list, click on your printer’s name.
Then, press the “Options & Supplies” button, followed by the “Driver” or “Options” tab, depending on your macOS version. Here, you can view and modify available settings, such as installing additional features or adjusting hardware options.
Alternatively, you can access Printer Preferences directly through the print dialog in any app by selecting “Show Details” after choosing your printer. This lets you quickly review printer status and available features before printing.
Accessing Printer Preferences guarantees you control how your Mac interacts with your printer.
Configuring Print Options
After accessing Printer Preferences, you can fine-tune your print options to match your needs. Start by selecting the paper size and type to guarantee your document prints correctly. Adjust the print quality depending on whether you want draft speed or high resolution.
You can choose color or black and white printing, and set double-sided printing if your printer supports it to save paper. Check for options like scaling or page layout to customize how your content fits on the page. If available, configure advanced settings such as toner usage or watermarks.
Once you’re done, save these preferences for future print jobs to streamline the process. These settings help you control how your documents look and how efficiently your printer operates.
Managing Printer Queues
How do you keep track of your print jobs and handle any issues that come up? Managing printer queues on your Mac is straightforward and helps you stay organized. When you send a document to print, your Mac queues the job, allowing you to monitor its status or pause and cancel if needed.
To access the queue, simply open System Preferences > Printers & Scanners, select your printer, then click “Open Print Queue.” From there, you can:
- View current and pending print jobs
- Pause, resume, or cancel print jobs
- Reorder jobs in the queue
- See error messages and troubleshoot issues
- Clear completed jobs for a clean slate
This way, you maintain control and resolve any printing hiccups quickly.
Troubleshoot Common Printer Issues on Mac
Although adding a printer to your Mac is usually straightforward, you might encounter some common issues that prevent it from working correctly. Don’t worry—most problems have simple fixes.
Below is a quick guide to troubleshoot some typical printer issues:
| Issue | Solution |
|---|---|
| Printer not found | Check connection and restart printer |
| Paper jam | Remove stuck paper gently |
| Printer offline | Set printer as default and reconnect |
| Print jobs stuck | Clear printer queue via System Preferences |
| Driver issues | Update or reinstall printer drivers |
If issues persist, restarting your Mac or resetting the printing system can help.
Remember to keep your macOS and printer drivers updated for smooth printing.
Frequently Asked Questions
Can I Share My Mac Printer With Windows Devices?
Yes, you can share your Mac printer with Windows devices by enabling printer sharing in System Preferences and configuring your Windows PC to connect to the shared printer via the network.
Make sure both are on the same network.
How Do I Print Double-Sided on a Mac?
Want to save paper and impress? When you print, just click “Print,” then find “Two-Sided” or “Duplex” in the options.
If it’s not there, your printer might not support double-sided printing—check its specs!
Can I Scan Documents Using My Printer on Mac?
Yes, you can scan documents using your printer on Mac. Just open the Preview or Image Capture app, select your printer/scanner, then choose the scan option to digitize your documents easily.
How to Reset the Printing System on Mac?
You can reset the printing system on your Mac by going to System Settings > Printers & Scanners, right-clicking the printer list, then choosing “Reset printing system.”
This removes all printers and clears print jobs.
Are There Privacy Concerns When Printing From a Mac?
Oh sure, your printer’s just waiting to spill your secrets! Seriously though, you should be cautious—print jobs can be stored or intercepted, especially on public networks.
Always use secure connections and trusted printers to keep your info safe.
Conclusion
Adding a printer to your Mac is like planting a seed in a well-tended garden. With the right compatibility checks, connections, and drivers, you nurture it to bloom effortlessly. Just as a gardener adjusts sunlight and water, you manage settings and troubleshoot issues to keep things running smoothly.
In time, your printing setup will flourish, making every document a harvest of ease and efficiency right at your fingertips. By following these steps to add a printer to Mac, you ensure seamless integration and reliable performance. This approach guarantees that your Mac printing experience remains smooth and hassle-free.