How to Connect Printer to Wifi
To connect your printer to WiFi, first check if your printer supports wireless connectivity by looking at the manual or printer settings.
Make sure your WiFi network is active, and you know the network name (SSID) and password.
Connecting a printer to WiFi enables convenient wireless printing from multiple devices.
Use the printer’s control panel to find the wireless setup wizard.
Select your WiFi network and enter the password when prompted.
Then, install the correct drivers on your computer or device to ensure proper communication.
If issues arise, troubleshoot connection settings or update the printer’s firmware.
Restarting your router and printer can also help resolve common problems.
Keep going to get full setup tips and fixes for a smooth wireless printing experience.
Key Takeaways
- Confirm your printer supports WiFi by checking the manual or manufacturer website for wireless capabilities.
- Ensure your WiFi network is active, and you know the SSID and password before starting setup.
- Use the printer’s control panel to access wireless settings and connect to your WiFi network.
- Download and install the latest printer drivers and software from the manufacturer’s website.
- Troubleshoot by restarting devices, verifying network settings, and updating printer firmware if connection fails.
Check Printer Compatibility With Wifi
How can you tell if your printer supports WiFi? First, check your printer’s manual or the manufacturer’s website for specifications. Look for terms like “wireless,” “WiFi,” or “802.11” in the description.
You can also inspect the printer itself—many models have a WiFi indicator light or a wireless setup button on the control panel. If your printer has a touchscreen, navigate through the settings menu to find wireless network options. Additionally, the model number can help: searching online with the phrase “model number + WiFi compatibility” usually provides quick answers.
If you don’t find any mention of wireless features, your printer likely doesn’t support WiFi natively and may require a wireless print server or adapter to connect wirelessly.
Prepare Your Network and Printer

Once you’ve confirmed your printer supports WiFi, the next step is to get both your network and printer ready for the connection. First, verify your WiFi network is active and you know the network name (SSID) and password.
Next, place your printer within range of the router to avoid signal issues. Finally, power on your printer and keep it ready for setup.
| Task | What to Do |
|---|---|
| Check Network | Confirm SSID and WiFi password |
| Position Printer | Place close to the router for strong signal |
| Power On Printer | Turn on and keep it idle for setup |
Preparing these essentials will smooth the connection process and prevent common errors.
Connect Printer to WiFi Using Printer Control Panel
Before you plunge into the setup, make sure your printer is powered on and within range of your WiFi network. On the printer’s control panel, navigate to the wireless or network settings menu. Look for an option like “Wireless Setup Wizard” or “WiFi Setup.”
Select your WiFi network from the list of available networks. If prompted, enter your WiFi password carefully using the on-screen keyboard. Once connected, your printer will confirm the connection status.
Some printers might print a network configuration page to verify the connection. If you don’t see your network, verify your router is broadcasting and within range. After the connection is established, your printer will be ready to communicate over your WiFi network without needing cables.
Install Printer Software and Drivers
After connecting your printer to the WiFi network, the next step is to install the necessary software and drivers on your computer. These drivers act as a bridge between your computer and printer, ensuring smooth communication. Start by visiting the manufacturer’s official website to download the latest drivers specific to your printer model and operating system.
Avoid using generic drivers, as they might lack full functionality. Once downloaded, run the installer and follow the on-screen prompts. This process typically includes selecting your printer from a list and confirming your wireless network details.
Installing the correct software also gives you access to printer utilities like scanning and maintenance tools. Once the installation finishes, you’ll be ready to add the printer to your device, which is the next step.
Add the Printer to Your Computer or Mobile Device
Although you’ve installed the necessary software and drivers, you still need to add the printer to your computer or mobile device to start printing wirelessly.
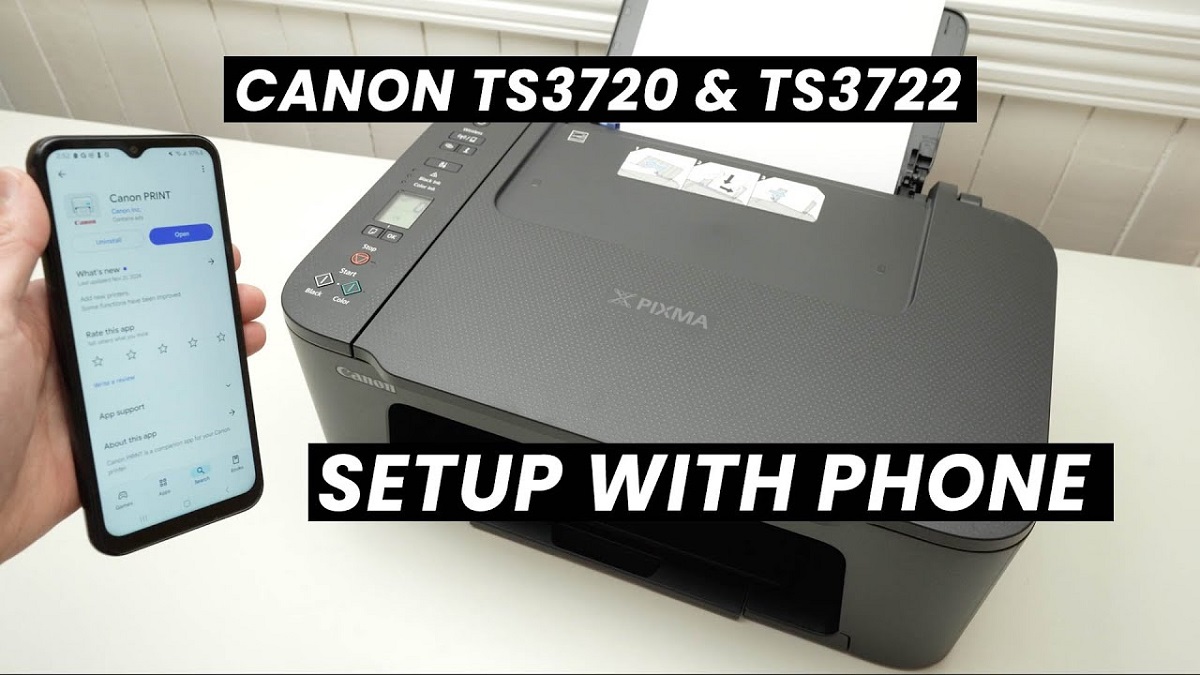
On a computer, open the printer settings, select “Add a printer,” and choose your WiFi printer from the list. For mobile devices, use the printer’s app or your device’s print option to connect.
This step guarantees your device recognizes the printer on the network, making printing seamless.
| Feeling | Reason |
|---|---|
| Excited | Your printer is finally ready! |
| Relieved | No more cables cluttering up. |
| Confident | You can print from anywhere. |
| Accomplished | Setup is complete and smooth. |
Troubleshoot Common Wireless Connection Issues
If your printer won’t connect to WiFi, start by checking its network settings to make sure it’s on the right network. You’ll also want to restart your printer, computer, and router to clear any temporary issues.
Finally, updating your printer’s firmware can fix bugs that might be causing connection problems.
Check Printer Network Settings
When you’re having trouble connecting your printer to WiFi, checking its network settings is a crucial first step. Start by accessing the printer’s control panel or settings menu. Look for network or wireless settings to confirm if the printer is connected to the correct WiFi network.
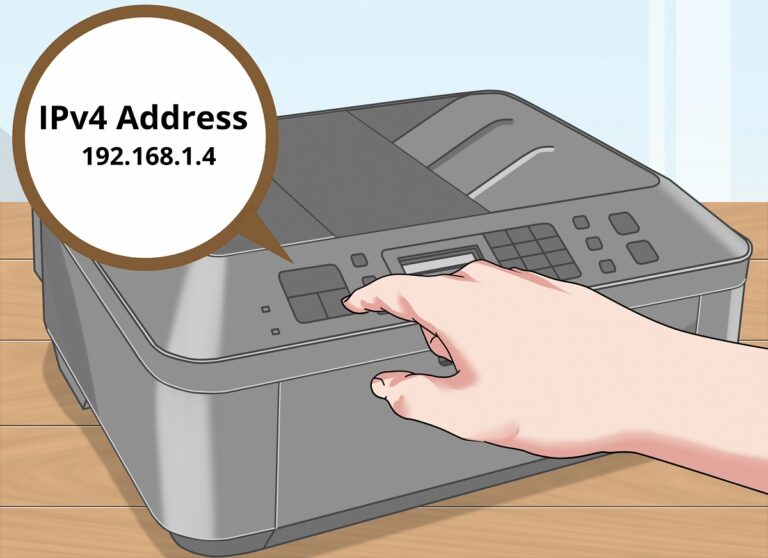
Verify the SSID (network name) matches your router’s. Also, check if the printer has a valid IP address assigned—this usually indicates it’s properly connected to the network. If you see an IP starting with 169, it means the printer isn’t getting a proper address.
Make sure the wireless signal strength is strong and that the printer isn’t set to offline mode. Adjust any incorrect settings and save changes before trying to reconnect.
Restart Devices and Router
After confirming your printer’s network settings, a simple restart of your devices can often fix connection issues. This process refreshes the connection and clears temporary glitches that might be disrupting communication between your printer and WiFi network.
Follow these steps to restart effectively:
- Turn off your printer and unplug it from the power source. Wait about 30 seconds before plugging it back in and turning it on.
- Restart your computer or mobile device to refresh its network settings.
- Power cycle your router by unplugging it, waiting 30 seconds, then plugging it back in. Allow it a few minutes to fully reboot.
These quick steps often resolve common wireless problems and get your printer back online.
Update Printer Firmware
Though restarting often solves connectivity problems, outdated printer firmware can still cause wireless issues. You should check your printer’s firmware version regularly to guarantee it’s up to date. Visit the manufacturer’s website or use the printer’s control panel to find the firmware update option.
Download and install any available updates following the provided instructions carefully. Updating firmware often fixes bugs and improves compatibility with your WiFi network. Keep in mind that interrupting the update process can damage your printer, so avoid turning it off during installation.
After updating, restart your printer and router to apply changes. This simple step can substantially enhance your printer’s wireless connection stability and performance, helping you avoid frustrating disruptions while printing over WiFi.
Frequently Asked Questions
Can I Connect Multiple Printers to One Wifi Network?
Yes, you can connect multiple printers to one WiFi network. Just make sure each printer has a unique name or IP address to avoid conflicts, and you can easily switch between them when printing from your devices.
How Do I Secure My Printer on a Public Wifi Network?
You should enable your printer’s built-in security features, like WPA2 encryption, change default passwords, and limit access to trusted devices.
Also, consider using a VPN or a separate guest network to keep your printer safe on public Wi-Fi.
What Is the Difference Between Wifi Direct and Standard Wifi Printing?
WiFi Direct is like having a secret handshake—your device connects straight to the printer without any network. Standard WiFi printing needs both on the same network, so it’s less instant but great for multiple users.
Can I Print Wirelessly Without a Router Using Wifi Direct?
Yes, you can print wirelessly without a router using WiFi Direct. It creates a direct connection between your device and printer, so you don’t need a network. Just enable WiFi Direct on both devices and connect them.
How Do I Update My Printer’s Firmware Over Wifi?
You can update your printer’s firmware over WiFi by accessing its control panel or web interface, steering to the firmware update section, and following on-screen instructions to download and install the latest version wirelessly.
Conclusion
Now that you’ve connected your printer to WiFi, imagine your documents flowing wirelessly like a gentle stream, effortlessly reaching your printer from anywhere in your home. It’s not magic, but smart technology working seamlessly together.
By checking compatibility, setting up your network, and installing the right software, you’ve enabled convenience. If issues pop up, troubleshooting will guide you back on track.
Soon, printing will feel as natural as breathing—fast, easy, and completely wireless. Connecting your printer to WiFi truly transforms your printing experience, making it more efficient and hassle-free.