How to Connect Canon Printer to Wifi
To connect your Canon printer to Wi-Fi, first check if your Canon printer supports wireless networking. Ensuring your Wi-Fi network is active and having the password ready is essential for a smooth setup process.
On the printer’s control panel, navigate to Network or Wireless Settings, select your Wi-Fi network, and enter the password.
Next, install Canon’s printer software on your computer, choosing the wireless setup option.
After installation, add the printer to your device and run a test print.
If any issues occur, you’ll find useful tips ahead to troubleshoot and optimize your Canon printer’s Wi-Fi connection.
Key Takeaways
- Turn on the Canon printer and access its control panel to navigate to “Network Settings” or “Wireless LAN Setup.”
- Select your WiFi network from the available list and enter the correct WiFi password using the on-screen keyboard.
- Ensure your printer and device are connected to the same WiFi network for seamless communication.
- Download and install the latest Canon printer driver/software, choosing the wireless connection option during setup.
- Print a test page to confirm the printer is successfully connected to the WiFi and functioning properly.
Check Printer Compatibility With Wifi
Before you try connecting your Canon printer to WiFi, you’ll want to make sure it actually supports wireless networking. Not all Canon printers have built-in WiFi capabilities, so checking your model’s specifications is essential. Look for terms like “wireless,” “WiFi,” or “802.11” on your printer’s box, manual, or official Canon website.
If your printer supports WiFi, it will typically have a wireless setup option in its menu. You can also find the model number on the printer itself and search online to confirm its wireless features. If your printer lacks WiFi, you might need a USB or Ethernet connection instead.
Verifying compatibility first saves you time and avoids frustration during setup.
Prepare Your WiFi Network and Credentials
Once you’ve confirmed your Canon printer supports WiFi, make sure your wireless network is up and running smoothly. Check that your router is powered on and providing a stable internet connection. You’ll need your network’s SSID (the WiFi name) and the password handy for setup.
If you’re unsure about these, you can usually find them on a label on your router or in your internet service provider’s documentation. Confirm your network uses a compatible security type like WPA2, as some printers may not connect to older or enterprise-level encryption. Also, verify your device is within range of the router to avoid connection issues.
Having this info prepared will speed up the printer’s WiFi setup without unnecessary delays.
Connect Canon Printer Using the Control Panel
To connect your Canon printer to WiFi, start by accessing the control panel on the printer. From there, navigate to the network settings menu where you can select your WiFi network.
Make sure you have your WiFi password handy to complete the connection.
Accessing Network Settings
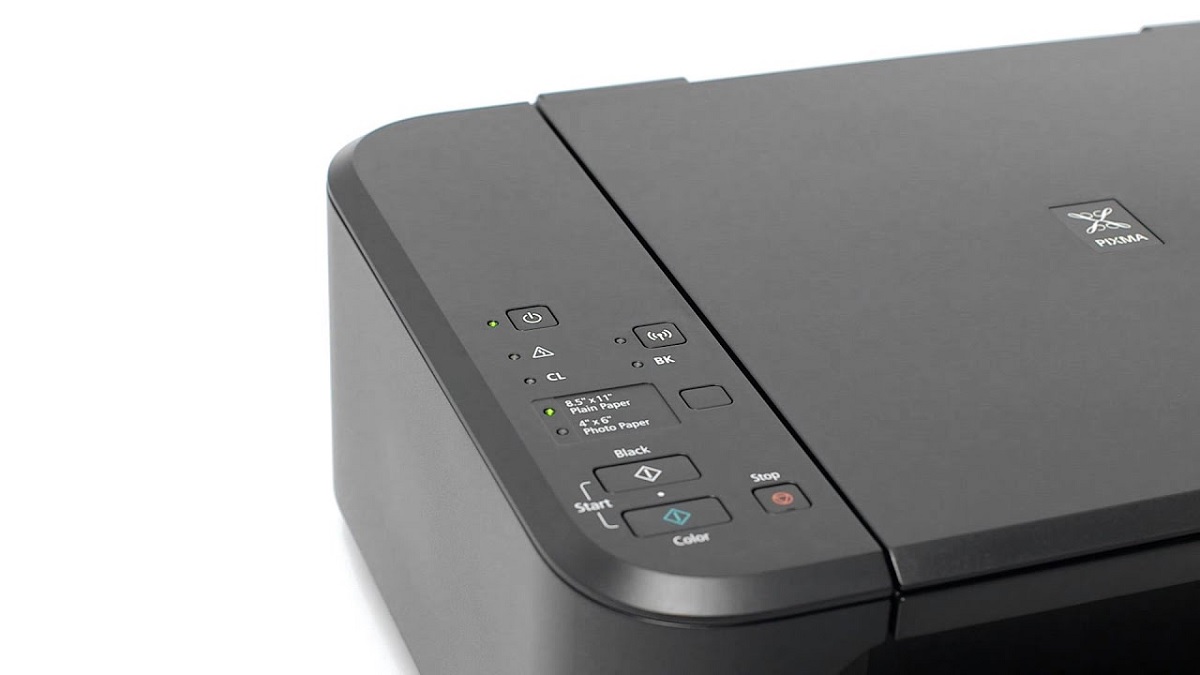
Although maneuvering the control panel might seem tricky at first, you’ll find accessing your Canon printer’s network settings straightforward. Start by turning on the printer and locating the Menu or Setup button on the control panel. Press it to open the main menu.
Use the arrow keys to navigate to the “Settings” or “Device Settings” option and select it by pressing OK. From there, scroll to the “Network Settings” or “Wireless LAN Setup” option. Once selected, the printer will display network-related options, preparing you to connect to a WiFi network.
If a confirmation prompt appears, accept it to proceed. This step guarantees you’re in the right place to manage wireless connections before selecting your WiFi network.
Selecting Wifi Network
After you’ve accessed the network settings on your Canon printer, the next step is choosing your WiFi network. Use the printer’s control panel to navigate the list of available networks. Scroll through until you find your WiFi name (SSID).
If your network isn’t visible, try updating the list or verify your router is broadcasting. Once you locate your network, select it by pressing OK or the equivalent button. Next, you’ll be prompted to enter your WiFi password.
Use the on-screen keyboard to input it carefully, paying close attention to uppercase and lowercase letters. After entering the password, confirm it and wait for the printer to connect. Once connected, you’ll usually see a confirmation message, indicating your Canon printer is now linked to your WiFi.
Install Canon Printer Software on Your Computer
Since the software is essential for your Canon printer to communicate with your computer, you’ll need to install it before proceeding. Start by visiting Canon’s official website to download the latest driver and software package for your specific printer model.
Once downloaded, open the file and follow the on-screen instructions to install the software. During installation, you may be prompted to choose your connection type—select the wireless option to guarantee your printer connects to your WiFi network. Make sure your computer is connected to the same network you want your printer to use.
The software will guide you through the setup process, including detecting your printer on the network. After installation finishes, you’ll be ready to move on to adding your printer to your device.
Add the Canon Printer to Your Device
Once you’ve installed the Canon printer software, you can add your printer to your device to start printing wirelessly. On your computer, open the “Settings” or “Control Panel” and navigate to “Devices” or “Printers & Scanners.”
Click on “Add a printer” and wait for your Canon printer to appear in the list. Select it and follow the on-screen prompts to complete the setup. Make sure your device is connected to the same WiFi network as your printer.
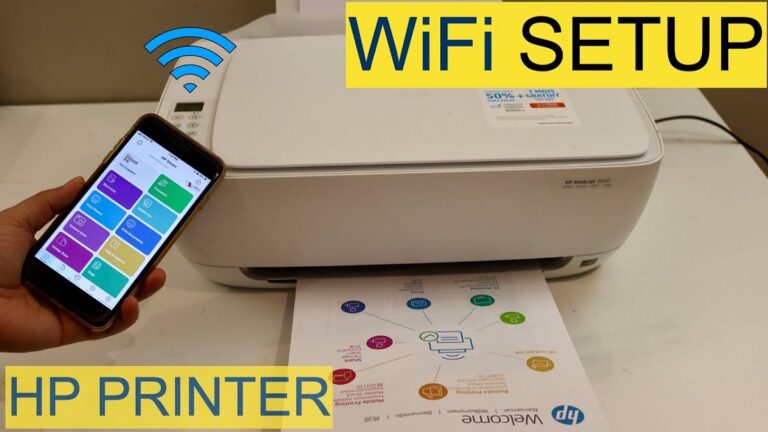
If you’re using a smartphone or tablet, download the Canon PRINT Inkjet/SELPHY app, open it, and tap “Add Printer.” The app will search for available printers; select yours and confirm the connection. After this, your Canon printer will be ready to print wirelessly from your device.
Troubleshoot Common Connection Issues
If your Canon printer isn’t connecting to WiFi as expected, don’t worry—it’s a common issue that can usually be fixed quickly. First, confirm your printer is within range of your router and there are no physical obstructions causing interference. Double-check the WiFi password you entered; a small typo can block the connection.
Restart your printer, router, and the device you’re printing from to refresh network settings. Verify that your printer and device are on the same WiFi network. If the printer displays an error code, refer to the user manual for specific guidance.
Also, temporarily disable any firewall or security software that might be blocking the printer’s connection. Following these steps should resolve most connection problems without hassle.
Update Printer Firmware and Drivers
Before you connect your Canon printer to WiFi, check the current firmware version to guarantee it’s up to date. You’ll also want to download the latest drivers from Canon’s official website.
Keeping both updated helps maintain a smooth and secure connection.
Check Firmware Version
Although your Canon printer may connect to WiFi without issue, verifying its firmware version is essential to guarantee peak performance and compatibility. Firmware updates often fix bugs, improve security, and add new features.
To check your printer’s firmware version, navigate to the Settings or Maintenance menu on the printer’s control panel or use the Canon PRINT app.
Here’s a quick reference table to help you locate the firmware version:
| Step | Action |
|---|---|
| 1 | Turn on your Canon printer |
| 2 | Access the Settings or Setup menu |
| 3 | Select “Device Information” or “Firmware Info” |
| 4 | Note the displayed firmware version |
| 5 | Visit Canon’s support site to compare versions |
Checking this ensures your printer stays updated and reliable.
Download Latest Drivers
Since keeping your Canon printer’s firmware up to date is essential, you’ll also want to download the latest drivers to guarantee smooth communication between your computer and printer. Visit Canon’s official support website, enter your printer model, and look for the latest driver compatible with your operating system. Download and install the driver by following the on-screen instructions carefully.
Updated drivers fix bugs, improve compatibility, and sometimes add new features, ensuring your printer works seamlessly over WiFi. After installation, restart your computer to apply changes. This step is critical before connecting your printer to the wireless network, as outdated drivers can cause connection failures or printing errors.
Regularly check for driver updates to maintain peak performance and avoid unnecessary troubleshooting.
Frequently Asked Questions
Can I Connect My Canon Printer to Multiple Wifi Networks?
You usually can’t connect your Canon printer to multiple Wi-Fi networks simultaneously, but you can switch between networks by updating the settings each time.
Just access the printer’s network menu and select the desired Wi-Fi connection.
How Do I Print Securely Over a Public Wifi Network?
You want secure printing, yet public Wi-Fi’s risky. You’ll need a VPN or connect through a secure network, enable printer encryption, and avoid sending sensitive documents openly—these steps keep your print jobs safe from prying eyes.
Is It Possible to Connect My Canon Printer via Bluetooth?
Most Canon printers don’t support Bluetooth connections, so you usually can’t connect via Bluetooth. Instead, you’ll want to use Wi-Fi or USB.
Check your model’s manual to confirm available connection options before trying.
Can I Print From My Smartphone Without Installing Software?
Yes, you can print from your smartphone without installing software by using built-in features like AirPrint for iPhones or Mopria for Android devices, as long as your Canon printer supports these wireless printing standards.
These technologies allow you to print directly over Wi-Fi without needing additional apps.
Simply ensure your printer and smartphone are connected to the same network to start printing effortlessly.
How Do I Reset My Canon Printer’s Network Settings?
Imagine your printer’s network like a tangled kite string. To reset it, press and hold the network reset button for 10 seconds until the power light blinks.
This clears old connections, letting you start fresh, like untangling that string.
Conclusion
Connecting your Canon printer to WiFi is like planting a seed in fertile soil—once you’ve prepared your network and nurtured the setup with the right software and settings, your connection will grow strong and seamless.
Just as a gardener tends to plants by troubleshooting and updating, you’ll keep your printer thriving by resolving issues and updating firmware.
With patience and care, your printing will flow effortlessly, like a well-tended garden in full bloom. Remember, regular maintenance is key to a stable Canon printer WiFi connection.