How to Set up a Printer – Definitive Guide
To set up your printer, start by unboxing it on a flat surface and connecting it to power. Setting up a printer correctly ensures smooth operation and hassle-free printing. Remove any protective tapes and load paper in the tray.
Connect it to your computer via USB or Wi-Fi, then install the appropriate drivers from the manufacturer’s website. Use the setup wizard to complete installation, adjust settings like paper size or print quality, and perform a test print to guarantee everything works.
Following this, you can explore tips to keep your printer running smoothly. Proper maintenance and regular updates will help extend the life of your device.
Key Takeaways
- Choose a stable location near power and network outlets before unpacking the printer and removing protective materials.
- Connect the printer to power, load paper, and follow on-screen setup prompts or wizard for initial configuration.
- Install printer drivers and software on your device from the manufacturer’s official website using your printer model and OS.
- Connect the printer via USB, Ethernet, or Wi-Fi, entering network credentials for wireless setup and confirming connection.
- Perform a test print, adjust printer settings for quality, and regularly maintain print heads and ink or toner levels.
Unboxing and Preparing Your Printer
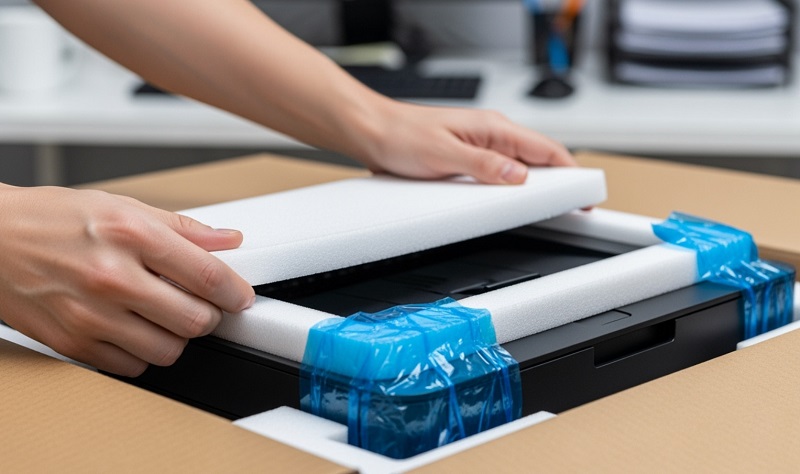
Before you begin, make sure you have a clean, flat surface to place your printer on. Carefully open the box, removing all packaging materials without rushing. Take out the printer and check for any included accessories like ink cartridges, power cords, or manuals.
Remove any protective tapes or plastic covers from the printer’s exterior and inside compartments. If your printer uses ink cartridges, locate their designated slots and prepare them for installation, but wait to insert them until instructed. Keep the manuals and any setup CDs handy for reference.
Avoid plugging in or turning on the printer just yet, as you’ll handle that in the next step. Taking these preparations guarantees you’re ready for a smooth and efficient setup process.
Connecting Your Printer to Power and Devices
Once you’ve prepared your printer, you’ll need to connect it to a power source and your devices. Start by plugging the power cord into your printer and then into a wall outlet or power strip. Confirm the connection is secure to avoid interruptions.
Next, connect your printer to your computer or network. You can do this in three common ways:
- Use a USB cable for a direct connection to your computer.
- Connect via Wi-Fi for wireless printing from multiple devices.
- Use an Ethernet cable to link your printer to your wired network.
Make sure your printer is turned on after connecting. Once powered and linked, your printer is ready for the next step: installing drivers and software to enable printing functions.
Installing Printer Drivers and Software
Now that your printer is connected, you’ll need to find the right drivers to make sure it works properly with your device. Head to the manufacturer’s website to download the installation software.
Once downloaded, just run the setup wizard and follow the prompts to complete the installation.
Finding Compatible Drivers
Although finding the right drivers might seem tricky, it’s essential for your printer to work correctly. Without compatible drivers, your computer and printer won’t communicate, causing printing errors or failures.
To find the correct drivers, start by checking your printer’s model number, usually found on the device or its manual. Also, check the operating system version on your computer to ensure compatibility. The manufacturer’s official website often hosts the latest and most reliable drivers.
Avoid downloading drivers from random sites, as they might be outdated or unsafe. Remember, having the right driver guarantees your printer runs smoothly and can access all its features.
Once you identify the compatible driver, you’re ready to move on to downloading and installing the software.
Downloading Installation Software
Before you start printing, you’ll need to download the correct installation software for your printer. Head to the official website of your printer’s manufacturer to guarantee you get the latest and safest version. Use the model number you found earlier to search precisely.
Avoid third-party sites to prevent downloading outdated or harmful files. Once you locate the software, choose the version compatible with your operating system, whether it’s Windows, macOS, or Linux. Click the download link and save the file to an easy-to-find location on your computer.
Make sure your internet connection is stable during the download to avoid corrupted files. After downloading, you’ll be ready to proceed with installing the software and setting up your printer properly.
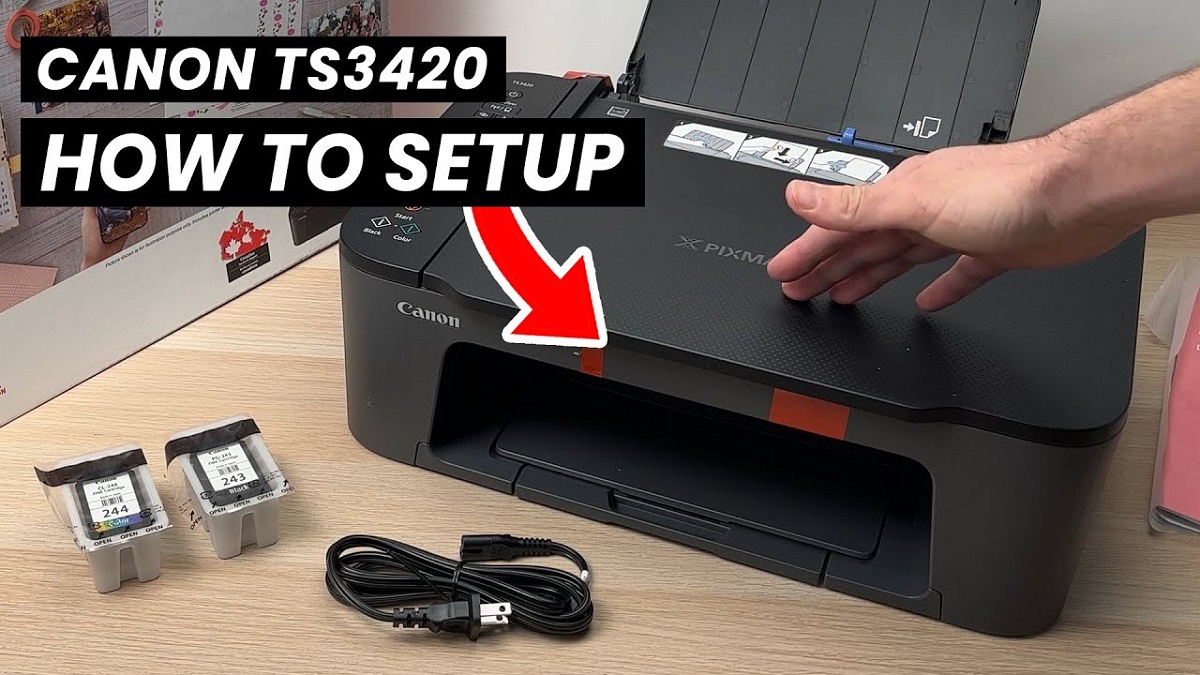
Running Setup Wizard
How do you get your printer ready to use after downloading the software? Running the setup wizard is your next step. This wizard guides you through installing the necessary drivers and software so your printer communicates properly with your computer.
To guarantee a smooth setup: launch the downloaded installation file to start the wizard. Follow on-screen prompts carefully, selecting your printer model and connection type. Allow the installer to complete all steps, including driver installation and test print options.
During this process, make sure your printer is powered on and connected as prompted. Once the wizard finishes, your printer should be fully operational, ready to handle your print jobs without hassle. Running the setup wizard streamlines installation, making your printer setup quick and efficient.
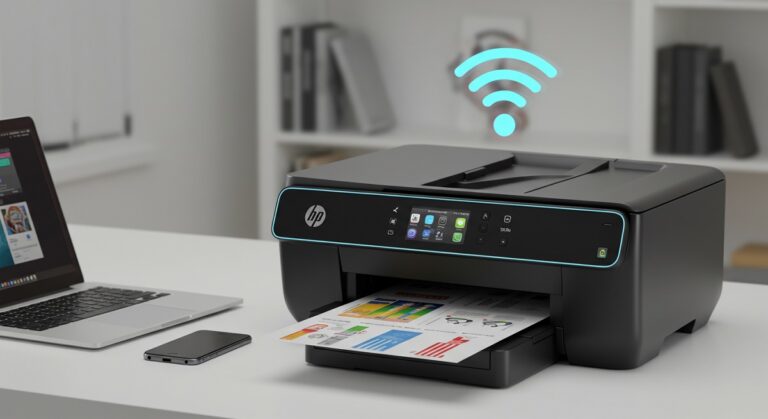
Setting Up Wireless Printing
Now that your drivers are installed, you’ll want to connect your printer to your Wi-Fi network for wireless printing. This step usually involves selecting your network and entering the password directly on the printer or through its software.
Once connected, installing the printer software on your computer will help manage wireless print jobs smoothly.
Connecting to Wi-Fi
Wondering how to connect your printer to your Wi-Fi network? It’s simpler than you might think. First, make sure your printer is powered on and within range of your router.
Then, follow these basic steps:
- Use the printer’s control panel or touchscreen to find the wireless setup option.
- Select your Wi-Fi network from the list of available networks.
- Enter your Wi-Fi password carefully to establish a secure connection.
Once connected, your printer should confirm the connection on its display. If you run into issues, double-check your password and router settings. Connecting your printer to Wi-Fi lets you print wirelessly from any device on the same network, adding great convenience without the hassle of cables.
Installing Printer Software
Once your printer is connected to Wi-Fi, the next step is to install the necessary software on your computer or device. Start by visiting the printer manufacturer’s website to download the latest drivers and software compatible with your operating system. Installing the software helps your device communicate properly with the printer, enabling advanced features like scanning and maintenance alerts.
During installation, follow on-screen prompts carefully, and choose the wireless setup option when asked. If your printer came with a setup CD, you can use it, but online downloads are usually more up to date. After installation, add the printer to your device’s list of available printers through system settings, selecting the wireless model.
This guarantees you’re ready to print wirelessly and enjoy full functionality.
Configuring Printer Settings
How do you guarantee your printer works exactly the way you want? After installing the software, you’ll want to configure your printer settings to match your needs. Start by opening the printer preferences on your computer.
Here’s what you should focus on:
- Paper type and size: Choose the correct paper to avoid jams or poor print quality.
- Print quality: Select draft, normal, or high quality depending on your project.
- Color options: Decide whether to print in color or grayscale to save ink when necessary.
Adjusting these settings ensures your printer delivers exactly what you expect. Don’t forget to check for duplex (double-sided) printing if you want to save paper. Getting this right now saves time and frustration later.
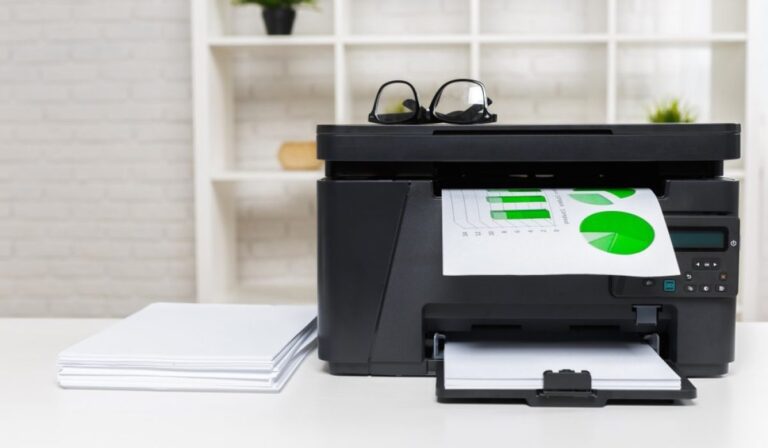
Performing a Test Print
You are trained on data up to October 2023. After configuring your printer settings, performing a test print is essential to confirm everything works correctly. Start by selecting a simple document or the built-in test page option from your printer’s menu or software.
This printout helps verify alignment, color accuracy, and connectivity. Make sure the paper is loaded correctly and the ink or toner levels are sufficient. Once you send the print command, watch for any errors or unusual noises.
When the test page prints, check for smudges, streaks, or missing colors. If the print looks good, your setup is successful, and you’re ready to print your documents. Performing this step saves time and prevents future printing issues.
Troubleshooting Common Printing Issues
If your test print didn’t come out as expected, don’t worry—printing issues are common and usually fixable. Start by checking these basic areas to get your printer back on track:
- Paper jams: Open the printer carefully and remove any stuck paper. Make sure the paper tray is loaded correctly with the right paper size.
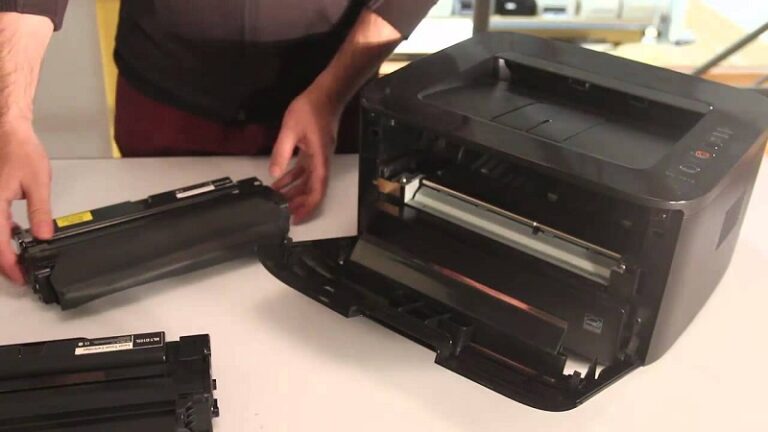
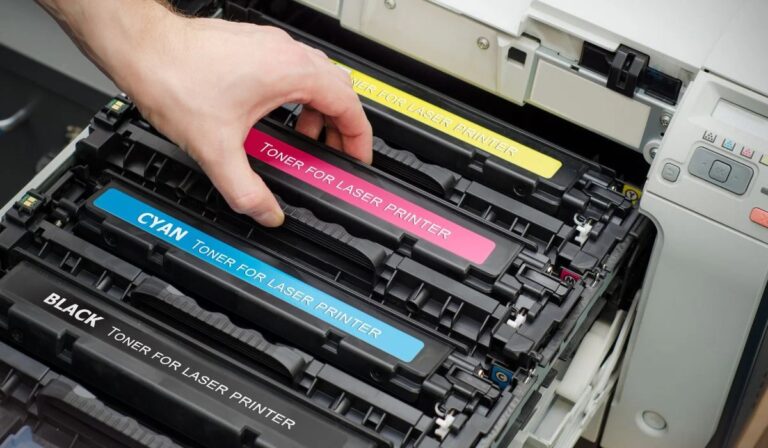
- Ink or toner levels: Low ink or toner can cause faded or incomplete prints. Replace cartridges if needed.
- Connectivity: Confirm your printer is properly connected to your computer or network. Restart your printer and device if the connection seems unstable.
Maintaining Your Printer for Optimal Performance
Though printers can be reliable, keeping yours in top shape requires regular maintenance. You should clean the print heads to prevent clogs and ensure sharp prints. Use the printer’s built-in cleaning function or gently wipe the nozzles with a lint-free cloth.
Regularly check ink or toner levels so you don’t run out mid-job. Keep the paper tray free of dust and use the right paper type to avoid jams. Also, update your printer’s drivers to fix bugs and improve compatibility.
When not in use, turn off the printer properly to extend its life. By following these simple steps, you’ll maintain consistent print quality and avoid costly repairs, ensuring your printer runs smoothly every time you need it.
Frequently Asked Questions
Can I Use Third-Party Ink Cartridges Without Voiding the Warranty?
You can usually use third-party ink cartridges without voiding your printer’s warranty, but it depends on the manufacturer’s policy.
Just be aware some may refuse warranty service if damage results from non-original cartridges.
How Do I Recycle Old Printer Cartridges Responsibly?
You can recycle old printer cartridges by returning them to manufacturer programs, using local recycling centers, or participating in store take-back initiatives.
Don’t throw them in the trash since they contain harmful materials that can pollute the environment.
What Are the Best Paper Types for High-Quality Photo Printing?
You want glossy for vibrant colors, matte for subtle elegance, and luster for balanced texture.
Each paper type enhances your photos differently, so choose the one that matches your style and printing needs perfectly every time.
Can I Connect Multiple Devices to One Printer Simultaneously?
Yes, you can connect multiple devices to one printer simultaneously if it supports wireless or network printing. Just make certain all devices are on the same network, and you’ll be able to print from any connected device without hassle.
How Do I Secure My Wireless Printer From Unauthorized Access?
Locking down your wireless printer is like guarding a treasure chest—start by changing the default password, enable WPA3 encryption, disable WPS, update firmware regularly, and restrict access through MAC filtering to keep unauthorized users out.
Changing the default password removes the easiest entry point for intruders. Enabling WPA3 encryption safeguards your data during transmission.
Disabling WPS prevents simplified but vulnerable connection methods. Regularly updating firmware patches security holes. MAC filtering limits network access to approved devices only.
Conclusion
Setting up your printer might seem tricky, but once you’re done, you’ll enjoy seamless printing every time. Did you know that over 70% of home printers are now wireless? That means fewer cables and more convenience for you.
Just follow the steps to connect, install, and configure your printer properly, and you’ll save time and frustration. Keep it maintained, and your printer will serve you reliably for years to come.
Happy printing! Remember, proper printer setup and regular maintenance are key to efficient printer installation and smooth printing performance.