How to Change Ink in Hp Printer
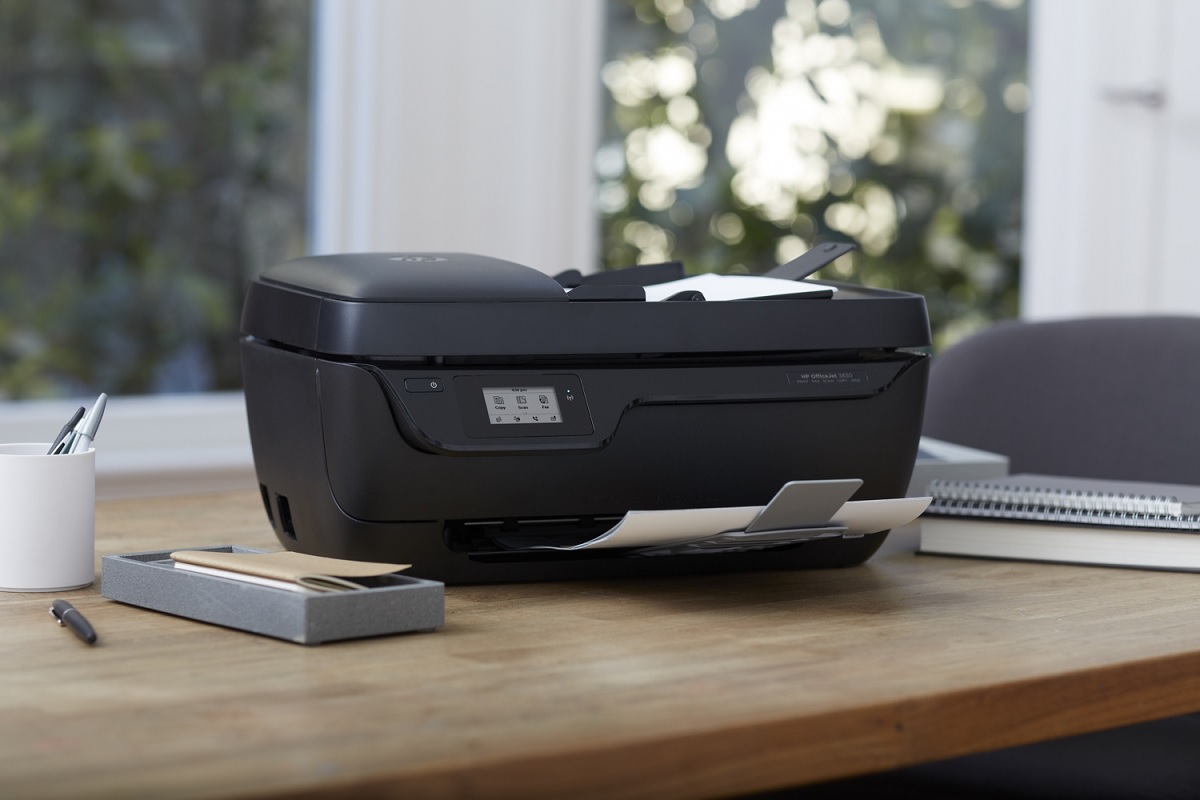
To change ink in your HP printer, first power it off, then open the cartridge access door carefully.
Changing ink in HP printers is a simple process that ensures your device continues to produce high-quality prints.
Wait for the cartridge carriage to stop before proceeding.
Remove the old cartridges by their edges and insert new ones with the label facing up, pressing until they click.
Close the door, power on the printer, and align the cartridges if prompted for the best print quality.
Following these steps helps you avoid damage and print issues.
Keep going to discover helpful tips and troubleshooting advice for maintaining your HP printer.
This will ensure smooth operation and extend the life of your device.
Key Takeaways
- Turn off the printer and open the ink cartridge access door carefully to reach the cartridges.
- Remove the old cartridge by gently pressing the release latch and pulling it out without touching contacts.
- Insert the new cartridge with the label facing up and press until it clicks securely into place.
- Close the access door and power on the printer; follow prompts to align the cartridges if needed.
- Dispose of old cartridges properly and store unused ones in a sealed container away from heat and sunlight.
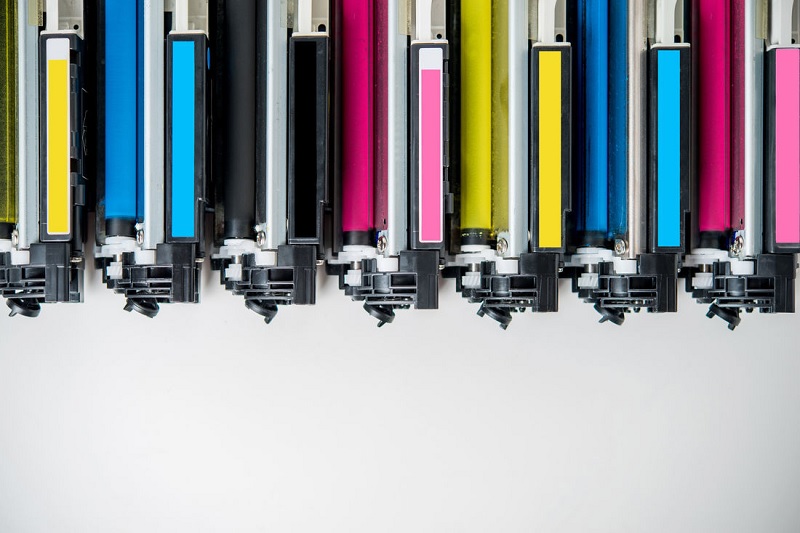
Identifying Ink Cartridge Types for Your HP Printer
Before you change the ink in your HP printer, you’ll need to identify which cartridge type it uses. HP printers typically use either original HP cartridges or compatible third-party cartridges. To find the correct cartridge, check your printer model number, usually located on the front or inside the printer.
Then, visit the HP website or refer to your printer’s manual to see the recommended cartridge numbers. Ink cartridges come in standard or high-yield sizes, with high-yield offering more ink for longer use. Some HP printers use individual color cartridges, while others combine colors in a tri-color cartridge.
Knowing the exact cartridge type guarantees you buy the right replacement and avoid compatibility issues. Identifying the cartridge correctly saves time and prevents printing problems later on.
Preparing Your Printer for Ink Cartridge Replacement
Before you replace the ink cartridge, make sure to power off your printer to prevent any damage. Open the cartridge access door carefully to reach the cartridges.
Also, avoid static discharge by touching a metal surface before handling the ink cartridges.
Power Off Printer
Although it might seem simple, powering off your HP printer correctly is essential to avoid any damage during the ink cartridge replacement. When you shut down the printer properly, you prevent electrical issues and ensure the printhead is in the right position. Here’s what you should do:
- Use the printer’s power button instead of unplugging it directly to allow it to complete any ongoing tasks.
- Wait for the printer to completely power down and stop all noises before opening it.
- Avoid pressing any buttons or touching the cartridge area until the printer is fully off.
Open Cartridge Access
Once your printer is completely powered off, you’ll need to open the cartridge access door to reach the ink cartridges. Usually, this door is located on the front or top of the printer. Gently lift or press the release latch to open it without forcing anything.
The ink cartridge carriage will become visible, sometimes moving slightly to the center for easier access. Wait until it stops moving before proceeding. Avoid touching any other parts inside to prevent damage.
If your printer has a cover over the cartridges, carefully lift it. Make sure you have good lighting so you can clearly see the cartridges. This step preps your printer for ink replacement, setting you up to safely remove and swap cartridges in the next steps.
Avoid Static Damage
Since static electricity can damage your printer’s sensitive components, you’ll want to take precautions before handling ink cartridges. Static discharge may cause malfunction or reduce the cartridge’s lifespan. To avoid static damage, follow these simple steps:
- Work on a non-carpeted surface: Carpets generate more static electricity, so choose a hard floor or table.
- Touch a grounded metal object: Before you open the cartridge packaging, discharge any static by touching something metal like a desk leg or a doorknob.
- Handle cartridges by the sides: Avoid touching the copper contacts or nozzles to prevent static and contamination.
Opening the Printer to Access Ink Cartridges
Now that your printer is ready, you’ll want to locate the access panel where the ink cartridges are housed. Carefully lift the printer lid to avoid any damage or misalignment.
This will give you clear access to the cartridges for replacement.
Locating the Access Panel
To change the ink cartridges, you’ll need to open the printer’s access panel where the cartridges are housed. This panel gives you direct access to the cartridges so you can replace them quickly. Here’s how to locate it:
- Look for a front or top cover on your HP printer, often marked with a small icon or labeled “Ink” or “Cartridges.”
- Check the sides or the front of the printer for a latch or button that releases the panel.
- Consult your printer’s manual or look for a diagram on the printer itself, which usually points out the access panel location.
Once you find the panel, you’ll be ready to open it and proceed with replacing your ink cartridges safely.
Safely Opening Printer Lid
After locating the access panel, the next step is to open the printer lid carefully to reach the ink cartridges. Gently lift the lid from the front or side depending on your model, avoiding sudden movements that might damage internal components.
Make sure the printer is on; this often unlocks the cartridge carriage for easy access. If the lid feels stuck, check for any locks or latches you may have missed.
Here’s a quick guide:
| Step | Action | Tip |
|---|---|---|
| 1 | Locate lid release | Usually a button or tab |
| 2 | Gently lift the lid | Avoid force to prevent damage |
| 3 | Wait for cartridge carriage | It should move to accessible position |
| 4 | Proceed to cartridge access | Ready for ink replacement |
Removing the Old Ink Cartridges Safely
Before you remove the old ink cartridges, make sure your printer is turned on and the carriage is accessible. This guarantees the cartridges are in the correct position for easy removal.
When you’re ready, follow these tips to remove the cartridges safely:
- Gently press down on the cartridge to release it; avoid forcing it out to prevent damage.
- Handle cartridges by their sides to avoid touching the copper contacts or nozzles, which can cause clogs or ink failures.
- Place the old cartridges on a paper towel or in a plastic bag to catch any residual ink and keep your workspace clean.
Taking these precautions helps protect both your printer and your hands from ink spills or damage.
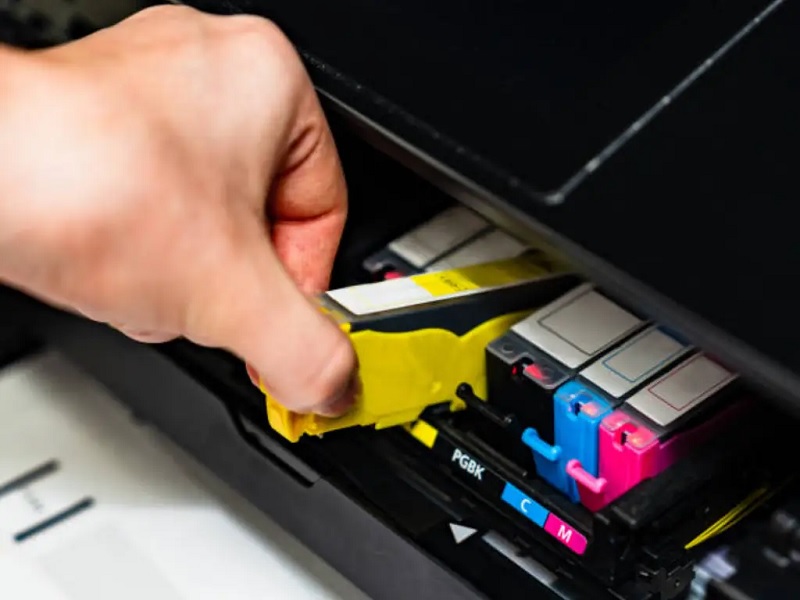
Installing New Ink Cartridges Correctly
Once you’ve safely removed the old ink cartridges, you’ll want to install the new ones carefully to guarantee your printer works smoothly. Begin by unpacking the new cartridges, removing any protective tape without touching the copper contacts or nozzles to avoid damage.
Next, hold the cartridge with the label facing up and insert it into the correct slot, usually color-coded or marked on the printer. Press down gently but firmly until you hear a click, indicating it’s securely in place. Repeat this for each cartridge.
After installing, close the printer cover properly. Your printer may recognize the new cartridges automatically. Avoid forcing cartridges in or skipping steps to prevent errors or damage.
Proper installation assures your HP printer is ready for high-quality printing without interruptions.
Aligning Ink Cartridges for Optimal Print Quality
To guarantee your prints come out sharp and clear, you’ll need to align your ink cartridges properly. Misaligned cartridges can cause blurry images or uneven colors. Luckily, HP printers make this process straightforward.
After installing new cartridges, your printer usually prompts you to start the alignment. If not, you can manually initiate it via the printer’s control panel or software.
Here’s how to ensure a perfect alignment:
- Select the “Align Ink Cartridges” option in your printer’s settings.
- Print the alignment page, then follow on-screen instructions to scan or confirm the alignment.
- Repeat the process if you notice any print quality issues.
Proper alignment optimizes your printer’s performance and extends cartridge life.
Troubleshooting Common Ink Cartridge Issues
If you’re experiencing streaks, faded prints, or error messages, it’s likely your ink cartridges need some attention. First, check if the cartridges are properly installed; a loose cartridge can cause printing problems. Remove and reinstall them to guarantee a secure fit.
Next, inspect the cartridges for dried or clogged nozzles—clean them using your printer’s built-in cleaning function. If the ink levels are low, replace the cartridges promptly to avoid poor print quality. Also, verify that you’re using genuine HP cartridges, as third-party ones may cause errors.
Finally, restart your printer to clear any temporary glitches. If issues persist, consult the printer’s manual or HP support for further diagnostics. Taking these steps usually resolves common cartridge problems efficiently.
Tips for Maintaining Ink Cartridges and Extending Printer Life
Although ink cartridges are designed to last, you can extend their life by handling them properly and keeping your printer in good condition. Proper care not only saves money but also ensures consistent print quality.
Here are some tips to help you maintain your ink cartridges and prolong your printer’s lifespan:
- Store cartridges correctly: Keep unused cartridges sealed in a cool, dry place to prevent drying out or clogging.
- Use your printer regularly: Printing at least once a week keeps the ink flowing and prevents nozzles from drying.
- Clean the printhead carefully: Use the printer’s cleaning function or a soft, lint-free cloth to avoid damaging delicate parts.
Frequently Asked Questions
Can I Use Third-Party Ink Cartridges With My HP Printer?
Yes, you can use third-party ink cartridges with your HP printer, but keep in mind they might void your warranty or cause print quality issues. Always choose reputable brands to avoid potential problems and guarantee compatibility.
Using third-party cartridges can be a cost-effective option, but it’s important to weigh the risks. Some printers may not recognize non-HP cartridges, leading to errors or malfunctions.
If you decide to use third-party ink, monitor your printer’s performance closely. Ensure you purchase from trusted suppliers to minimize the chances of damage or poor print quality.
How Do I Recycle Used HP Ink Cartridges?
You can recycle used HP ink cartridges by returning them through HP’s Planet Partners program, dropping them off at authorized collection points, or mailing them in using prepaid labels available on HP’s website.
It’s easy and eco-friendly!
What Should I Do if My Printer Doesn’T Recognize the New Cartridge?
If your printer doesn’t recognize the new cartridge, don’t panic just yet. You’ll want to remove it, check for protective tape, clean the contacts gently, then reinstall.
Sometimes, a restart fixes the glitch too.
Are HP Ink Cartridges Compatible Across Different Printer Models?
No, HP ink cartridges aren’t universally compatible across all models. You’ll need to check your printer’s specific cartridge number to verify it fits. Using the wrong cartridge can cause errors or poor print quality.
Always refer to your printer’s manual or the HP website to find the correct cartridge type. Using incompatible cartridges might damage your printer or void the warranty. It’s best to use cartridges designed for your specific printer model.
How Long Do HP Ink Cartridges Typically Last Once Opened?
Opened HP ink cartridges typically last about 6 months before drying out.
Since you might not use your printer daily, be aware that ink can degrade even if you don’t print often, so replace cartridges timely.
Conclusion
Changing your HP printer’s ink might seem tricky, but it’s simpler than you think. Did you know that 70% of printer problems stem from ink cartridge issues? By following these steps, you’ll not only save time but also avoid frustrating print errors.
Keep your cartridges clean and aligned to enjoy crisp, clear prints every time. Taking care of your printer means fewer headaches and longer-lasting performance—making every page count!
Proper ink replacement and regular maintenance are key to ensuring your HP printer functions smoothly. Remember, changing ink in an HP printer correctly helps maintain print quality and prevents common issues.