How to Scan From Printer to Computer
To scan from your printer to your computer, first make certain your printer is on and connected via USB or Wi-Fi.
Installing or updating printer drivers on your computer is essential for smooth operation. Choose scanning software compatible with your system, like the manufacturer’s program or free alternatives.
Adjust scan settings such as resolution and file format to match your needs.
After scanning, save and organize your files properly.
Keep going to uncover tips on perfecting each step for smooth, high-quality scans.
Key Takeaways
- Connect the printer to your computer via USB, Wi-Fi, or Ethernet ensuring the device is powered on and recognized by the computer.
- Install or update the printer drivers and scanning software from the manufacturer’s website for compatibility and functionality.
- Open the scanning software, select the printer, and choose scan settings like resolution, color mode, and file format.
- Place the document on the scanner glass or feeder, then initiate the scan using the software or printer panel controls.
- Save the scanned file with a descriptive name in a preferred format and organize it into folders for easy access and backup.
Preparing Your Printer and Computer for Scanning
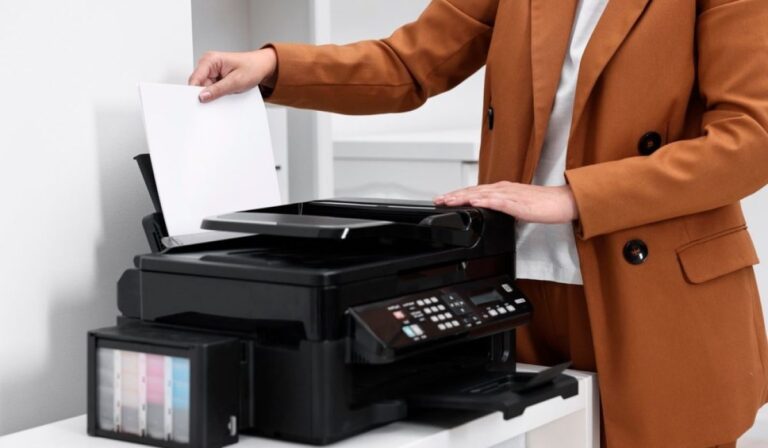
Before you start scanning, make certain your printer and computer are properly set up and connected. Check that your printer is plugged in and powered on. Confirm your computer recognizes the printer, which usually means the necessary drivers are installed.
If you haven’t installed them yet, download the latest version from the manufacturer’s website to ensure compatibility and smooth operation. Make sure there’s enough space on your computer for the scanned files, and that the scanning software is installed and up to date.
Also, verify that the scanner glass is clean to avoid streaks or smudges on your scans. Taking these steps will help you avoid common issues and get your scanning process off to a smooth start.
Connecting Your Printer to Your Computer
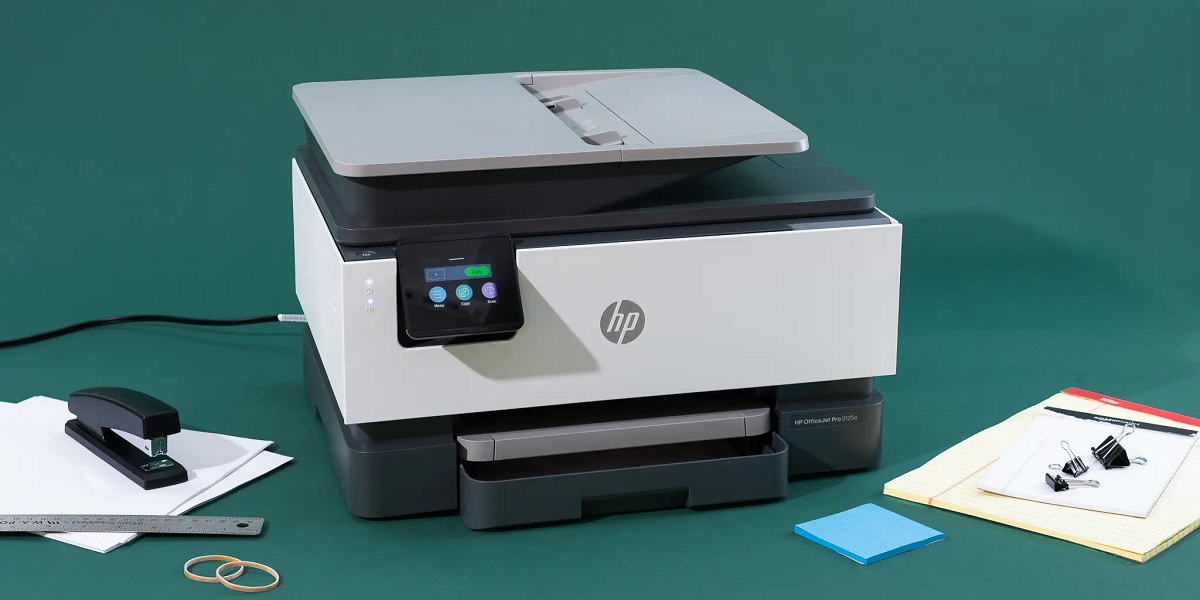
Once your printer and computer are ready, the next step is to establish a connection between them. This guarantees your scanned documents transfer smoothly. You can connect your printer in several ways, depending on the model and your setup.
Connecting your printer and computer ensures smooth transfer of scanned documents for hassle-free printing.
Consider these options:
- USB Cable: Plug the printer directly into your computer using a USB cable for a straightforward, reliable connection.
- Wi-Fi Network: Connect both devices to the same wireless network, allowing you to scan without cables.
- Ethernet Cable: Use a wired network connection if your printer supports Ethernet, offering stable communication.
Choose the method that suits your environment best. After connecting, your computer should recognize the printer, letting you start scanning right away.
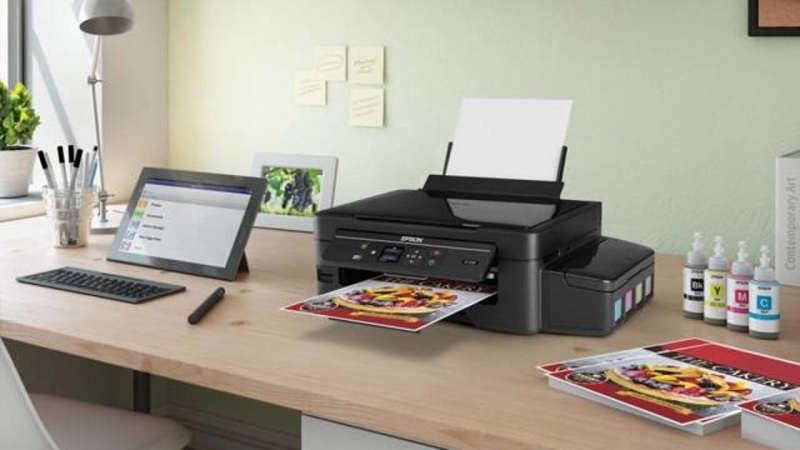
Choosing the Right Scanning Software
Although your printer may come with its own scanning software, you might want to explore other options to find one that fits your needs best. Different software offers various features like enhanced image editing, OCR (optical character recognition), or cloud integration, which can improve your scanning experience. Look for programs compatible with your operating system and easy to use.
Some popular choices include VueScan, NAPS2, and Adobe Scan. If you frequently scan documents, software with batch scanning and automatic file naming can save time. Consider whether you want free or paid options; free software might be sufficient for basic tasks, while paid versions often provide advanced capabilities.
Choose software that balances functionality with user-friendliness to make scanning efficient and hassle-free.
Selecting Scan Settings and Options
When you start scanning, you’ll want to carefully select the settings that match your project’s needs. Adjusting these options guarantees your scanned document looks exactly how you want it. First, choose the resolution—higher DPI gives better quality but larger files.
Carefully choosing scan settings ensures your document appears just right, balancing quality and file size.
Next, pick the color mode: color, grayscale, or black and white depending on your document type. Finally, decide on the file format, such as PDF for documents or JPEG for images.
Here are key settings to focus on:
- Resolution (DPI): Balances quality and file size
- Color Mode: Matches document type and purpose
- File Format: Determines compatibility and usability
Selecting these correctly saves you time and improves your scan results.
Saving and Managing Scanned Documents
After you’ve scanned your document, you’ll want to save it in a way that’s easy to find and share later. Choose a clear, descriptive file name that reflects the content, and select a familiar file format like PDF or JPEG.
Organize your scanned files into folders based on categories such as date, project, or document type to keep everything orderly. Consider backing up your scans to cloud storage or an external drive to prevent data loss. If you frequently scan documents, create a consistent naming and filing system to save time.
Finally, use document management software if you need to search, edit, or annotate your scans. Proper saving and management ensure your scanned documents remain accessible and useful whenever you need them.
Frequently Asked Questions
Can I Scan Multiple Pages Into One PDF File?
Yes, you can scan multiple pages into one PDF file. Just select the multi-page or document mode on your scanner software, then scan each page consecutively.
The software will combine them into a single PDF automatically.
How Do I Scan Documents Wirelessly via Wi-Fi?
You connect your printer to Wi-Fi, open the scanning app on your computer or phone, select your printer, choose scan settings, and start scanning.
You’ll save time, stay organized, and enjoy wireless convenience effortlessly.
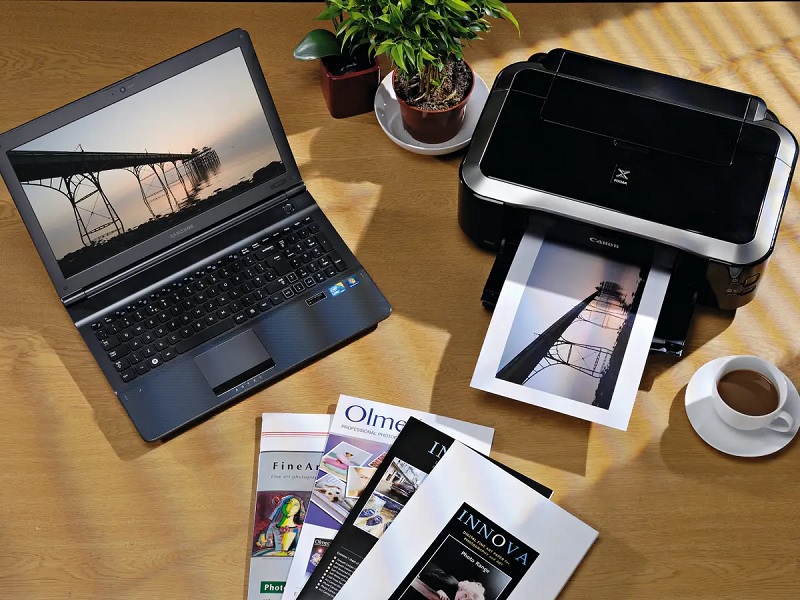
What File Formats Are Best for Scanned Photos?
For scanned photos, you’ll want to use JPEG for everyday use because it balances quality and file size.
If you need higher quality or editing flexibility, go with TIFF or PNG instead.
Can I Scan Directly to Cloud Storage Services?
Yes, you can scan directly to cloud storage services if your printer supports it. Just connect your printer to Wi-Fi, select the cloud option on the printer’s menu, and choose your preferred service like Google Drive or Dropbox.
Make sure your printer is compatible with the cloud services you want to use. Some printers have built-in apps or require you to install software on your computer or mobile device.
Once set up, scanning directly to the cloud is quick and convenient, allowing you to access your documents from anywhere.
How to Troubleshoot if the Scanner Is Not Recognized?
If your scanner’s not recognized, check the USB or network connection first. Restart both devices, update or reinstall the scanner drivers, and verify your computer’s scanning software is up to date.
Try a different USB port, too.
Conclusion
Now that you’ve gently set everything up—from connecting your trusty printer to picking the perfect scan settings—you’re all set to bring those important documents into the digital world.
With a bit of practice, scanning will feel like second nature, turning what once seemed tricky into a smooth, effortless task.
So go ahead, embrace the ease, and enjoy the convenience of having your papers neatly organized and ready at your fingertips anytime you need them.
By mastering how to scan from printer to computer, you ensure your documents are easily accessible and safely stored.
This simple process enhances your productivity and keeps your digital files well-organized for quick retrieval.