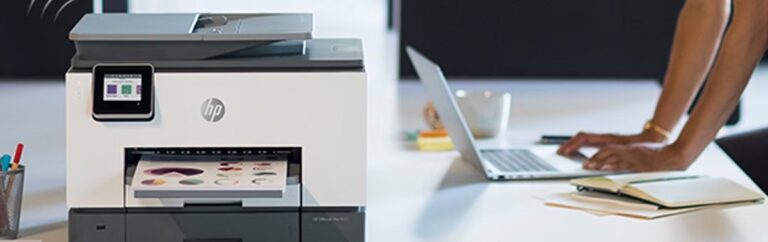
How to Add a Printer
To add a printer, first guarantee it’s powered on and properly connected via USB or Wi-Fi.
Printer setup is straightforward when you follow the right steps. Then, on your device, go to printer settings and select “Add a Printer.”
Download and install the latest drivers from the manufacturer’s website or use the installation CD.
Follow the on-screen prompts, set preferences, and print a test page to confirm it’s working.
If you want to master setup and troubleshoot common issues, there’s plenty more to learn.
Key Takeaways
- Open your device’s printer settings or control panel and select “Add a Printer” to start the setup process.
- Choose your printer from the list of detected devices or manually enter its network address if not listed.
- Confirm installation and set the printer as default if desired for easier future printing.
- Customize printer preferences such as paper size, print quality, and duplex settings before saving.
- Print a test page to verify successful addition and correct configuration of the printer.
Preparing Your Printer and Computer
Before you begin, make sure your printer is properly connected to a power source and turned on. Check for any indicator lights that show it’s ready to use.
Next, ensure your computer is up to date with the latest operating system updates, as this helps with compatibility. Restart your computer if you haven’t done so recently to clear any temporary glitches. Also, verify that you have administrative privileges on your computer since adding a printer often requires permission.
It’s a good idea to close unnecessary applications to prevent interruptions during setup. Finally, locate the printer’s installation CD or download the latest drivers from the manufacturer’s website to ensure you have the correct software ready for installation when you proceed.
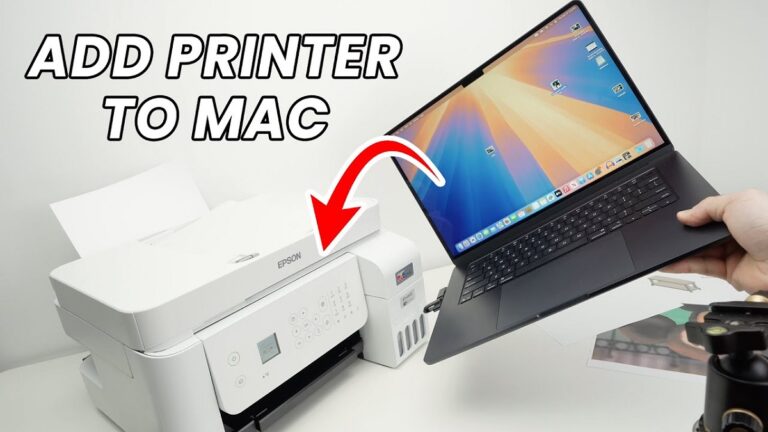
Connecting the Printer to Your Device
Now that your printer and computer are ready, it’s time to connect them. You can either set up a wireless connection or use a USB cable for a direct link.
Let’s look at how to get both options working smoothly.
Wireless Connection Setup
Once you’ve powered on your printer, you’ll need to connect it wirelessly to your device so you can start printing without cables. First, access your printer’s control panel and select the wireless setup option. Choose your Wi-Fi network and enter the password.
On your computer or mobile device, add the printer via the network settings or the printer app. Ensure both devices are on the same Wi-Fi network for a smooth connection.
| Step | Action | Notes |
|---|---|---|
| 1 | Turn on printer | Ensure Wi-Fi module is active |
| 2 | Select wireless setup | Use printer’s touchscreen |
| 3 | Connect to Wi-Fi | Enter network password |
| 4 | Add printer on device | Confirm same Wi-Fi connection |
USB Cable Installation
If connecting your printer wirelessly isn’t an option, using a USB cable offers a straightforward alternative. First, locate the USB port on both your printer and computer. Typically, the printer’s port is a square-shaped USB-B, while your computer uses a flat USB-A port.
Connect one end of the USB cable to the printer, then plug the other end into your computer. Once connected, turn on your printer. Your computer should automatically detect the device and attempt to install the necessary drivers.
If it doesn’t, you may need to install drivers manually from the printer manufacturer’s website or included CD. After installation, print a test page to ensure everything’s set up correctly. Using a USB cable is simple and dependable, especially when wireless isn’t feasible.
Installing Printer Drivers and Software
Now that your printer is connected, you’ll need to find the right drivers that match your device and operating system.
You can usually download the installation software from the manufacturer’s website.
Follow the step-by-step setup guide to get your printer up and running smoothly.
Finding Compatible Drivers
Before you can start printing, you’ll need to find drivers that match your printer model and operating system. Without the right drivers, your computer won’t communicate properly with the printer, causing errors or limited functionality.
Here’s how you can find compatible drivers:
- Check the Manufacturer’s Website: Go to the official site and look for a “Support” or “Downloads” section. Enter your printer model to find available drivers.
- Verify Operating System Compatibility: Make sure the driver supports your specific OS version (Windows, macOS, Linux) to avoid installation issues.
- Look for Certified Drivers: Choose drivers that are digitally signed or certified, ensuring they’re safe and reliable.
Following these steps will help you find the correct drivers and prepare for a smooth installation process.
Downloading Installation Software
Once you’ve identified the right drivers, you’ll need to download the installation software to set up your printer properly. Head to the printer manufacturer’s official website to guarantee you get the latest, most secure version. Look for a “Support” or “Downloads” section, then enter your printer model to find the specific software package.
Avoid third-party sites to prevent malware or outdated versions. Download the complete installation file, which usually includes drivers and utility programs. Save it to an easily accessible folder on your computer.
If available, check for any accompanying release notes or installation instructions to avoid issues later. Having the correct software ready will make the actual printer setup smoother and ensure full functionality once you connect the device.
Step-by-Step Setup Guide
Although downloading the installation software is essential, you’ll need to follow specific steps to install your printer drivers and software correctly. First, locate the downloaded file, usually in your “Downloads” folder, and double-click it to launch the installer.
Second, follow the on-screen prompts carefully; these will guide you through agreeing to terms, choosing installation options, and connecting your printer when prompted.
Third, once installation completes, restart your computer to make sure all changes take effect, and then test the printer by printing a test page. By following these steps, you’ll ensure your printer works smoothly with your computer, avoiding common setup issues and enabling full access to printer features.
Configuring Printer Settings
How do you guarantee your printer works exactly the way you want? Once your printer is installed, explore its settings to customize everything. Access the printer properties through your computer’s control panel or settings app.
Here, you can adjust preferences like paper size, print quality, color options, and duplex printing. Don’t forget to set default trays if your printer supports multiple paper sources. Also, explore advanced features such as watermarking or scaling if your projects need them.
Make certain the correct driver is installed to activate all printer capabilities. Save your settings once configured to avoid repeating the process. This tailored setup ensures every print job matches your needs without extra adjustments later on.
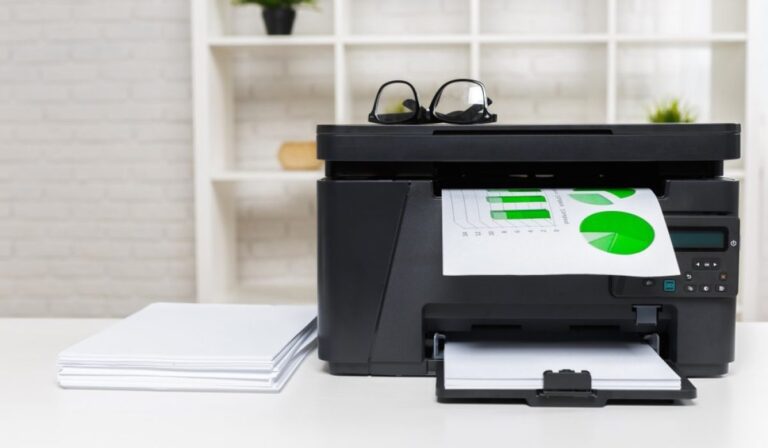
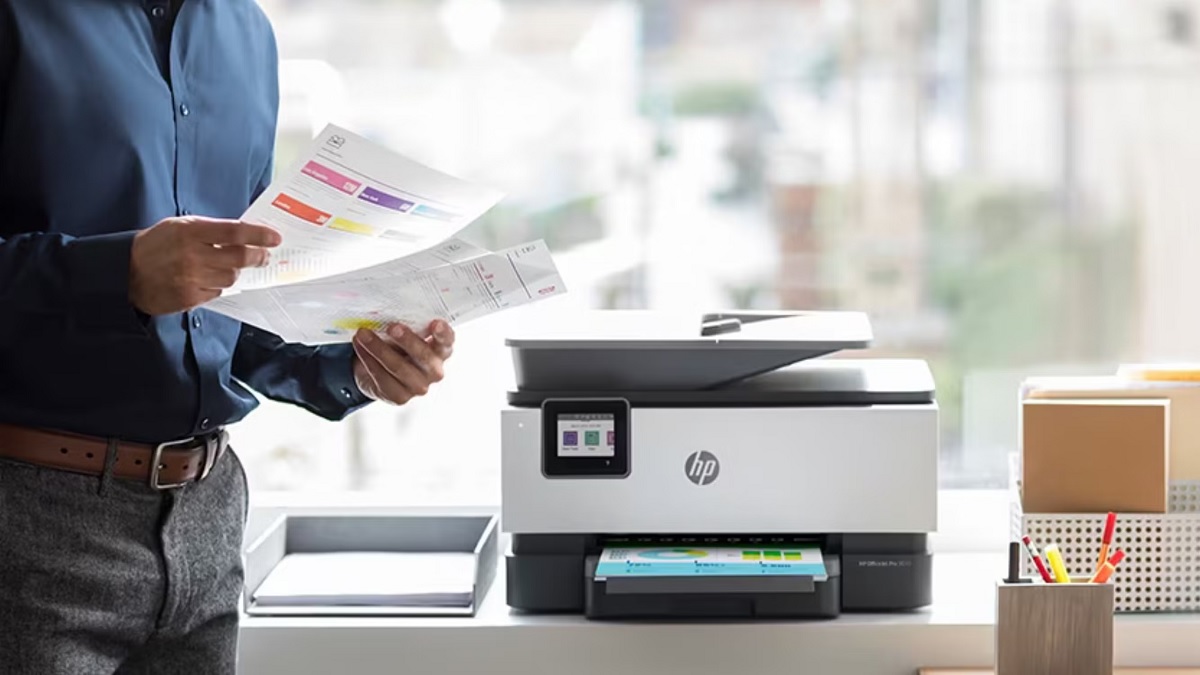
Printing a Test Page
After customizing your printer settings, the next step is to print a test page. This helps you verify everything’s set up correctly before you start regular printing. Here’s how you do it:
- Open the Control Panel or Settings on your computer and navigate to Devices or Printers.
- Select your newly added printer, then find the option labeled “Print Test Page” or similar.
- Click it, and your printer will produce a test page showing alignment, color, and print quality.
Review the test page carefully. If everything looks good, you’re all set to start printing your documents. If not, you might need to revisit your settings or check the printer hardware before moving forward.
Troubleshooting Common Printer Issues
When your printer doesn’t work as expected, it can be frustrating, but most issues have straightforward fixes you can try yourself. First, check if the printer is properly connected to your computer or network and powered on. Make certain there’s enough paper and ink or toner.
If the print job gets stuck, cancel and resend it. Restarting both your printer and computer often resolves many glitches. If you see error messages, consult your printer’s manual or manufacturer’s website for specific solutions.
Also, updating or reinstalling printer drivers can fix compatibility problems. Ultimately, running the printer’s built-in diagnostic tools can identify and sometimes fix issues automatically. By systematically checking these points, you’ll likely resolve common printer problems quickly without needing expert help.
Frequently Asked Questions
Can I Add Multiple Printers to One Computer?
Yes, you can add multiple printers to one computer. Just connect each printer, install the necessary drivers, and select the desired printer when printing.
It’s convenient for handling different printing tasks or locations.
How Do I Share a Printer Over a Network?
You just enable printer sharing in your computer’s settings. For example, Sarah shared her home printer so her family could print from any device without hassle—she simply turned on sharing and allowed network access.
Easy and convenient!
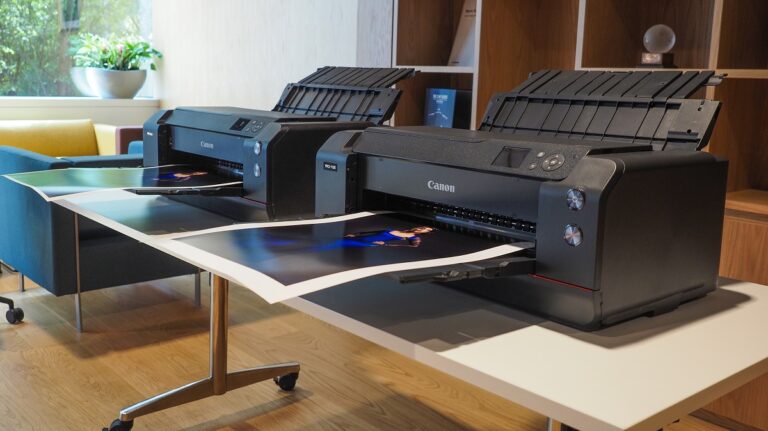
What Types of Printers Are Best for Photo Printing?
For photo printing, you’ll want an inkjet printer with pigment-based or dye-based inks, as they offer vibrant colors and fine detail. Look for models supporting high-resolution prints and multiple color cartridges for the best results.
How Do I Update My Printer Firmware?
Of course, your printer’s firmware updates itself telepathically—just kidding! You’ll need to visit the manufacturer’s site, download their update tool, connect your printer, and follow prompts.
Keep it current to avoid paper jams and existential crises.
Can I Print From My Smartphone Without a Computer?
Yes, you can print from your smartphone without a computer. Just connect your phone to a Wi-Fi-enabled printer using apps like AirPrint for iPhone or Google Cloud Print for Android. It’s quick and convenient!
Conclusion
Setting up your printer might seem tricky at first, but once you’ve connected it and installed the drivers, the process becomes surprisingly simple. While technology can sometimes feel frustrating and complex, the satisfaction of printing your first test page transforms that frustration into accomplishment.
Remember, even if issues arise, troubleshooting is just another step toward mastering your device. With patience and a few clicks, you’ll turn confusion into clarity and print with confidence. Adding a printer is easy when you follow the right steps, and soon you’ll enjoy seamless printing right from your computer.