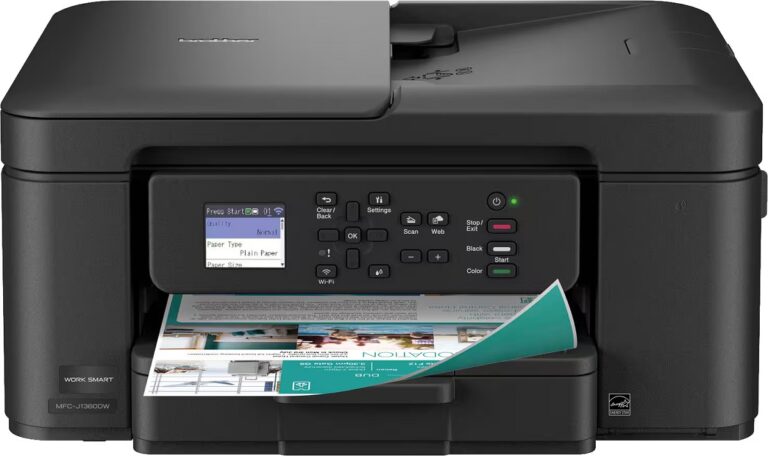
How to Add Printer to Macbook
To add a printer to your MacBook, start by checking if your printer supports macOS or AirPrint for seamless setup. This ensures compatibility and easy integration with your MacBook’s system.
Connect the printer using a USB cable or make sure both devices are on the same Wi-Fi network for wireless printing.
Next, open “Printers & Scanners” in System Preferences. Here, you can add your printer manually or select it from the list of detected devices.
If you encounter any issues, try restarting your MacBook and printer or updating the printer drivers.
By following these steps, you’ll be able to manage your printer settings efficiently. Keep exploring to find helpful tips for troubleshooting and optimizing your printer’s performance. This will ensure smooth printing experiences on your MacBook.
Key Takeaways
- Connect the printer to your MacBook via USB or ensure both devices are on the same Wi-Fi network for wireless setup.
- Open System Settings and select “Printers & Scanners” to access printer management.
- Click the plus (+) button to add a new printer; select the detected printer or enter its IP address manually if needed.
- Use AirPrint for compatible printers to add them without installing extra drivers.
- Print a test page to confirm the printer is correctly added and functioning.
Check Printer Compatibility With Macbook
How do you know if your printer will work with your MacBook? First, check if your printer supports macOS by visiting the manufacturer’s website or looking at the product specifications. Most modern printers are compatible, but it’s essential to be sure.
You’ll want to verify that the printer supports the version of macOS you’re running because older models might lack drivers for the latest updates. Apple also maintains a list of AirPrint-compatible printers, which work seamlessly without extra software—look for that if you want hassle-free printing. Avoid assuming USB compatibility alone means full functionality; driver support is key.
Confirming compatibility upfront saves you from potential frustration and ensures a smooth printing experience with your MacBook.
Connect Your Printer via USB Cable
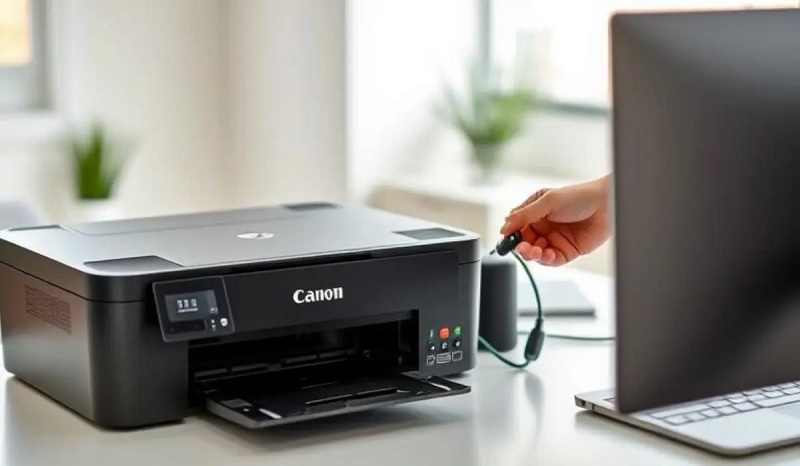
Although wireless printing is popular, connecting your printer to your MacBook via a USB cable is often the quickest way to get started. First, plug the USB cable into your printer and then connect the other end to your MacBook. Most modern printers use a USB-A or USB-C connector, so confirm you have the right cable or adapter.
Once connected, your MacBook should automatically detect the printer. If it doesn’t, open System Preferences, select “Printers & Scanners,” then click the “+” button to add your printer manually. Choose your printer from the list and follow any on-screen prompts to install necessary drivers.
This direct connection usually offers faster setup and reliable printing without worrying about network issues.
Set Up a Wireless Printer on MacBook
To set up a wireless printer on your MacBook, start by connecting both devices to the same Wi-Fi network. Then, head to your Mac’s settings to add the printer from the list of available devices.
Once added, print a test page to make sure everything’s working smoothly.
Connect to Wi-Fi
Once your printer is powered on and ready, connecting it to the same Wi-Fi network as your MacBook guarantees seamless wireless printing. Typically, your printer’s control panel or app will guide you to select the network and enter the password.
Ensure your MacBook and printer are on the same frequency band (2.4 GHz or 5 GHz) for compatibility. After connecting, your printer should appear automatically on your MacBook’s printer list.
| Step | Tip |
|---|---|
| Power on printer | Ensure it’s ready to connect |
| Select Wi-Fi | Use your network’s exact name |
| Enter password | Case-sensitive, double-check |
| Confirm connection | Print test page if available |
Add Printer via Settings
When you’ve connected your printer to the same Wi-Fi network as your MacBook, adding it through your system settings is straightforward. First, click the Apple menu and select “System Settings” or “System Preferences,” depending on your macOS version. Then, choose “Printers & Scanners.”
Click the plus (+) button to add a new printer. Your MacBook will search for available printers on the network. When you see your printer listed, select it.
The system will automatically download and install the necessary drivers if needed. Finally, click “Add” to complete the setup. Your printer should now appear in the list, ready for use.
This method guarantees a smooth wireless printer setup without extra software.
Print Test Page
A quick way to confirm your wireless printer is set up correctly on your MacBook is by printing a test page. To do this, open “System Preferences” and select “Printers & Scanners.” Choose your newly added printer from the list on the left.
Next, click “Open Print Queue,” then find and click the “Printer” menu at the top of your screen. From the dropdown, select “Print Test Page.” This sends a sample page to your printer, allowing you to verify the connection and print quality.
If the test page prints without issues, your setup is complete. If not, double-check your printer’s connection, Wi-Fi settings, and try adding the printer again. This simple step guarantees everything’s working smoothly before you start regular printing.
Add a Printer Using AirPrint
Although setting up a printer on your MacBook might seem intimidating, using AirPrint makes the process quick and straightforward. First, verify your printer supports AirPrint and is connected to the same Wi-Fi network as your MacBook. On your Mac, click the Apple menu, select “System Settings,” then go to “Printers & Scanners.”
Click the plus (+) button to add a new printer. Your Mac will automatically detect nearby AirPrint-enabled printers. Select your printer from the list, and it’ll be added without needing extra drivers.
Once added, you can print directly from any app by choosing “Print” and selecting your AirPrint printer. This wireless method saves you time and avoids compatibility issues, making printing seamless and hassle-free.
Manually Add a Printer in System Preferences
You’ll start by opening System Preferences and exploring to the Printers & Scanners section to access your printer settings. From there, you can click the plus (+) button to see a list of available printers.
Simply select your printer from the list and add it to your MacBook manually.
Accessing Printer Settings
Wondering how to manually add a printer on your MacBook? First, open System Preferences by clicking the Apple menu and selecting it. Next, go to “Printers & Scanners.”
Here, you’ll see a list of current printers, but to add one manually, click the plus (+) button below the list. A new window pops up, showing available printers. Before selecting, click “IP” at the top to enter your printer’s IP address if it’s a network printer.
This step gives you access to detailed printer settings, letting you specify the protocol, address, and queue. Adjusting these settings guarantees your Mac communicates correctly with the printer. Once you’ve reviewed these details, you’re ready to move on to selecting and adding the printer.
Selecting and Adding Printer
After entering your printer’s IP or locating it on the network, you can select it from the list to add it to your MacBook. Click the printer name, then hit “Add.”
If your printer doesn’t appear, choose “IP” and enter its address manually. Make sure to select the correct protocol, usually “IPP” or “LPD.”
Finally, choose the appropriate driver or let your Mac use a generic one.
Here’s a quick overview:
| Step | Action |
|---|---|
| 1. Select Printer | Pick your printer from the list |
| 2. Click Add | Confirm to add the printer |
| 3. Manual Entry | Enter IP and protocol if needed |
| 4. Choose Driver | Select or auto-detect driver |
Once done, your printer will be ready to use.
Troubleshoot Common Printer Connection Issues
Although connecting your printer to a MacBook is usually straightforward, connection issues can still occur. If your printer isn’t showing up, first confirm it’s powered on and properly connected via USB or Wi-Fi. Restart both your MacBook and printer to refresh the connection.
Check your Wi-Fi network to verify both devices are on the same network. If using Wi-Fi, try reconnecting the printer to the network through its control panel. Sometimes, outdated printer drivers cause problems; visit the manufacturer’s website to download the latest drivers compatible with your macOS version.
Also, verify that your MacBook’s firewall or security settings aren’t blocking the printer. If issues persist, resetting the printing system in System Preferences can help clear corrupted settings and allow you to start fresh.
Manage and Remove Printers on MacBook
If you’ve resolved connection issues or simply want to keep your printer list organized, managing and removing printers on your MacBook is straightforward. First, open System Settings and select “Printers & Scanners.” Here, you’ll see all the printers currently added.
To remove a printer, just select it and click the minus (-) button. Confirm the removal if prompted. This is useful when you no longer use a printer or want to clear up clutter.
If you need to rename or set a default printer, you can do that in the same menu by selecting the desired printer and adjusting its settings. Regularly managing your printers helps keep your workflow smooth and your MacBook clutter-free.
Frequently Asked Questions
Can I Share My Printer With Multiple Macbooks on the Same Network?
Yes, you can share your printer with multiple MacBooks on the same network by enabling printer sharing in System Preferences.
Just make sure the primary Mac is turned on and connected whenever others want to print.
How Do I Print Double-Sided Documents From My Macbook?
Like turning pages in a classic novel, you can print double-sided by selecting “Two-Sided” in the print dialog on your MacBook.
Just click “Print,” and your document flips like a story told on both sides.
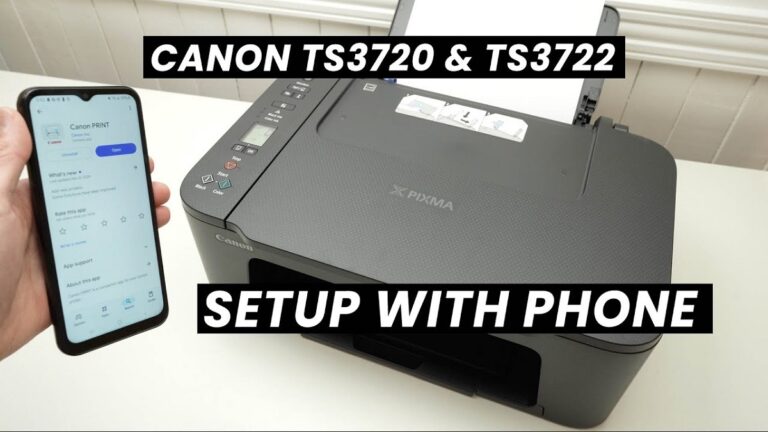
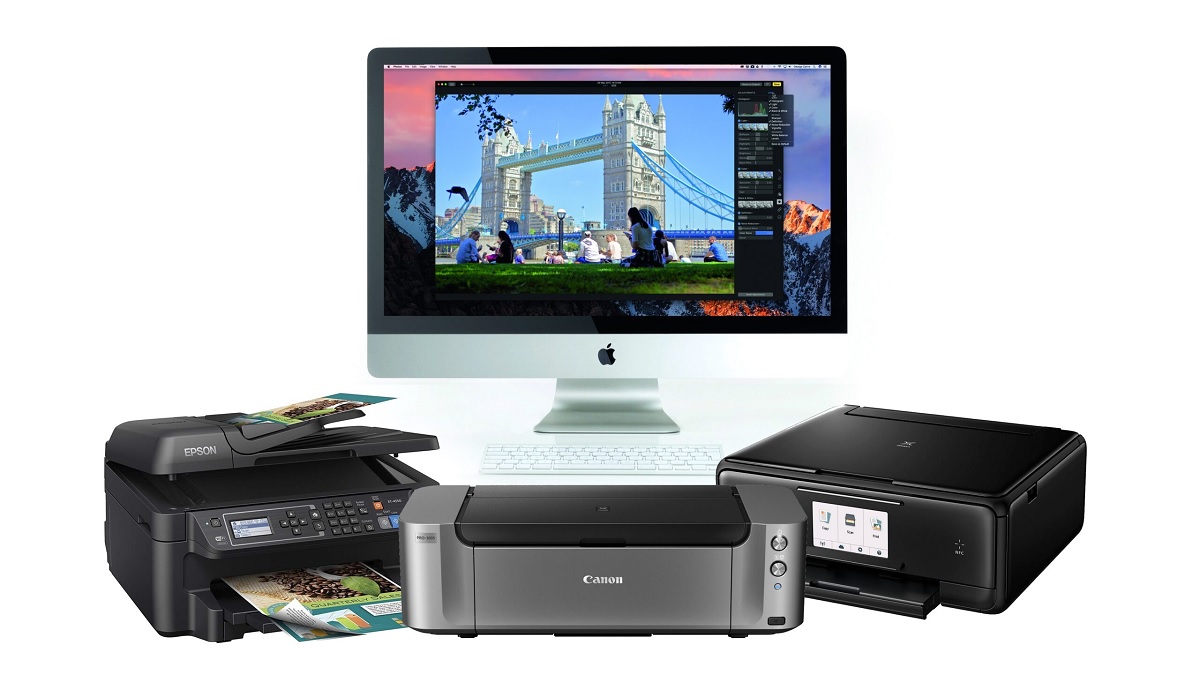
What Are the Best Printer Brands for Mac Compatibility?
You’ll want to go with brands like HP, Epson, Canon, and Brother, as they offer excellent Mac compatibility. These printers usually have reliable drivers and support macOS features, making your printing experience smooth and hassle-free.
Can I Print Directly From My Iphone to the Macbook Printer?
You can’t print directly from your iPhone to a printer connected only to your MacBook. Instead, use AirPrint-compatible printers or share the printer via your MacBook’s printer sharing settings for seamless iPhone printing.
This way, your iPhone can detect the shared printer and print documents without hassle. Make sure your MacBook and iPhone are on the same Wi-Fi network for the connection to work properly.
If your printer isn’t AirPrint-compatible, enabling printer sharing on your MacBook is the best alternative. It allows your iPhone to communicate with the printer through your MacBook.
How Do I Update My Printer Drivers on a Macbook?
You can update your printer drivers on a MacBook by opening System Preferences, selecting Printers & Scanners, choosing your printer, and clicking “Update Driver” if available.
Alternatively, visit the printer manufacturer’s website for the latest drivers.
Conclusion
Now that you know how to add and manage printers on your MacBook, you’re all set to print with ease. Remember, “a stitch in time saves nine”—address any connection hiccups early to avoid bigger headaches later. Whether you’re using USB, AirPrint, or manually adding your device, staying proactive guarantees smooth printing every time.
So go ahead, connect your printer confidently, and keep your workflow running without a hitch! By following these steps to add a printer to your MacBook, you ensure seamless printing experiences. Stay prepared and enjoy hassle-free printing on your MacBook every day.