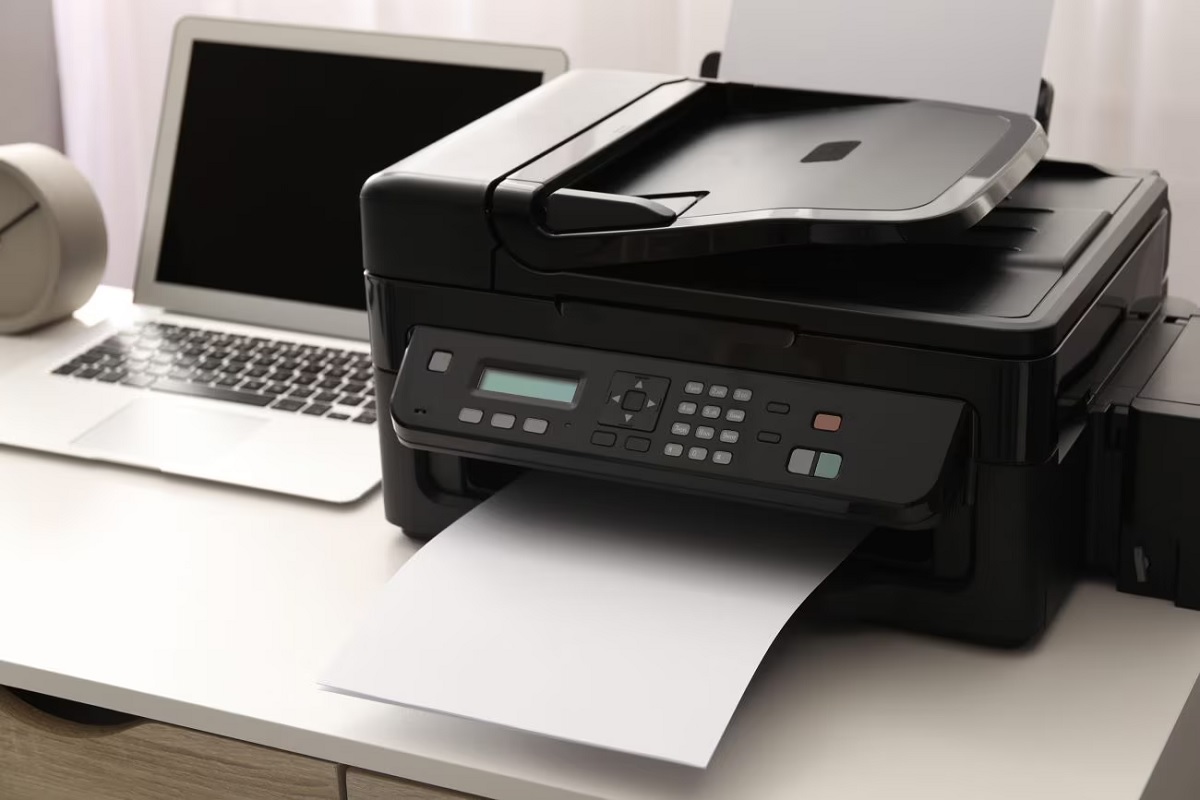
How to Connect Printer to Laptop
You can connect your printer to your laptop using USB, Wi-Fi, or Bluetooth, depending on your setup. These are the most common and convenient methods to establish a connection between your devices. Each method has its own steps and requirements.
For USB, just plug in the cable and install drivers if needed.
For Wi-Fi, connect the printer to your network, then add it via your laptop’s settings. Make sure to install the right drivers from the manufacturer’s site.
If you run into issues, simple troubleshooting steps can help. Keep exploring to find the best method and fix common problems easily. This way, you can enjoy seamless printing from your laptop.
Key Takeaways
- Choose the connection type: USB for wired, Wi-Fi for wireless, or Bluetooth if supported and convenient.
- Install the correct printer drivers and software from the manufacturer’s website or included CD.
- For USB, connect the cable between printer and laptop, then power on both devices.
- For Wi-Fi, configure printer’s wireless settings, then add the printer through laptop’s printer settings.
- Troubleshoot by ensuring devices share the same network, restarting, updating drivers, and checking firewall settings.
Choosing the Right Connection Type
Before you connect your printer, you’ll need to decide which connection type suits your setup best. You typically have three options: USB, Wi-Fi, or Bluetooth. USB offers a straightforward, wired connection that’s reliable and fast, but it limits your printer’s placement to being near your laptop.
Wi-Fi lets you place your printer anywhere within your network range, offering flexibility and the ability to share the printer with multiple devices. Bluetooth is handy for direct, short-range connections without cables, although it’s less common and might not support all printer features. Consider your workspace layout, convenience, and printer compatibility when choosing.
Picking the right connection type guarantees a smoother setup and better printing experience from the start.
Installing Printer Drivers and Software
Once you’ve chosen how to connect your printer, the next step is to install the necessary drivers and software. These drivers act as a bridge between your laptop and printer, ensuring they communicate properly. Usually, your printer comes with a CD containing the software, but if not, you can download the latest version from the manufacturer’s website.
Make sure to select the correct model and your laptop’s operating system to avoid compatibility issues. Follow the on-screen instructions carefully during installation. After installation, restart your laptop if prompted.
Installing the software often adds useful tools to manage print settings and troubleshoot problems. This step is essential because without the right drivers, your printer might not function correctly or at all.
Setting Up a Wired Printer Connection
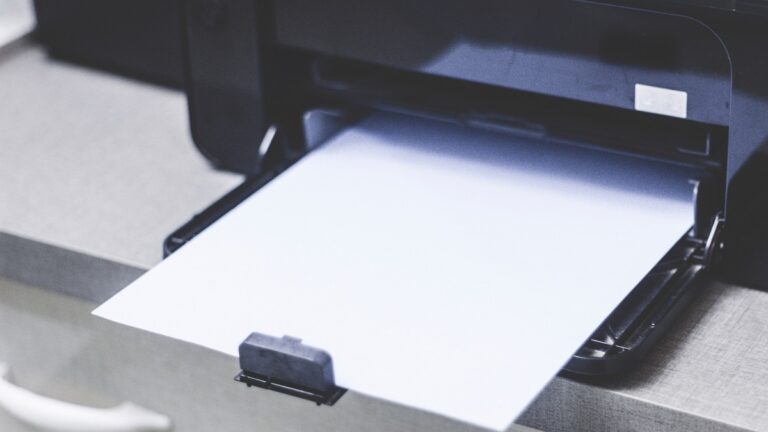
Although wireless connections are popular, setting up a wired printer connection is often more straightforward and reliable. To start, verify your printer and laptop are both powered off. Locate the USB cable that came with your printer, then connect one end to the printer and the other to a USB port on your laptop.
Once connected, power on both devices. Your laptop should detect the printer automatically and either install the necessary drivers or prompt you to install them manually. If prompted, follow the on-screen instructions to complete installation.
After the setup, print a test page to confirm everything’s working properly. Using a wired connection reduces interference and ensures a stable link, so it’s a solid choice when you want consistent printing without network issues.
Connecting Your Printer via Wi-Fi
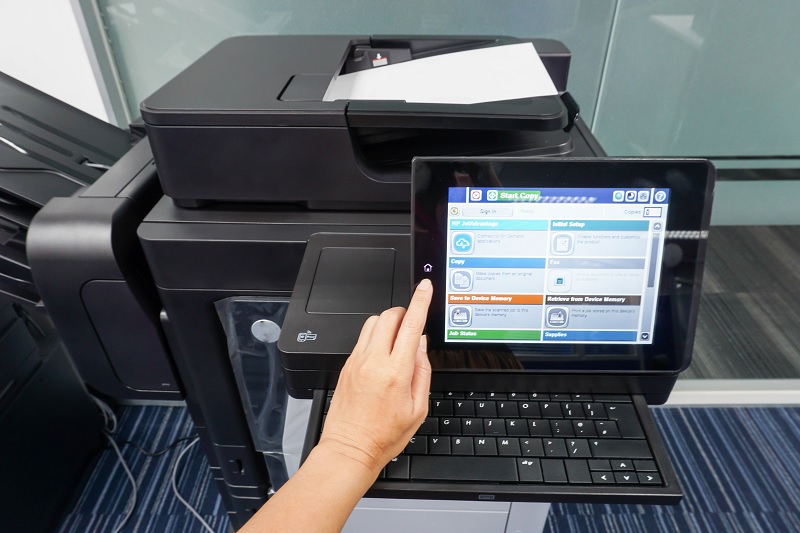
If you want to print without being tethered by cables, connecting your printer via Wi-Fi is a convenient option. First, verify your printer supports wireless connections and is powered on. Use the printer’s control panel to access its Wi-Fi settings, then select your home network and enter the password if prompted.
On your laptop, go to the “Settings” menu, then “Devices,” and select “Printers & scanners.” Click “Add a printer or scanner,” and your laptop will search for available devices. Select your printer from the list and follow the on-screen instructions to complete the setup.
Once connected, you can print from anywhere within your Wi-Fi range without plugging in cables, making your printing experience more flexible and clutter-free.
Troubleshooting Common Printer Connection Issues
When your printer won’t connect as expected, it can be frustrating, but there are straightforward steps you can take to identify and fix common issues. First, check that your printer and laptop are on the same Wi-Fi network if you’re using wireless. Restart both devices to clear temporary glitches.
Ensure the printer is powered on and properly connected. Verify the printer drivers on your laptop are up to date; outdated drivers often cause connection problems. If you’re using a USB cable, try a different port or cable to rule out hardware faults.
Also, confirm that your firewall or antivirus isn’t blocking the printer connection. Running the built-in troubleshooter on your laptop can help pinpoint issues quickly and guide you through fixes.
Frequently Asked Questions
Can I Print From My Laptop Without Installing Drivers?
You can print without installing drivers if your laptop recognizes the printer as plug-and-play or supports generic drivers. Otherwise, specific drivers guarantee full functionality, so installing them is usually recommended for best results and features.
How Do I Share My Printer With Multiple Laptops?
To share your printer with multiple laptops, you’ll want to enable printer sharing on your main device. Once set up, other laptops can connect over the network—easy as pie—letting everyone print without hassle.
Start by accessing the printer settings on your primary computer and turning on sharing options. Make sure all laptops are connected to the same Wi-Fi network.
Next, on each laptop, add the shared printer through the devices and printers settings. This setup lets all users print documents without needing to plug in cables or switch devices.
What Security Risks Come With Wireless Printer Connections?
You risk unauthorized access, data interception, and malware attacks with wireless printers. Guarantee your network’s secure, use strong passwords, update firmware regularly, and disable unnecessary features to protect your data and prevent hackers from exploiting vulnerabilities.
Can I Connect a Printer to a Laptop via Bluetooth?
Yes, you can connect a printer to your laptop via Bluetooth if both devices support it. Just pair them through your laptop’s Bluetooth settings, then install any necessary drivers to start printing wirelessly.
Make sure your printer is set to be discoverable via Bluetooth. Once paired, you may need to select the printer as your default device in the laptop’s print settings. This will ensure smooth wireless printing.
How Do I Update My Printer’s Firmware?
You can update your printer’s firmware by visiting the manufacturer’s website, downloading the latest firmware file, and using the printer’s software or control panel to install it.
Make sure your printer is connected and powered on during this process.
Conclusion
Now that you’ve got your printer connected, you’re just a few clicks away from endless printing possibilities. Whether you chose a wired or wireless setup, installing the right drivers is like giving your printer its life force.
If you hit a snag, don’t worry—troubleshooting is easier than finding a needle in a haystack. With these steps, you’ll be printing documents faster than you can say “done!”
Connecting a printer to a laptop is straightforward when you follow the right process. By ensuring proper installation and setup, your laptop and printer will work seamlessly together for all your printing needs.