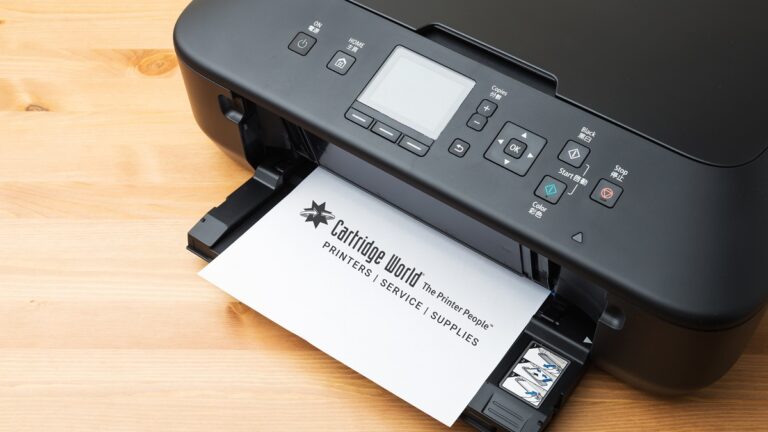
How to Put Ink Cartridge in Hp Printer
To put an ink cartridge in your HP printer, start by powering on the device and opening the cartridge access cover. This essential step allows you to access the cartridge area safely.
Wait for the carriage to stop moving before proceeding.
Next, remove the old cartridge by releasing its tab carefully. Unpack the new cartridge, making sure to remove any protective tape to avoid printing issues.
Insert the new cartridge at a slight angle until you hear a click, indicating it is securely in place.
Finally, close the cartridge access cover to complete the installation. Your printer may prompt you to align the cartridge for optimal print quality.
If you need tips on troubleshooting or alignment, keep exploring for helpful info.
Key Takeaways
- Turn on the printer and open the cartridge access door to expose the cartridge carriage.
- Remove the old cartridge by gently pressing or lifting the release tab and pulling it out carefully.
- Unpack the new cartridge, remove protective tape, and inspect for damage before installing.
- Insert the new cartridge into the correct slot at a slight angle and press until it clicks securely.
- Close the access door and follow on-screen prompts or manual instructions to align the cartridge for best print quality.
Prepare Your Printer for Cartridge Replacement
Before you replace the ink cartridge, make sure your printer is turned on and connected to a power source. This guarantees the printer can properly initialize the cartridge replacement process. Next, open the printer’s front or top cover, depending on your model, to access the cartridge area.
Wait for the cartridge carriage to stop moving and become idle to avoid damage. It’s a good idea to have a clean, clutter-free workspace ready to place the cartridge and any tools you might need. Avoid touching the electrical contacts or nozzles on the cartridge to prevent damage or poor print quality.
Finally, gather your new ink cartridge and remove any packaging or protective tape before installation, but don’t remove the cartridge yet.
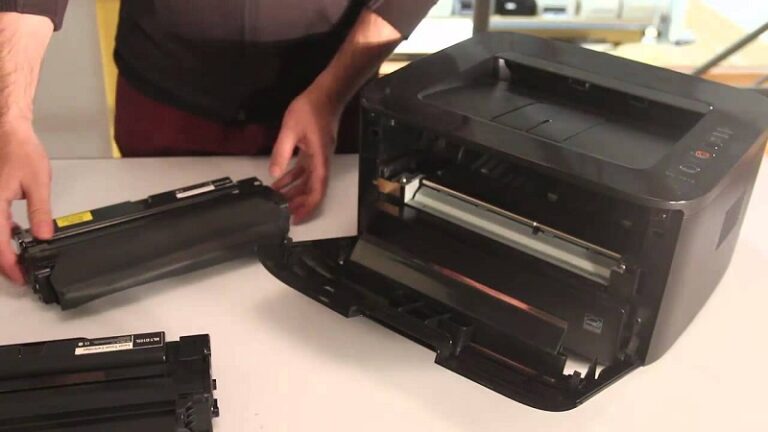
Remove the Old Ink Cartridge Safely

Once the cartridge carriage has stopped moving, you can carefully remove the old ink cartridge by gently pressing down or lifting the release tab, depending on your printer model. Hold the cartridge firmly but gently, avoiding any force that might damage the cartridge or printer. Be sure to handle the cartridge by its sides to prevent touching the copper-colored contacts or nozzles, which can cause clogs or poor electrical connections.
If the cartridge feels stuck, don’t yank it out; instead, check for any locking mechanisms or gently wiggle it free. Place the used cartridge on a paper towel or a disposable surface to avoid ink stains. Proper removal guarantees your printer remains in good working condition for the new cartridge installation.
Unpack and Inspect the New Ink Cartridge
Before installing your new ink cartridge, make sure to verify the packaging for any damage. You’ll need to remove all protective covers carefully to avoid leaks or clogs.
Finally, double-check that the cartridge matches your HP printer model to ensure proper functionality.
Check Packaging Integrity
Although it might seem straightforward, carefully checking the packaging integrity of your new ink cartridge is crucial to guarantee it hasn’t been damaged during shipping. Start by inspecting the box for any dents, tears, or signs of water damage. If the packaging looks compromised, the cartridge inside might be affected too.
Next, ensure that the seals and tamper-evident stickers are intact—broken seals can mean the cartridge was opened or mishandled. Also, check the expiration date if it’s printed on the box, as expired cartridges can cause printing issues. If everything appears in good condition, you can confidently proceed to install the cartridge.
Taking these simple steps helps avoid potential leaks, poor print quality, or printer errors down the line.
Remove Protective Covers
After confirming the cartridge’s packaging is intact, you’ll need to carefully remove any protective covers and tapes. These usually include a plastic film or a small orange clip designed to safeguard the ink nozzles and contacts during shipping.
Make sure to peel off all protective materials without touching the copper-colored contacts or ink nozzles, as oils from your fingers can cause printing issues. Avoid using sharp objects that might damage the cartridge.
Once the covers are removed, inspect the cartridge for any visible damage or leaks before installation. Handling the cartridge gently and following these steps ensures your printer receives a clean, ready-to-use cartridge, helping maintain print quality and preventing errors during setup.
Verify Cartridge Compatibility
When you unpack your new ink cartridge, make sure it’s compatible with your HP printer model to avoid installation problems or poor print quality. Check the cartridge’s packaging and label for your printer’s model number or series. This guarantees the cartridge fits properly and works with your printer’s technology.
After confirming compatibility, carefully inspect the cartridge for any damage or leaks. Avoid touching the copper contacts or ink nozzles to prevent malfunction. If the cartridge has protective tape or seals, remove them according to the instructions without damaging the cartridge.
Using the correct cartridge is vital for optimal performance, so if you’re unsure, consult your printer’s manual or HP’s website before proceeding. This step helps guarantee smooth installation and reliable printing results.
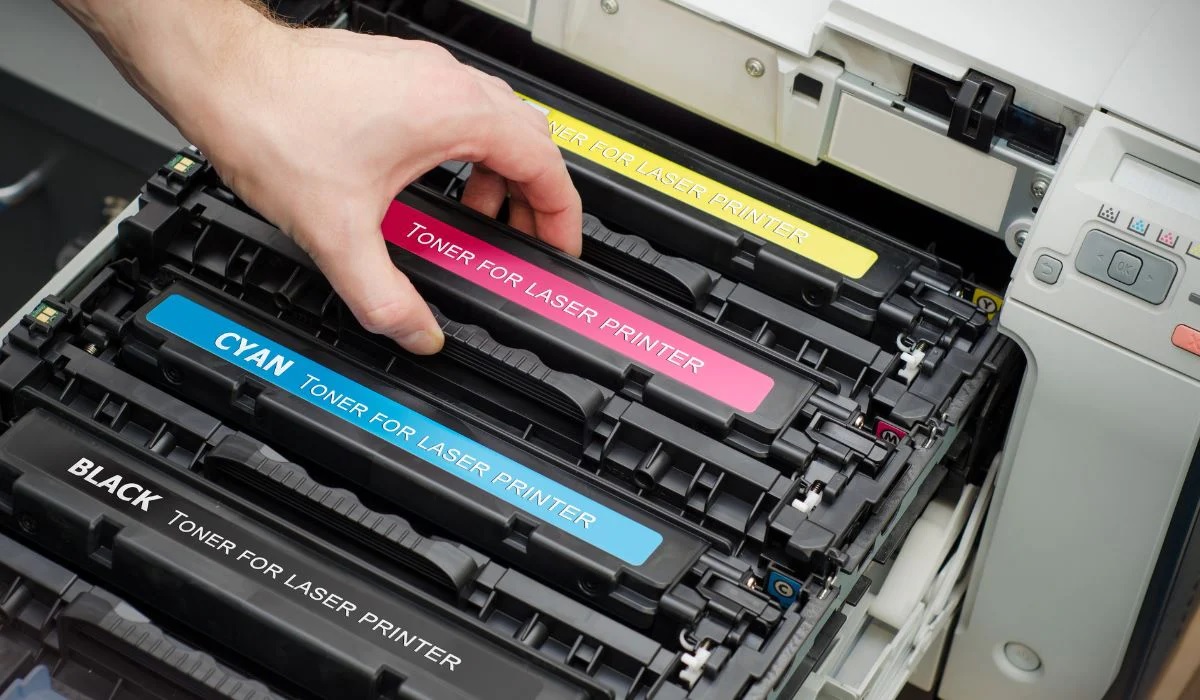
Install the New Ink Cartridge Properly
Since installing the new ink cartridge correctly guarantees your printer works smoothly, you’ll want to handle it with care and follow the precise steps. First, remove the cartridge from its packaging, avoiding touching the copper-colored contacts or ink nozzles to prevent damage or clogs.
Next, gently remove any protective tape from the cartridge. Open your printer’s ink cartridge access door and wait for the carriage to stop moving. Insert the new cartridge into its corresponding slot at a slight angle, then press it firmly until it clicks into place.
Close the access door securely. Avoid forcing the cartridge, as improper installation can cause printing errors or damage. Once installed properly, your printer will be ready for the next step.
Align the Ink Cartridge for Optimal Performance
Proper installation is just the start; you’ll also want to align your ink cartridge to make certain the best print quality. After installing the cartridge, your HP printer usually prompts you to begin the alignment process automatically. If it doesn’t, you can start it manually via the printer’s control panel or software on your computer.
Follow the on-screen instructions carefully, which typically involve printing an alignment page and scanning it back into the printer. This process adjusts the cartridge’s positioning, ensuring colors and text print sharply without streaks or smudges. Skipping alignment can lead to blurry prints or color inconsistencies, so don’t overlook this step.
Taking a few minutes now will save you from frustration and wasted ink later, giving your documents and photos a professional finish every time.
Troubleshooting Common Cartridge Installation Issues
Although installing an ink cartridge is usually straightforward, you might encounter issues that prevent your printer from recognizing it or printing correctly. First, make sure the cartridge is properly seated; sometimes it needs a firm push until you hear a click. Check for any protective tape or plastic covers still on the cartridge—removing these is essential.
If your printer doesn’t recognize the cartridge, try turning it off and on again or removing and reinstalling the cartridge. Clean the cartridge contacts gently with a lint-free cloth to ensure good electrical connection. Finally, verify that the cartridge you’re using is compatible with your specific HP printer model.
If problems persist, consult your printer’s manual or HP support for additional troubleshooting steps.
Frequently Asked Questions
How Long Do HP Ink Cartridges Typically Last?
HP ink cartridges typically last about 3 to 6 months, depending on your printing frequency and the type of documents you print.
If you print a lot or use color often, you might need to replace them sooner.
Can I Use Third-Party Ink Cartridges in My HP Printer?
You can use third-party ink cartridges in your HP printer, but be aware about 30% of users report print quality issues or errors.
While cheaper, these cartridges might void your warranty or cause damage over time.
How Do I Recycle Used HP Ink Cartridges?
You can recycle used HP ink cartridges by returning them to HP’s recycling program online, dropping them off at authorized retail stores, or using prepaid shipping labels HP provides.
It’s easy and helps protect the environment.
What Should I Do if My Printer Doesn’T Recognize the New Cartridge?
Isn’t it just perfect when your printer plays hard to get? If it doesn’t recognize the cartridge, try cleaning the contacts, reseat it firmly, update firmware, or restart the printer.
That usually fixes the drama.
Are There Any Tips to Extend the Life of My Ink Cartridges?
You can extend your ink cartridge’s life by printing regularly to prevent clogs, storing cartridges properly, using draft mode for everyday prints, and turning off your printer when not in use to avoid unnecessary ink consumption.
Printing regularly helps keep the ink flowing and reduces the chance of blockages. Proper storage, such as keeping cartridges in a cool, dry place, preserves ink quality.
Using draft mode saves ink by printing with less density, which is perfect for everyday documents. Turning off the printer when not in use prevents ink from being wasted during idle times.
Conclusion
Well, now that you’ve mastered the ancient art of putting ink cartridges in your HP printer, you’re basically a tech wizard. Who knew such a tiny cartridge could cause so much drama?
But hey, once you’ve aligned it perfectly and avoided those common issues, your printer will thank you with flawless prints—until it decides it’s out of ink again.
So, congrats! You’ve officially conquered one of the most “simple” tasks in the tech world. Remember, knowing how to put ink cartridge in HP printer ensures smooth printing and saves you time and frustration.