How to Put Ink on Canon Printer
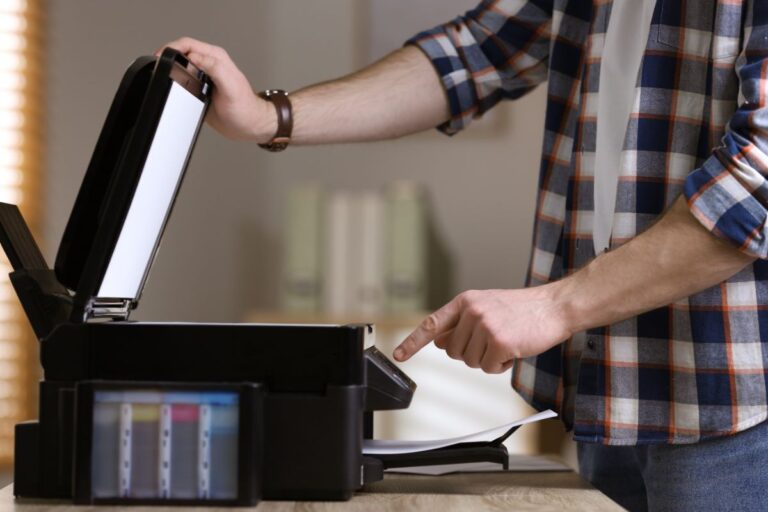
To put ink on your Canon printer, start by turning the printer on and opening the cover to access the cartridges.
Carefully remove the old cartridge and unpack your new one, making sure not to touch the contacts. Peel off any protective tape from the new cartridge.
Next, firmly insert the new cartridge into the correct slot until it clicks into place.
Close the cover and allow the printer to run its initialization process. Proper handling ensures smooth printing.
For the best results, you might want to explore some helpful tips and troubleshooting steps to maintain your Canon printer’s performance.
Key Takeaways
- Turn on the Canon printer and open the cover to access the ink cartridge slots.
- Remove old cartridges by gently lifting them out after the carriage stops moving.
- Unpack new cartridges, remove protective tape, and avoid touching the nozzles or contacts.
- Insert each cartridge firmly into the correct color-coded slot until it clicks into place.
- Close the cover, then follow on-screen prompts to complete ink initialization and verify installation.
Identifying Your Canon Printer Model
Before you can put ink on your Canon printer, you’ll need to know its exact model. This information is vital because different models require specific ink cartridges. To find the model number, check the front or top of your printer; it’s usually printed clearly.
If it’s not visible, look on the back or bottom for a label or sticker. You can also find the model by accessing the printer’s menu screen, browsing to “Settings” or “Device Information.” Knowing your model helps you purchase the correct ink and guarantees compatibility.
Avoid guessing, as using the wrong cartridge might damage your printer or cause poor print quality. Identifying your printer model sets the foundation for a successful ink replacement.
Preparing the Ink Cartridge for Installation
Once you’ve identified the right ink cartridge for your Canon printer, you’ll want to handle it carefully to avoid spills or damage. Start by removing the cartridge from its packaging, making sure not to touch the copper-colored contacts or nozzles, as oils from your fingers can affect print quality.
Next, gently remove any protective tape or seals covering the cartridge’s ink outlet—this is vital for proper ink flow. Avoid using sharp objects that might damage the cartridge.
Before installation, give the cartridge a light shake to evenly distribute the ink inside. Keep the cartridge upright and ready to insert promptly to prevent the ink from drying out or clogging. Following these steps ensures a smooth installation and peak printer performance.
Removing the Old Ink Cartridge
Before you start, make sure to power off your Canon printer for safety.
Next, open the printer cover to find the cartridge slot inside. This is where you’ll remove the old ink cartridge to make room for the new one.
Power Off Printer
Although it might seem simple, powering off your Canon printer is an essential step before removing the old ink cartridge to avoid any damage or errors. Make sure you press the power button to turn off the printer completely. Don’t just unplug it while it’s still on, as this can cause the cartridge holder to get stuck or the printer to malfunction.
Wait until the printer’s display or indicator lights go off, confirming it’s fully powered down. This also ensures the print head stops moving and locks in place safely. Once the printer is off, you can proceed to carefully remove the old ink cartridge without risking hardware issues or ink spills.
Taking this precaution helps protect your printer’s longevity and performance.
Locate Cartridge Slot
After powering off your Canon printer, you’ll need to find the cartridge slot where the old ink cartridge is housed. This slot is usually behind a front or top cover that you can easily open by hand.
Look for a panel or door that clicks open, revealing the cartridge holder inside. The cartridges often rest in a horizontal or vertical carriage, sometimes marked with color labels.
It’s best to gently move the carriage if it doesn’t automatically slide into place once the cover is open.
Here’s what to expect when locating the cartridge slot:
- A front panel or top lid that opens smoothly
- A carriage holding one or more ink cartridges
- Color-coded slots matching cartridge colors
- A space just large enough for cartridge removal
- A lever or button to release cartridges in some models
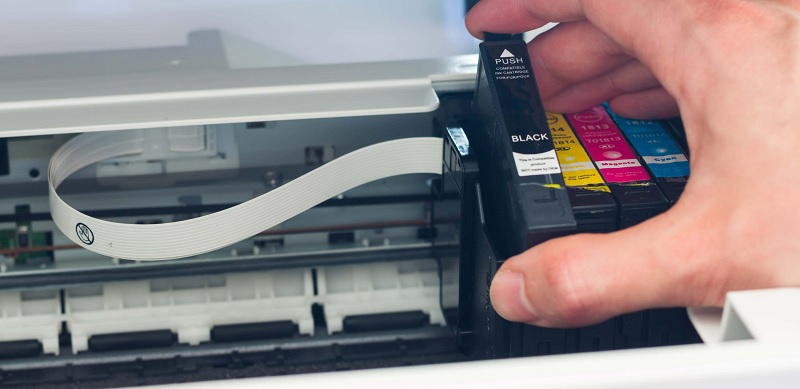
Installing the New Ink Cartridge
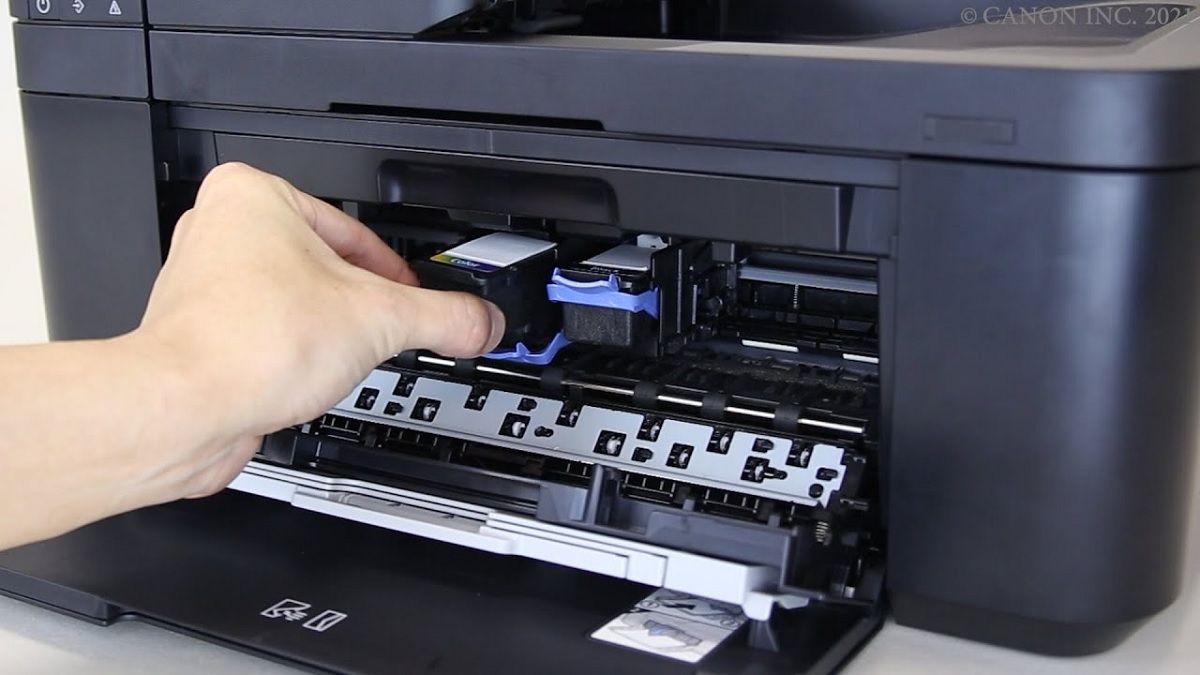
Once you’ve removed the old cartridge, you’ll need to carefully insert the new one to guarantee proper alignment and functionality.
Hold the cartridge by its sides, avoiding contact with the nozzles or copper contacts. Gently slide it into the slot until it clicks securely in place. This ensures the printer recognizes the cartridge and prevents leaks or malfunctions.
Here’s a quick emotional check as you install your cartridge:
| Excitement | Caution | Satisfaction |
|---|---|---|
| New possibilities | Handle carefully | Ready to print |
| Fresh colors | Avoid touching contacts | Smooth fit |
| Quick setup | Securely click | Job well done |
This mix of feelings means you’re almost done and ready to see your prints come alive!
Running the Printer’s Ink Initialization Process
Once you’ve installed the new cartridge, you’ll need to start the printer’s ink initialization process to get everything working properly. Keep an eye on the progress to guarantee it completes without issues.
If you run into any problems, troubleshooting steps can help you fix the setup quickly.
Starting Ink Initialization
Before you start printing, you’ll need to run the printer’s ink initialization process to verify the ink cartridges are properly recognized and ready to use. This step guarantees your Canon printer can accurately detect the new ink levels and prepare itself for top-quality printing performance.
To start the ink initialization, first power on your printer. Open the printer’s front cover to access the cartridge area. Insert the ink cartridges firmly until they click into place.
Close the cover gently, then press the printer’s “OK” or “Start” button to trigger the initialization. During this process, the printer will calibrate the cartridges and prepare the ink system.
Here’s what you’ll notice during initialization:
- Printer lights flashing
- Carriage moving side to side
- No printing yet
- Ink system priming sounds
- Display messages confirming status
Monitoring Initialization Progress
After you initiate the ink initialization, it’s important to keep an eye on the printer’s display and indicators to track the process. The printer will usually show a progress bar or messages indicating the status of the ink setup. Don’t turn off the printer or open any covers during this time, as it could interrupt the initialization.
The process typically takes a few minutes, during which the printer calibrates the ink cartridges and prepares them for printing. If the display shows any instructions or warnings, follow them carefully to ensure everything proceeds smoothly. Once the initialization completes, the printer will usually display a confirmation message or return to the ready state, letting you know it’s safe to start printing.
Troubleshooting Ink Setup
If you run into issues while initializing your Canon printer’s ink, don’t worry—you can troubleshoot common problems to get things back on track. First, make sure the ink cartridges are installed correctly and firmly clicked into place. Check if the protective tape on the cartridges has been fully removed.
Confirm that you’re using genuine Canon ink to avoid compatibility issues. If the printer displays an error, power it off, unplug it for a minute, then restart. Sometimes, running the printer’s cleaning or alignment utility helps resolve setup glitches.
Here are quick steps to try:
- Verify cartridge installation
- Remove protective seals
- Use genuine Canon ink
- Restart the printer
- Run cleaning/alignment utilities
Following these should help your printer complete the ink initialization smoothly.
Tips for Maintaining Ink Cartridge Performance
While it’s easy to overlook, regularly maintaining your ink cartridges can considerably extend their lifespan and ensure consistent print quality. To start, always keep your printer in a dust-free environment to prevent debris from clogging the cartridges. Use your printer frequently; long periods of inactivity can cause ink to dry and clog the nozzles.
When not printing, store cartridges in a sealed plastic bag with a damp cloth to maintain moisture. Avoid touching the cartridge’s copper contacts or nozzles to prevent damage or poor connections. Run the printer’s built-in cleaning cycle if you notice streaks or faded prints.
Finally, always use genuine Canon ink cartridges to maintain peak performance and avoid compatibility issues. Following these tips helps you get the most out of your ink cartridges.
Frequently Asked Questions
Can I Use Third-Party Ink Cartridges With My Canon Printer?
Yes, you can use third-party ink cartridges with your Canon printer, but be aware they might not always offer the same quality or reliability as official Canon ink. Sometimes, they can cause compatibility issues or void your warranty.
It’s important to weigh the cost savings against potential risks. Some third-party cartridges may work perfectly, while others might lead to printing problems. Always check reviews and compatibility before purchasing.
How Do I Recycle Used Canon Ink Cartridges Properly?
You can’t just toss your used Canon ink cartridges in the trash. Instead, you’ll want to recycle them through Canon’s official program or local recycling centers to keep the environment safe and support sustainability efforts.
Check Canon’s website for details on their recycling program and how to send your cartridges back. Many local recycling centers also accept ink cartridges, so look for one nearby. Proper recycling helps reduce waste and conserves resources.
What Should I Do if the Printer Doesn’T Recognize the New Cartridge?
If your printer doesn’t recognize the new cartridge, try removing and reinstalling it carefully. Make sure the protective tape’s off, the cartridge’s compatible, and your printer’s firmware’s updated.
Restart the printer to reset recognition.
How Long Does a Canon Ink Cartridge Typically Last?
Like a favorite novel, a Canon ink cartridge usually lasts for 200 to 400 pages, depending on your printing habits. You’ll want to keep an eye on ink levels to avoid sudden blank pages.
Can I Mix Different Ink Cartridge Brands in One Printer?
You can mix different ink cartridge brands in your Canon printer, but it’s not advisable. Using original cartridges guarantees better print quality and reliability, while mixed brands may cause clogs or inconsistent colors over time.
Mixed brands might save money initially, but they can lead to more maintenance issues. Printer warranties may also be affected if non-original cartridges cause damage. For the best performance, stick to the manufacturer’s recommended cartridges.
Conclusion
Now that you’ve breathed fresh life into your Canon printer with new ink, it’s like giving your device a fresh palette to paint your ideas. Think of each cartridge as a vibrant brushstroke in the masterpiece of your prints.
Keep your printer’s heart well-tended, and it’ll reward you with colors that dance off the page. With a little care, you’re not just printing—you’re crafting stories one drop of ink at a time. Remember, proper ink installation is key to optimal printing performance and vibrant results.