How Do You Install Ink Cartridges in a Canon Printer
To install ink cartridges in a Canon printer, first make sure the printer is powered on. Opening the printer cover allows the cartridge holder to move into position for easy access. This preparation is essential for a smooth installation process.
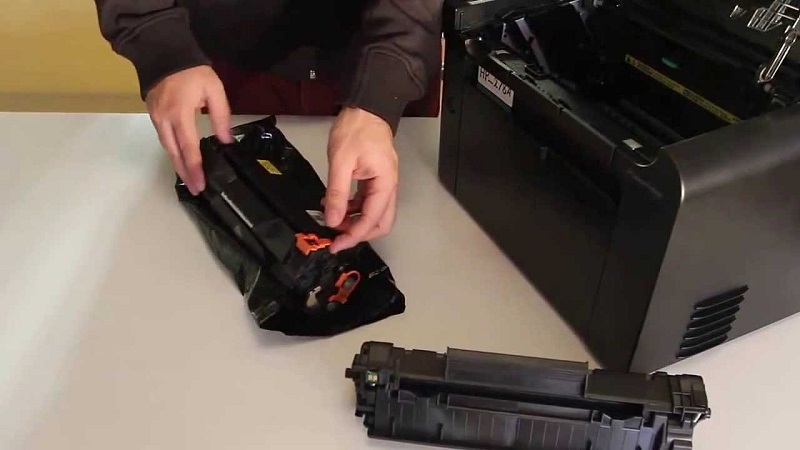
Gently press down on the old cartridge to release it, then pull it out carefully by the plastic casing. Be sure to handle the cartridge without touching the electrical contacts to avoid damage.
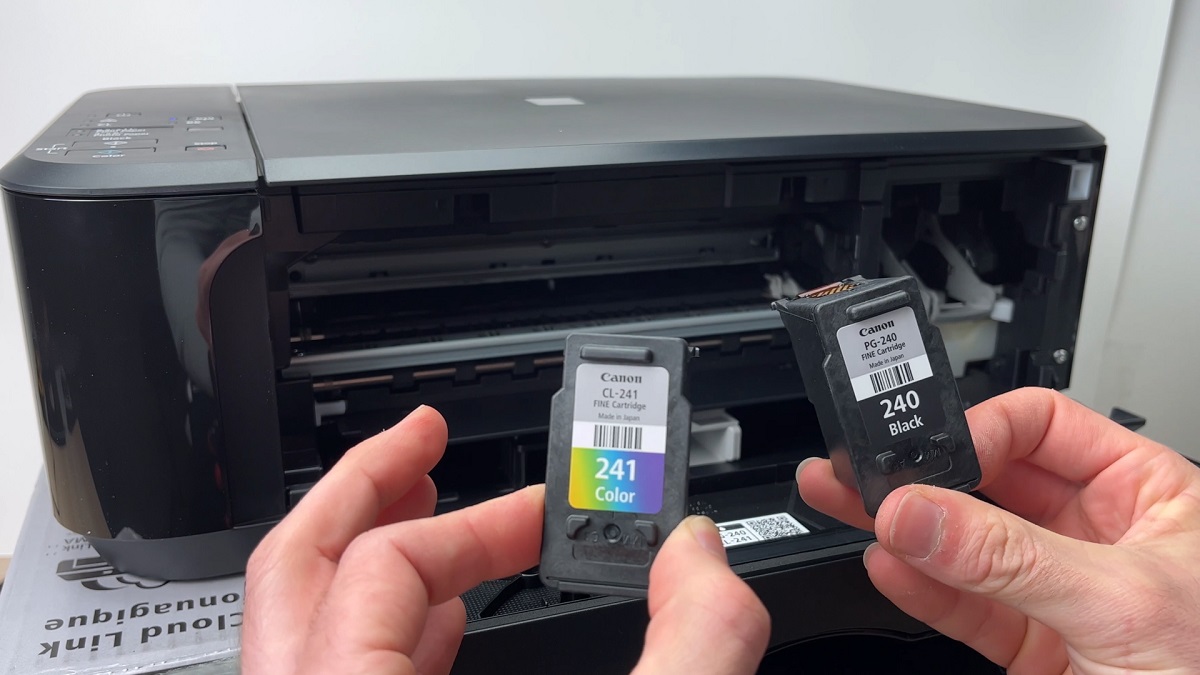
Unpack the new ink cartridge without touching the copper contacts. Remove the protective tape carefully, then align the cartridge with the holder. Snap it firmly into place to ensure proper connection.
Close the printer cover once the cartridge is securely installed.
Run a test print to verify that the printer recognizes the new cartridge and it is functioning correctly. Following these steps will help you install your Canon ink cartridges properly every time.
Key Takeaways
- Turn on the Canon printer and open the cartridge access door to move the cartridge holder into replacement position.
- Press down the tab or lever on the old cartridge and pull it out gently, keeping it level.
- Remove the new cartridge from its packaging, peel off protective tape without touching contacts or nozzles.
- Align the new cartridge with the holder and press firmly until it clicks securely into place.
- Close the cartridge door and run a test print from the printer’s maintenance menu to confirm proper installation.
Preparing Your Canon Printer for Cartridge Replacement
Before you begin replacing the ink cartridges, make sure your Canon printer is turned on and connected to a power source. This guarantees the printer’s internal mechanisms are active and ready for the cartridge change. Next, open the printer cover gently; the cartridge holder should automatically move to the replacement position for easy access.
Avoid forcing anything, as this could damage delicate parts. It’s also a good idea to prepare a clean, flat surface nearby to place the new cartridges and any tools you might need. Keep a soft cloth or tissue handy to wipe off any accidental ink spills.
Finally, make sure your hands are clean and dry before handling cartridges to prevent smudges or damage. Following these steps helps ensure a smooth cartridge installation process.
Removing the Old Ink Cartridge Safely
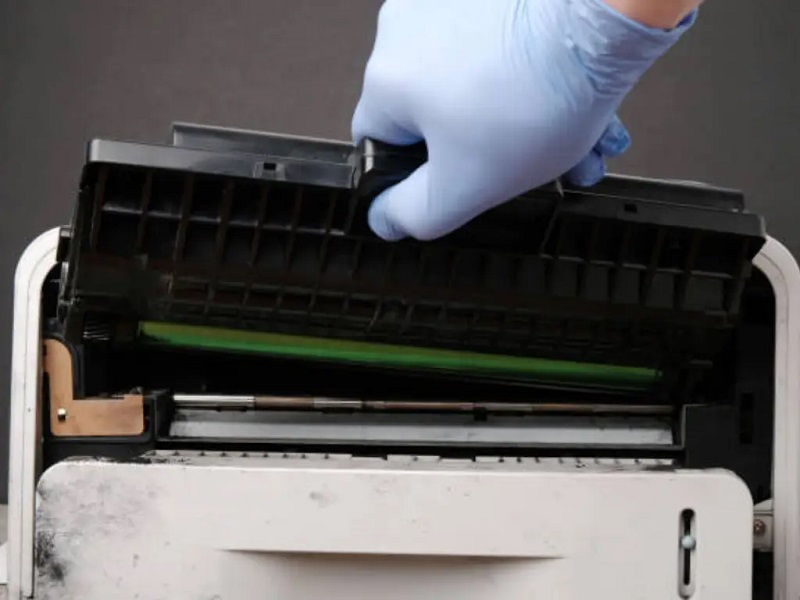
Once your Canon printer is ready and the cartridge holder is in position, you can carefully remove the old ink cartridge. Follow these steps to do it safely:
- Gently press down on the cartridge tab or lever to release it from the holder. Avoid forcing it out to prevent damage.
- Slowly pull the cartridge straight out, keeping it level to prevent ink spills.
- Place the used cartridge on a piece of paper or cloth to catch any residual ink.
Handle the cartridge by its plastic casing, not the copper contacts or nozzles, to avoid damage or poor connectivity with the printer. Taking these precautions ensures your printer remains in good shape and ready for the new cartridge installation.
Unpacking and Handling New Ink Cartridges
Although unpacking new ink cartridges might seem straightforward, handling them properly is key to ensuring ideal printer performance. When you open the package, avoid touching the copper-colored contacts or nozzles to prevent damage or ink clogs. Gently remove the cartridge from its protective casing, holding it by the sides.
Don’t shake or tilt the cartridge, as this can cause ink leaks. If the cartridge has any protective tape or covers, make sure to peel them off carefully without touching the sensitive areas. Keep your hands clean and dry throughout the process to avoid contaminating the cartridge.
Installing the New Ink Cartridge Correctly
After carefully unpacking and handling your new ink cartridge, you’re ready to install it into your Canon printer. First, make sure the printer is powered on and the cartridge access door is open. Next, gently remove the old cartridge by pressing down and pulling it out.
Now, to install the new cartridge correctly, follow these steps:
- Remove the protective tape without touching the copper contacts or ink nozzles.
- Align the cartridge with the holder, ensuring it fits snugly into place.
- Press down firmly until you hear a click, signaling it’s securely installed.
Close the access door gently, and your cartridge should now be properly seated, ready for use. Avoid forcing the cartridge to prevent damage.
Running a Test Print to Ensure Proper Installation
Before you start printing important documents, it’s a good idea to run a test print to make sure your new ink cartridge is installed correctly and functioning properly. Most Canon printers have a built-in test or alignment print option accessible through the printer’s control panel or software on your computer.
Simply navigate to the maintenance or tools section, select the test print option, and follow the prompts. The test page will show color patterns and text to help you confirm that the ink is flowing evenly and no lines or smudges appear.
If the printout looks clear and consistent, your installation is successful. If not, you may need to reinstall the cartridge or clean the print head using the printer’s maintenance settings before proceeding with regular printing.
Frequently Asked Questions
How Do I Know When My Canon Printer Ink Cartridge Is Empty?
You’ll know your Canon printer ink cartridge is empty when print quality fades or the printer alerts you with a low ink warning on its display or computer.
You can also check ink levels via the printer software.
Can I Use Third-Party Ink Cartridges in My Canon Printer?
About 30% of Canon users opt for third-party ink cartridges. You can use them, but be aware they might void your warranty or cause print quality issues.
To avoid problems, choose reputable brands.
What Should I Do if My Canon Printer Doesn’T Recognize the New Cartridge?
If your Canon printer doesn’t recognize the new cartridge, try reinstalling it, clean the cartridge contacts gently, restart the printer, and verify the cartridge’s compatible.
If issues persist, update your printer’s firmware or contact support for help.
How Long Do Canon Ink Cartridges Typically Last?
Canon ink cartridges typically last for about 200 to 300 pages, but it really depends on your printing habits.
If you print frequently or use color a lot, you might need to replace them sooner than that.
Are Canon Ink Cartridges Recyclable or Reusable?
Yes, Canon ink cartridges are recyclable through Canon’s recycling program. While you can’t reuse them directly, you can refill them with ink using third-party kits, but it’s often easier and cleaner to recycle and replace with new cartridges.
Recycling helps reduce waste and supports environmental sustainability. Using Canon’s official program ensures cartridges are processed properly. Refilling cartridges may save money but can sometimes cause printing issues or leaks.
Conclusion
Now that you’ve installed your new ink cartridges, your Canon printer is ready to bring your ideas to life like a painter’s brush on a blank canvas. Taking these simple steps guarantees smooth printing and vibrant results every time.
Remember, handling your cartridges with care helps your printer perform at its best. So, go ahead—print confidently and watch your creations flow effortlessly onto the page, just as they should. Proper installation of ink cartridges in a Canon printer ensures reliable performance and high-quality prints every time you press print.