How to Add Printer to Laptop
To add a printer to your laptop, start by connecting it via USB or setting it up wirelessly. Make sure both devices are on the same Wi-Fi network for a smooth connection. Power on the printer, and your laptop should automatically detect it or prompt you to install drivers from the manufacturer’s site.
Check that the printer appears in your device list and set it as the default printer for easy use. This will help you avoid common pitfalls and ensure optimal printing performance. Follow the helpful tips ahead to enhance your printer setup experience.
Key Takeaways
- Connect the printer to your laptop via USB or ensure both are on the same Wi-Fi network for wireless printers.
- Turn on the printer and wait for your laptop to automatically detect and install drivers.
- If drivers don’t install automatically, download the latest drivers from the printer manufacturer’s website.
- Verify the printer appears in your laptop’s “Devices and Printers” settings before printing.
- Set the printer as the default device and adjust settings like paper size and print quality as needed.
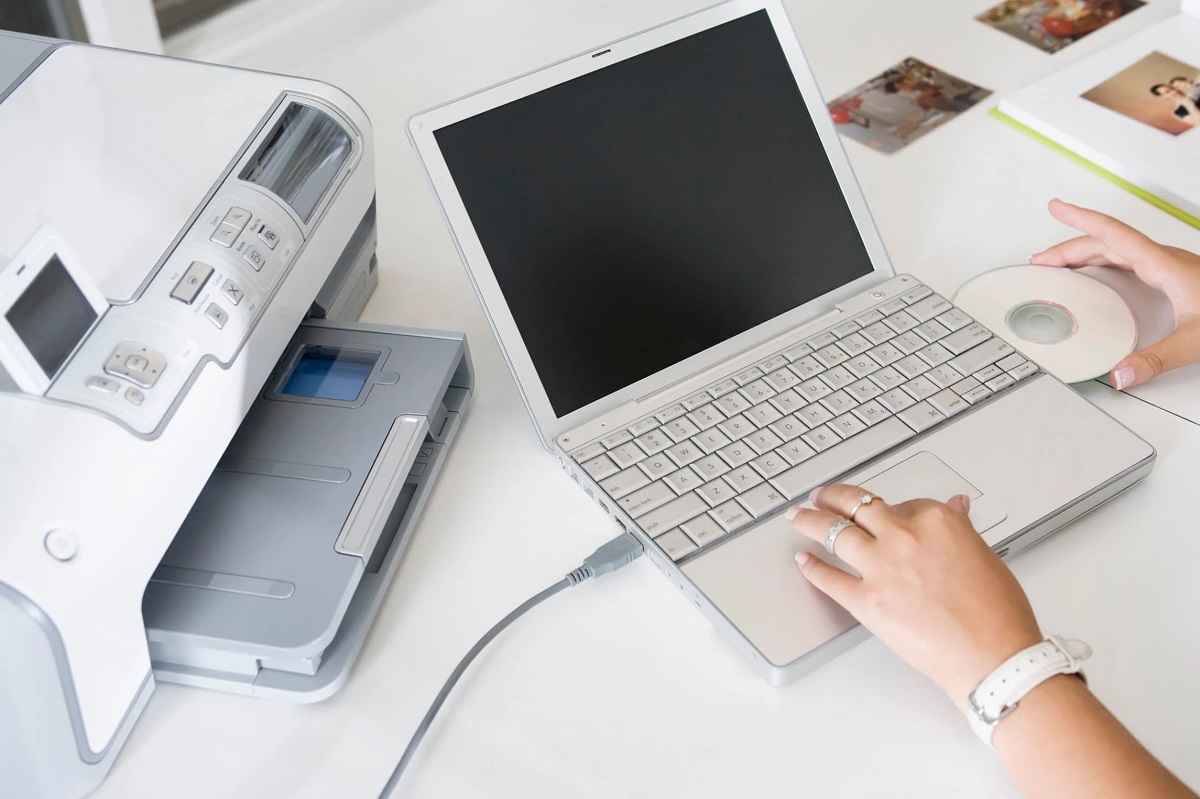
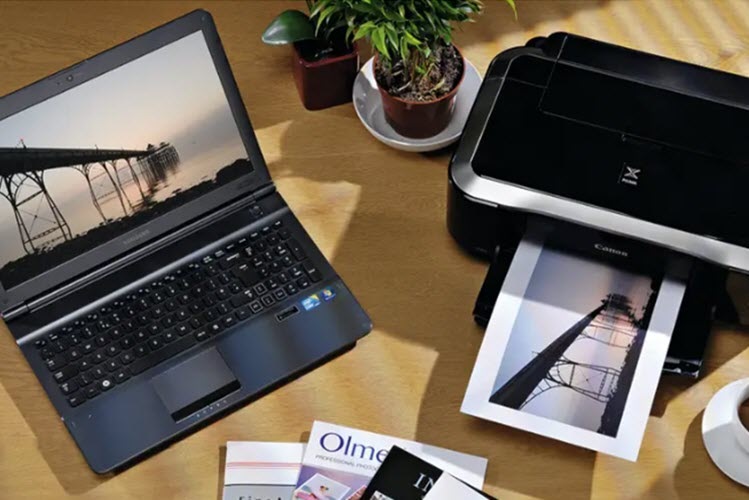
Connecting Your Printer via USB
Before you can start printing, you’ll need to connect your printer to your laptop using a USB cable. Plug one end of the USB cable into your printer’s USB port and the other into an available USB port on your laptop. Once connected, power on your printer.
Your laptop should recognize the device automatically and either install the necessary drivers or prompt you to download them. If the drivers don’t install automatically, visit the printer manufacturer’s website to download the latest version. After installation, go to your laptop’s “Devices and Printers” settings to confirm the printer appears on the list.
Once it’s listed, you’re ready to print your documents directly through the USB connection without setting up wireless options.
Setting Up a Wireless Printer
If you prefer to avoid cables, setting up a wireless printer is a convenient alternative. To get started, make sure your printer supports Wi-Fi and is within range of your laptop’s network. Then, connect the printer to your Wi-Fi network, usually through its control panel or a setup app.
Once connected, your laptop should detect the printer automatically if it’s on the same network.
Keep these key points in mind:
- Ensure your Wi-Fi signal is strong to avoid connection drops.
- Use the printer’s built-in setup wizard for easier configuration.
- Confirm both devices are connected to the same network for seamless communication.
This wireless setup gives you flexibility, letting you print from anywhere within your network’s reach.
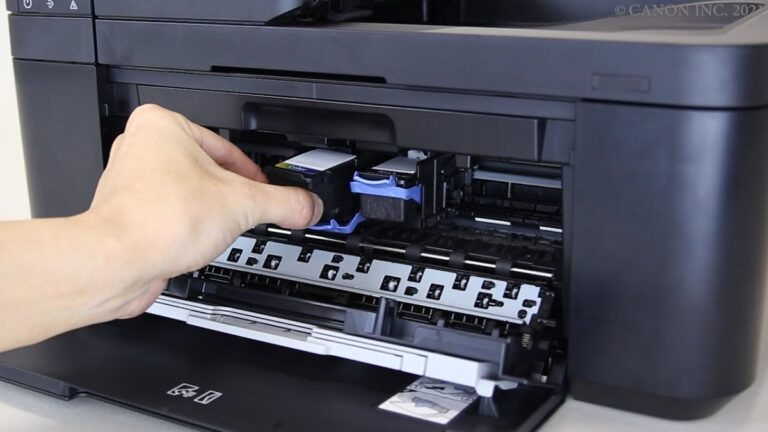
Installing Printer Drivers and Software
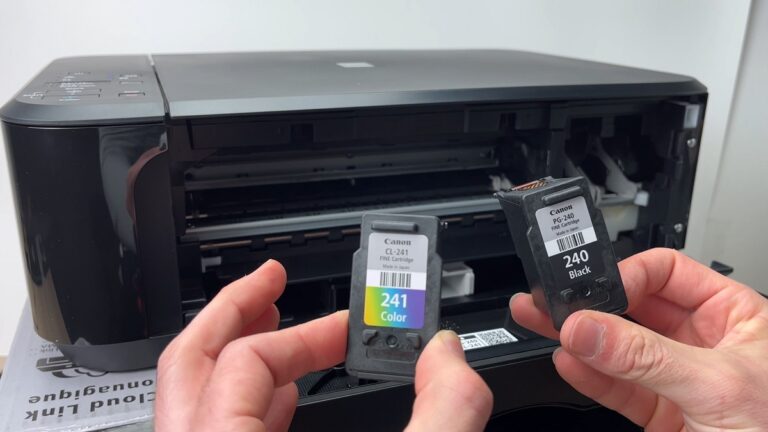
Once your printer is connected, you’ll need to install the appropriate drivers and software to guarantee it works smoothly with your laptop. Start by visiting the printer manufacturer’s official website and locating the support or downloads section. Enter your printer model to find the latest driver compatible with your operating system.
Download and run the installer, following the on-screen prompts carefully. This software often includes useful utilities for managing print jobs and checking ink levels. If your printer came with a CD, you can use that instead, but online drivers are usually more up-to-date.
After installation, restart your laptop if prompted. Finally, verify the printer appears in your laptop’s devices list and perform a test print to confirm everything’s set up correctly.
Troubleshooting Common Printer Issues
After installing your printer drivers and confirming your device is recognized by your laptop, you might still encounter issues that prevent smooth printing. Don’t worry—common problems usually have simple fixes.
First, check your printer’s connection; ensure cables are secure or your Wi-Fi network is stable. Next, verify there’s enough paper and ink or toner in the printer. Finally, examine the print queue on your laptop; sometimes jobs get stuck and need clearing.
Ensure your printer is properly connected, stocked with supplies, and clear any stuck print jobs on your laptop.
- Confirm the printer is set as the default device.
- Restart both your laptop and printer to reset connections.
- Update or reinstall drivers if the printer isn’t responding.
Managing Printer Settings on Your Laptop
Here’s a quick overview of common printer settings:
| Setting | Purpose |
|---|---|
| Print Quality | Adjusts resolution and speed |
| Paper Size | Selects the paper dimensions |
| Orientation | Chooses portrait or landscape |
| Color Options | Switches between color or B&W |
| Duplex Printing | Enables double-sided printing |
Tweaking these settings guarantees your prints come out exactly how you want.
Frequently Asked Questions
Can I Add Multiple Printers to One Laptop?
Yes, you can add multiple printers to your laptop. Just install each printer’s driver and set up their connections.
You’ll then be able to choose which printer to use whenever you print something from your laptop.
How Do I Share My Printer With Other Devices?
You can share your printer by enabling printer sharing in your laptop’s settings; coincidentally, once you do, other devices on your network can easily find and use it without extra hardware or fuss.
What Should I Do if My Laptop Doesn’t Detect the Printer?
If your laptop doesn’t detect the printer, you should restart both devices, check the connection cables or Wi-Fi, update printer drivers, and make certain the printer is set as discoverable.
Also, run the Windows troubleshooter for help.
Are There Any Security Risks When Connecting a Printer?
You might think printers aren’t a security risk, but they can be. If not secured properly, they could expose sensitive data or be hacked remotely.
Always update firmware and use secure network settings to protect yourself.
Can I Print From My Laptop Without Installing Drivers?
You can sometimes print without installing drivers if your laptop supports generic drivers or the printer uses standard protocols like AirPrint or IPP.
However, for full functionality, installing specific drivers is usually necessary.
Conclusion
Adding a printer to your laptop can feel like assembling a puzzle, but once you connect it—whether by USB or wirelessly—it all clicks into place. Think of it like setting up a coffee machine; a little patience installing drivers and adjusting settings brews the perfect print every time.
Remember, even experts face hiccups, but with a bit of troubleshooting, you’ll be printing smoothly and effortlessly in no time. Adding a printer to your laptop is a straightforward process that enhances your productivity and convenience. With the right steps, you can enjoy seamless printing from your laptop anytime you need.