How to Connect Canon Pixma Printer to Wifi
To connect your Canon Pixma printer to WiFi, start by ensuring it’s turned on and near your router. Using the printer’s control panel, navigate to the wireless LAN setup. Select your network and enter the password carefully to establish a connection.
Next, install the latest drivers from Canon’s official website. During installation, choose the wireless connection option to complete the setup.
Finally, confirm the connection by printing a test page. If you encounter any issues or want to optimize your setup, there are helpful tips and advanced steps available to explore.
Key Takeaways
- Power on the Canon Pixma printer, ensure it’s near your WiFi router, and have your network name (SSID) and password ready.
- Use the printer’s control panel to access wireless LAN setup, select your WiFi network, and enter the password carefully.
- Download and install the latest Canon Pixma drivers from the official website, choosing the wireless connection option during setup.
- Verify connection by checking the WiFi icon on the printer display and print a test page to confirm wireless printing capability.
- Troubleshoot by restarting the printer and router, updating firmware, and ensuring firewall settings don’t block the printer connection.
Preparing Your Canon Pixma Printer for WiFi Setup
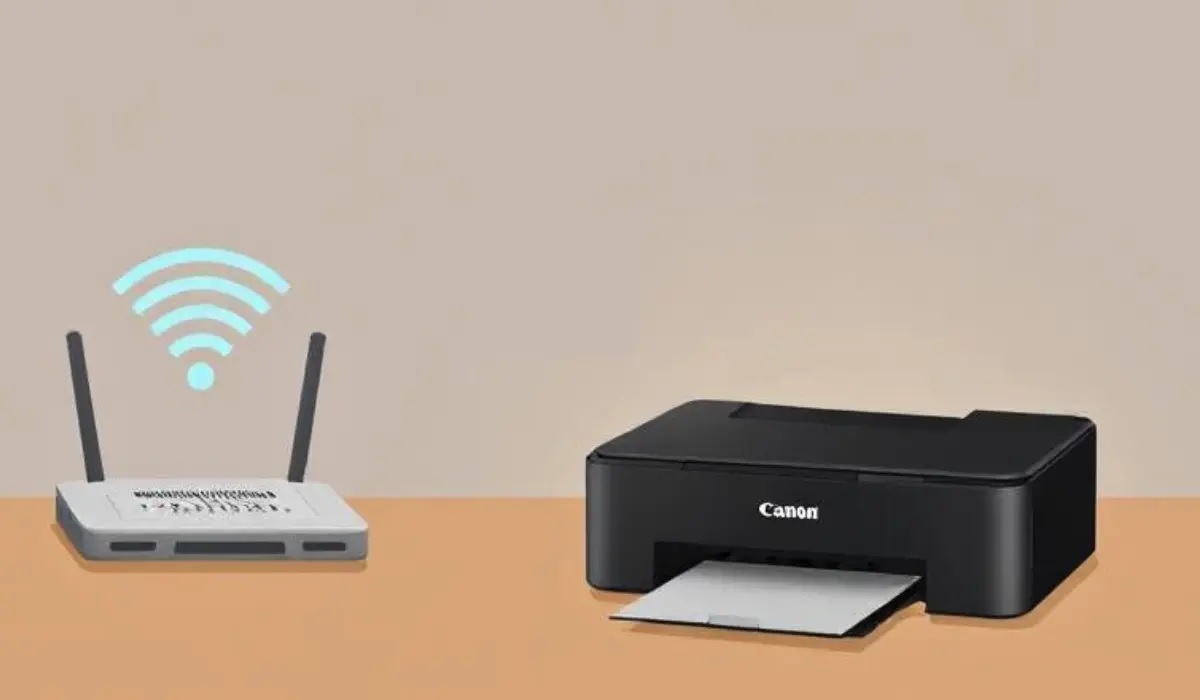
Before you begin connecting your Canon Pixma printer to WiFi, make certain it’s powered on and within range of your network. Check that your printer has enough ink and paper to avoid interruptions during setup. You’ll also want to note down your WiFi network name (SSID) and password, as you’ll need these shortly.
If your printer has a display screen, navigate to the settings or setup menu to familiarize yourself with the wireless setup options. It’s a good idea to reset any previous network settings on the printer to prevent conflicts. In the end, ensure your router is working properly and avoid using a guest network that might restrict device connections.
With these steps, your printer will be ready for a smooth WiFi setup.
Connecting the Printer to Your Wireless Network
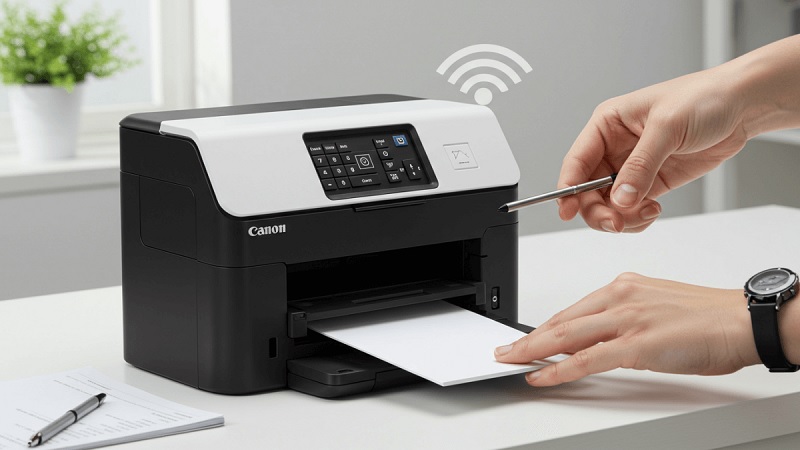
Once you’ve prepared your Canon Pixma printer, you can start connecting it to your wireless network by accessing the printer’s WiFi setup menu and selecting your network’s SSID. Use the printer’s control panel or touchscreen to navigate to the wireless LAN setup option. When you see your network name, choose it, then enter your WiFi password carefully to avoid typos.
Confirm the connection, and the printer will attempt to connect to your router. Once connected, a confirmation message or wireless icon will appear on the printer’s display. If the connection fails, double-check your password and network settings, then try again.
After your printer connects to your wireless network, you’re ready to proceed with installing the necessary software and drivers on your computer.
Installing the Canon Pixma Software and Drivers
After connecting your Canon Pixma printer to your WiFi network, you’ll need to install the appropriate software and drivers on your computer to guarantee smooth communication between devices. Start by visiting Canon’s official website and locating the support section for your Pixma model. Download the latest drivers compatible with your operating system.
Once the download finishes, run the installer and follow the on-screen prompts carefully. During installation, choose the wireless connection option to ensure the software configures the network settings automatically. This process installs necessary utilities that help manage printing tasks efficiently.
Avoid skipping this step, as generic drivers might limit your printer’s functionality. After installation, your computer will recognize the printer over WiFi, allowing you to print wirelessly without any hassle.
Verifying the Wireless Connection and Printing a Test Page
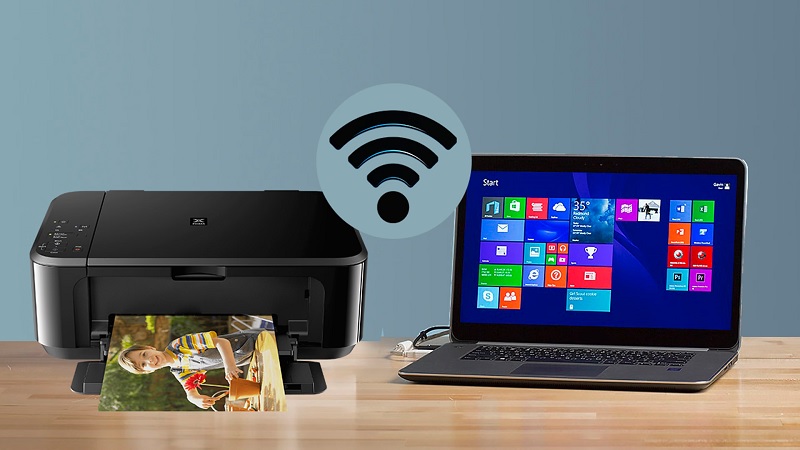
Although you’ve installed the software and connected your Canon Pixma to WiFi, it’s important to confirm the connection is stable. First, check your printer’s display panel for a WiFi icon or signal strength indicator. A solid or blinking light usually means the printer is linked to the network.
Next, on your computer or mobile device, open the Canon printing utility or app to confirm the printer status shows “Online.” To further verify, print a test page directly from the printer’s menu or through the software. This confirms both the connection and print functionality.
If the test page prints successfully, your setup is complete. This step ensures your Canon Pixma is properly connected and ready for wireless printing without any issues.
Troubleshooting Common WiFi Connection Issues
Confirming your Canon Pixma is connected and printing properly is a great sign, but sometimes wireless issues can still pop up. If your printer won’t connect, first check that your WiFi network is working and that the printer is within range. Restart both your router and printer to refresh the connection.
Make sure your printer’s firmware is up to date by visiting Canon’s support site. Incorrect WiFi passwords or network changes can cause problems, so verify your settings carefully. If the printer still won’t connect, try deleting and re-adding the printer on your device.
Finally, ensure your firewall or antivirus isn’t blocking the printer’s access. Following these steps should resolve most common connection issues quickly and get you back to printing.
Frequently Asked Questions
Can I Print From My Canon Pixma Using a Mobile Device?
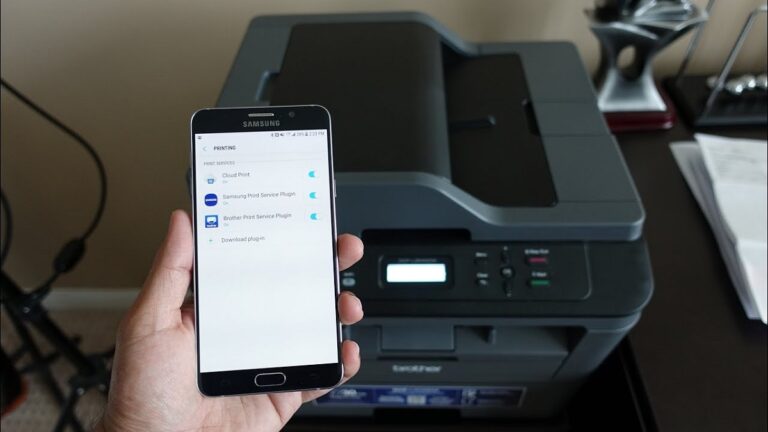
Yes, you can print from your Canon Pixma using a mobile device. Just install the Canon PRINT app, connect both devices to the same Wi-Fi network, and you’ll be able to print photos, documents, or emails effortlessly.
How Do I Update My Canon Pixma Printer’s Firmware?
Updating your Canon Pixma firmware is easier than climbing Everest! Just visit Canon’s official website, download the Firmware Updater tool, connect your printer via USB or Wi-Fi, and follow on-screen instructions to keep it running smoothly.
Is It Possible to Connect My Printer to Multiple Wifi Networks?
Yes, you can connect your Canon Pixma printer to multiple WiFi networks, but not simultaneously.
You’ll need to manually switch between networks in the printer’s settings whenever you want to use a different connection.
What Should I Do if My Printer Is Offline but Connected to Wifi?
When your printer’s offline yet linked, don’t panic—check its IP address and Wi-Fi signal strength. Restart both printer and router, then update drivers. Sometimes, a simple reset can revive the connection and get you printing again.
Can I Use My Canon Pixma Printer With a VPN Connection?
Yes, you can use your Canon Pixma printer with a VPN, but it depends on your network setup. Your device and printer must be on the same VPN or local network for proper communication and printing functionality.
If they are connected to different networks, the printer might not be accessible. Check your VPN settings to ensure both devices are properly linked. This will help maintain smooth printing operations.
Conclusion
Connecting your Canon Pixma to WiFi might feel like untangling holiday lights—frustrating at first, but totally worth it once they glow. Just like those lights brighten a room, your printer’s wireless setup brightens your workspace with seamless printing.
Remember, thousands of users have successfully connected their Pixma printers by following these simple steps. So, take a deep breath, follow the guide, and soon you’ll enjoy hassle-free printing without the mess of cables.
By mastering how to connect Canon Pixma printer to WiFi, you unlock the convenience of wireless printing. This easy setup enhances your productivity and keeps your workspace neat. Enjoy the freedom of printing from anywhere in your home or office!