How to Fax From Printer
If your printer supports faxing, first connect it to a phone line using the designated port.
Load your documents properly per the instructions, then enter the recipient’s fax number carefully, including any area codes.
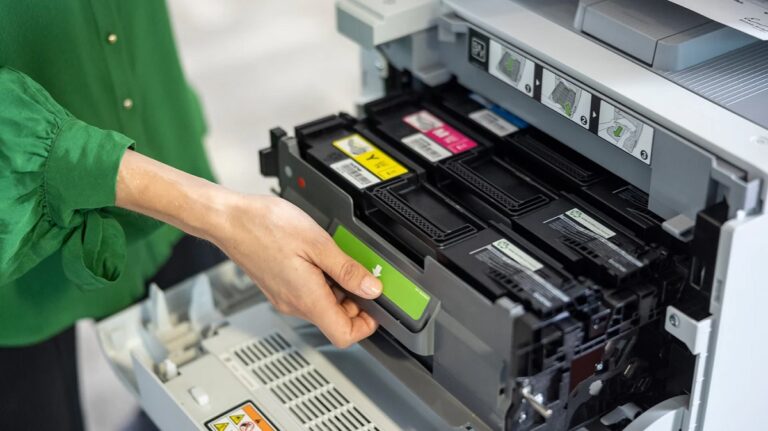
Check that you have enough paper and ink, and configure the fax settings through the printer’s control panel.
Press send and watch for confirmation that the fax transmitted successfully.
If you want to guarantee smooth sending every time, there are a few helpful steps you can follow next.
These steps will ensure your fax goes through without any issues.
Key Takeaways
- Confirm your printer supports faxing and connect a phone line to its fax port.
- Load your documents correctly into the scanner or feeder according to printer instructions.
- Enter the recipient’s full fax number, including area and country codes, carefully.
- Check paper, ink levels, and phone line connection to ensure readiness before sending.
- Start the fax from the printer’s control panel and monitor transmission status for confirmation.
Checking Your Printer’s Fax Capabilities
Before you try to fax from your printer, you’ll want to make sure it actually supports faxing. Not all printers have this feature, so check your model’s specifications either in the manual or on the manufacturer’s website. Look for terms like “fax capability” or “all-in-one” that indicate it can send and receive faxes.
You’ll also want to confirm it has a phone line port, as this is necessary to connect for faxing. If you only see USB or Ethernet ports, faxing likely isn’t supported. Additionally, some printers require special software or apps to enable fax functions, so check if those are available for your device.
Verifying these details upfront will save you time and frustration later.
Setting Up the Fax Connection
Before you can send a fax, you’ll need to connect your printer to a phone line. Next, you’ll configure the fax settings to guarantee everything runs smoothly.
Let’s go over the steps to get your fax connection ready.
Connecting Phone Line
Although connecting the phone line might seem straightforward, ensuring it’s set up correctly is essential for your fax to work without issues. First, locate the phone line port on your printer, usually labeled “Line” or with a phone icon. Plug one end of a standard phone cable into this port.
Then, connect the other end to a phone wall jack that supports voice or fax service. Avoid using VoIP or digital lines unless your printer specifically supports them, as this can cause fax failures. If your printer has a separate “Ext” port, you can connect a phone handset there for convenience.
Make sure the cable is securely inserted at both ends to prevent disconnections. Once connected, your printer is physically ready to send and receive faxes.
Configuring Fax Settings
Once you’ve connected the phone line, you’ll need to configure your printer’s fax settings to make certain of smooth communication. Start by accessing the printer’s control panel or its web interface. Look for the fax setup or settings menu.
Enter your fax header information, including your name and fax number, so recipients can identify the sender. Set the dialing mode—tone or pulse—based on your phone service. Adjust any additional options like resolution, contrast, or ring count before the printer picks up.
You might also want to enable features such as fax forwarding or junk fax rejection if available. Finally, save your settings and run a test fax to confirm everything is working properly. This setup ensures your printer is ready to send and receive faxes efficiently.
Loading Documents for Faxing
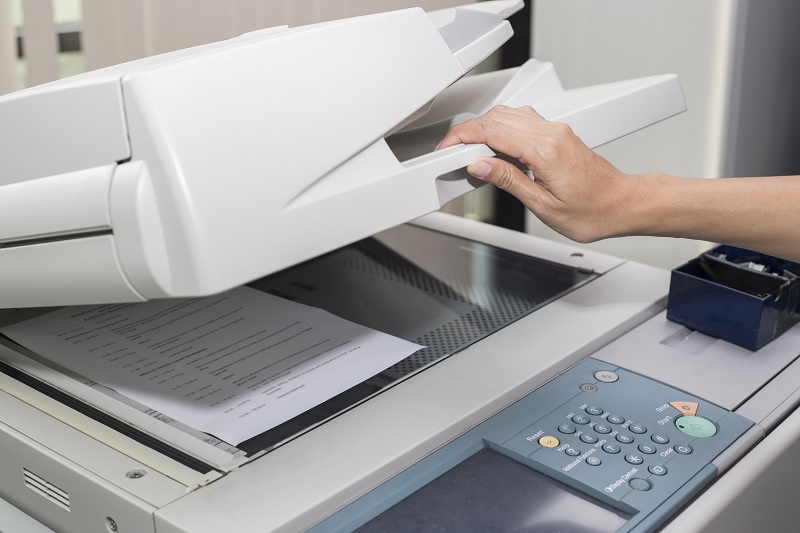
When you’re ready to send a fax, the first step is to properly load your documents into the printer’s feeder. Make sure the pages are neatly stacked and face the correct direction, usually face-up or face-down depending on your printer model. Avoid mixing different paper sizes or damaged sheets to prevent jams.
| Document Type | Orientation | Notes |
|---|---|---|
| Single Sheet | Face-up (common) | Check for creases or tears |
| Multiple Pages | Face-down (varies) | Align edges for smooth feed |
| Photos | Face-up | Use photo paper for clarity |
Following these steps ensures your fax goes through without a hitch. Always consult your printer manual if uncertain about the feeder orientation.
Entering the Recipient’s Fax Number
Now that your documents are loaded, it’s time to enter the recipient’s fax number. You can either dial the number manually or utilize the speed dial feature if you’ve saved contacts before.
This step guarantees your fax reaches the right destination quickly and accurately.
Dialing Fax Number
How do you enter the recipient’s fax number correctly? First, make sure you include any necessary area or country codes, especially for long-distance faxes. Dial exactly as you would on a phone, but keep in mind any prefixes your phone line requires, like “9” for an outside line.
Double-check the number to avoid errors since a wrong digit means your fax won’t reach the right person.
| Step | Tip |
|---|---|
| 1. Check prefix | Use “9” if needed for outside line |
| 2. Enter area code | Include local area code |
| 3. Include number | Dial full fax number |
| 4. Confirm digits | Review before sending |
| 5. Start dialing | Press “Send” or “Start” |
This method ensures your fax goes to the correct destination without issues.
Using Speed Dial
After entering the recipient’s fax number manually, you might find it easier to save frequently used numbers for quick access. Using speed dial lets you send faxes faster without repeatedly typing the same digits. Here’s how to set it up:
- Access your printer’s fax menu and select the speed dial or address book option.
- Choose an empty slot or a number you want to overwrite.
- Enter the recipient’s fax number and assign a name or label for easy identification.
- Save the entry and exit the menu.
Next time you fax, just select the saved speed dial entry instead of typing the number. This saves time and reduces errors, especially when you send faxes regularly to the same contacts.
Configuring Fax Settings
Before you can send a fax from your printer, you’ll need to configure its fax settings properly. Start by accessing the printer’s control panel or web interface. Enter your fax number, select the correct dialing mode (tone or pulse), and adjust resolution settings to match your needs.
Don’t forget to set up a default cover sheet if you want one. Also, configure the ring count before the fax picks up to avoid missed faxes.
| Setting | Description |
|---|---|
| Fax Number | Your fax line phone number |
| Dial Mode | Tone or Pulse dialing option |
| Resolution | Standard, Fine, or Superfine |
| Ring Count | Number of rings before answering |
Proper setup guarantees smooth fax transmissions every time.
Sending a Fax From the Printer
Once you’ve configured your fax settings, sending a fax from your printer is straightforward. First, place the document you want to fax either on the scanner glass or in the automatic document feeder.
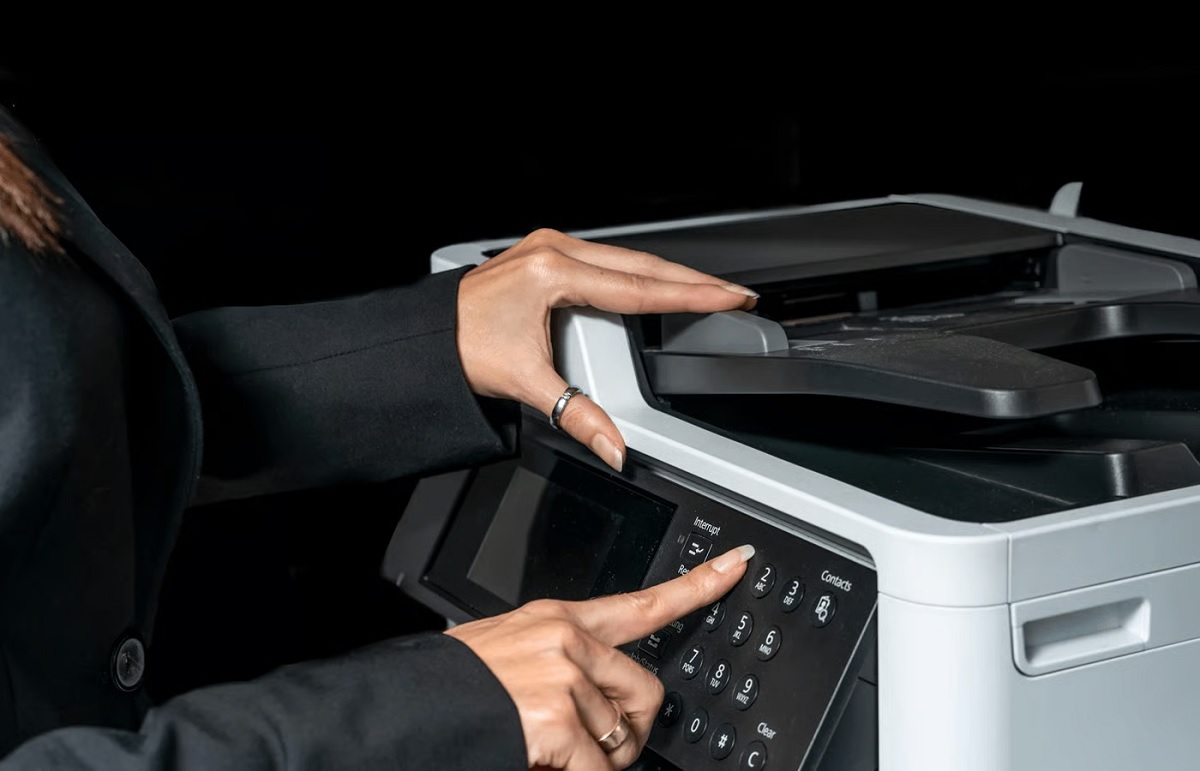
Then, enter the recipient’s fax number using the printer’s control panel or touchscreen. Before sending, you might want to adjust settings like resolution or add a cover page, depending on your printer’s options.
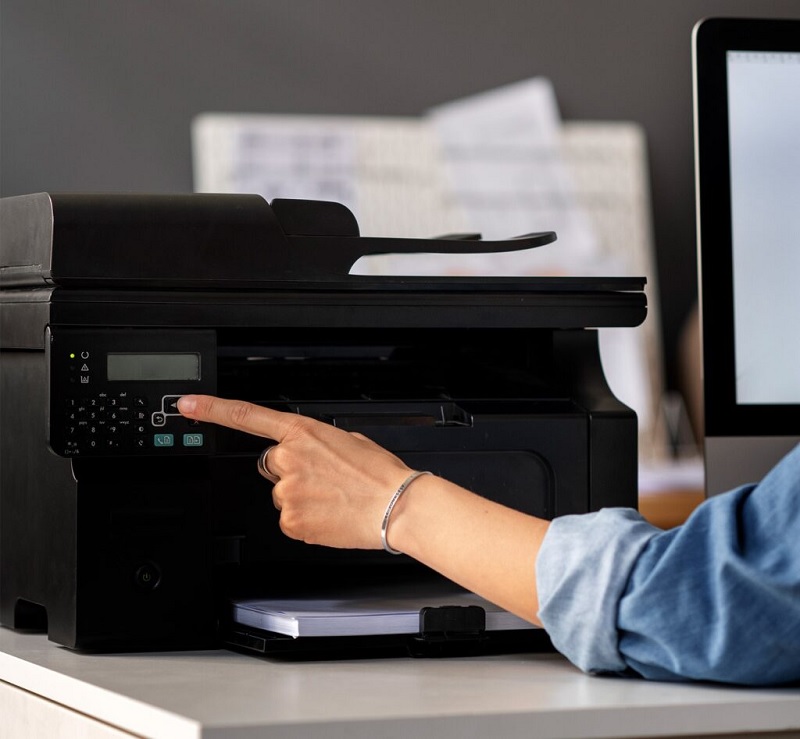
Finally, press the “Send” or “Start” button to initiate the fax transmission.
Here’s a quick step-by-step guide:
- Load your document properly on the printer.
- Input the recipient’s fax number accurately.
- Customize fax settings if needed.
- Press “Send” to begin faxing your document.
That’s it—your fax will be on its way!
Confirming Fax Transmission Status
When you hit “Send” to fax your document, you’ll want to verify that it actually went through. Most printers with fax capabilities provide a transmission report or confirmation page once the fax finishes sending. Look for a message on the printer’s display or a printed confirmation that includes the date, time, and fax number.
Some models even send a confirmation email if you’ve set that up. Checking this status guarantees your fax reached the recipient without errors. If you don’t see a confirmation, navigate to your printer’s fax menu to find a fax log or history.
Reviewing this log helps verify successful transmissions and pinpoints any failed attempts, giving you peace of mind that your important documents were delivered.
Troubleshooting Common Fax Issues
If your fax isn’t going through as expected, don’t worry—it’s a common issue that can usually be fixed quickly. First, check your phone line connection to make sure it’s properly plugged in and not damaged. Next, verify that the fax number you’re dialing is correct and active.
Also, make certain there’s enough paper and ink in your printer to avoid transmission errors. Finally, review your printer’s fax settings to confirm they match your service requirements.
- Inspect phone line and connections.
- Confirm the recipient’s fax number.
- Ensure printer has sufficient paper and ink.
- Check and adjust fax settings in the printer menu.
Following these steps will help you resolve most fax issues efficiently.
Frequently Asked Questions
Can I Fax in Color Using My Printer?
You usually can’t fax in color because most fax machines and services transmit in black and white. However, some advanced models or online fax services might support color, so check your printer’s specs or software options first.
How Do I Fax Multiple Pages at Once?
To fax multiple pages at once, stack sheets securely, select “Start” or “Fax” on your device, and send swiftly.
Some scanners scan several sheets, so check your printer’s settings to simplify sending stacks seamlessly.
Is It Possible to Receive Faxes on My Printer?
Yes, you can receive faxes on your printer if it has fax capabilities and is connected to a phone line. Make sure it’s set up correctly to receive and print incoming faxes automatically.
Check your printer’s manual for specific instructions on enabling fax reception. Ensure the phone line is securely connected to the fax port on your printer.
Once configured, your printer will automatically print any faxes it receives, making it a convenient tool for managing fax communications.
Can I Schedule a Fax to Send Later?
You usually can’t schedule a fax to send later directly from most printers. However, some advanced models or fax software might offer this feature.
Check your printer’s manual or software for scheduling options before sending your fax.
How Do I Fax Internationally From My Printer?
Oh, because sending a fax internationally is just a walk in the park, right? You’ll dial your country’s exit code, then the destination country code, followed by the fax number.
Don’t forget the international prefix!
Conclusion
Now that you know how to fax from your printer, sending documents feels as easy as a breeze on a spring morning. Just remember to check your printer’s fax capabilities, set up the connection properly, and load your documents carefully.
With a quick number entry and a few settings tweaks, you’ll be sending faxes smoothly in no time. If any issues pop up, don’t worry—troubleshooting tips are there to help you through.
By following these simple steps, faxing from your printer becomes a hassle-free experience. Always ensure your printer is ready to fax, and you’ll enjoy the convenience of sending documents directly. This guide on how to fax from printer is your key to seamless communication.