How to Install Printer – Definitive Guide
To install your printer, start by unboxing it and removing all protective packaging. Setting up a printer correctly is essential for smooth operation.
Then, connect it to power and turn it on.
Choose a wired USB or wireless Wi-Fi connection to link your printer to your computer, ensuring both are on the same network.
Next, install the necessary drivers from the CD or manufacturer’s website.
Finally, configure your print settings for best results.
If you want to avoid common issues and get the most out of your printer, there’s more handy info ahead.
Key Takeaways
- Unbox the printer, remove all packaging, install ink cartridges, and connect the power cord before turning it on.
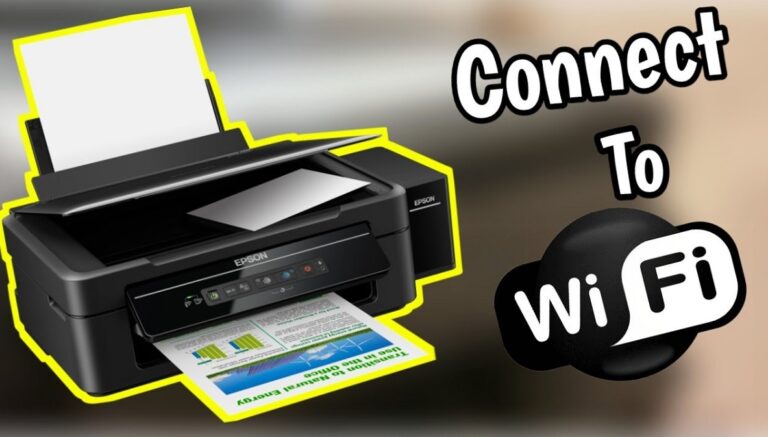
- Choose a connection method: connect via USB cable or connect the printer to your Wi-Fi network.
- Download and install the latest printer drivers and software from the manufacturer’s website or use the installation CD.
- Configure printer settings such as default paper size, print quality, and network preferences through the control panel.
- Test the printer by printing a test page and troubleshoot by restarting devices or updating drivers if needed.
Unboxing and Setting Up Your Printer
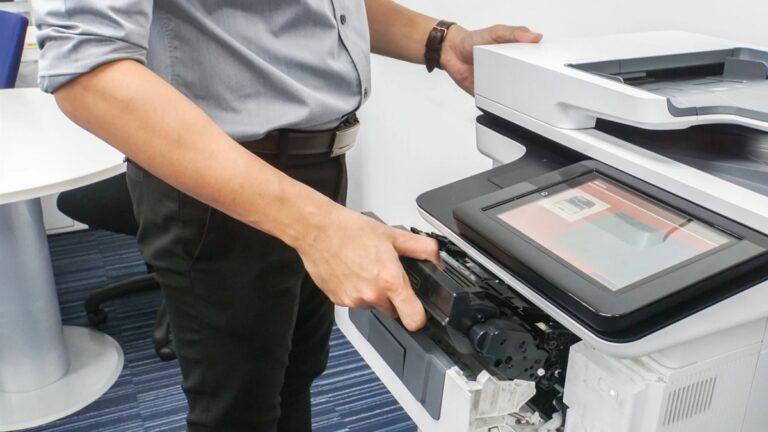
Before you begin, make sure you have enough space to unpack your printer comfortably. Start by removing the box carefully to avoid damaging any components. Inside, you’ll find the printer itself, power cords, ink cartridges, and a setup guide.
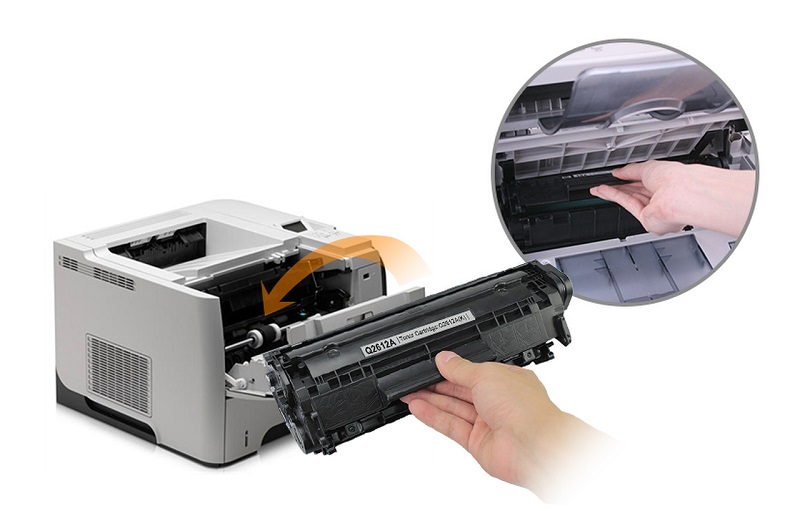
Take everything out and lay it on your workspace. Remove all protective tapes and packaging materials from the printer. Next, install the ink cartridges as instructed in the guide, usually by opening the printer cover and snapping them into place.
Then, connect the power cord to the printer and plug it into an outlet. Turn the printer on using the power button. At this stage, your printer is physically ready. Avoid connecting it to your computer just yet, as that will come next.
Connecting the Printer to Your Computer
Once your printer is powered on and set up, you’ll need to connect it to your computer to start printing. First, decide whether you want a wired or wireless connection. For wired, use a USB cable to link the printer directly to your computer’s USB port.
Make sure the connection is secure. If you prefer wireless, ensure your printer supports Wi-Fi. On the printer’s control panel, find the network settings and connect to your Wi-Fi network by entering the password.
Your computer should be on the same network. After connecting, your computer might recognize the printer automatically. Avoid installing drivers just yet—that comes next.
This step simply establishes the physical or network link, so your computer can detect and communicate with the printer.
Installing Printer Drivers and Software
After connecting your printer to your computer, the next step is to install the necessary drivers and software. These drivers let your computer communicate with the printer, ensuring it functions correctly. Usually, your printer comes with an installation CD, but if not, visit the manufacturer’s website to download the latest drivers compatible with your operating system.
Run the installer and follow the on-screen prompts; this process often includes installing additional software for managing print jobs and scanner functions. Make sure to restart your computer if prompted to complete the installation. Avoid skipping this step, as missing or outdated drivers can cause printing errors or limit your printer’s capabilities.
Once installed, your printer will be ready for use.
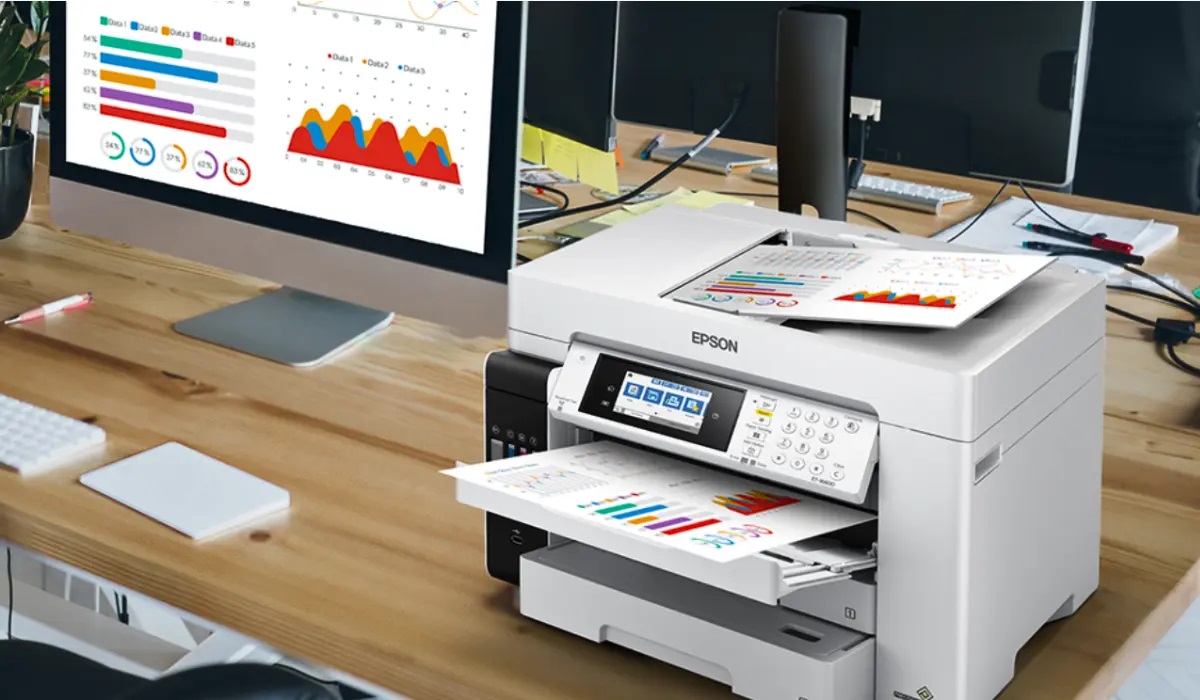
Configuring Printer Settings
Although your printer is installed, you’ll want to configure its settings to match your preferences and guarantee peak performance. Start by opening the printer properties on your computer, usually found in the Control Panel or Settings under Devices. Here, you can set default print quality, paper size, and orientation to avoid adjusting them every time you print.
Customize options like duplex printing to save paper or select color preferences to control ink usage. If your printer supports it, configure network settings for wireless printing. Don’t forget to check maintenance options such as print head cleaning or alignment to keep your printer running smoothly.
These settings help you optimize prints, reduce waste, and ensure your printer works exactly how you need it.
Troubleshooting Common Printer Installation Issues
When you run into problems installing your printer, it can be frustrating, but most issues are easy to fix. First, check your connections—make sure the USB cable or network link is secure. If the printer isn’t recognized, try restarting both your computer and printer.
Outdated or missing drivers often cause trouble, so download the latest version from the manufacturer’s website. Also, verify your printer is set as the default device in your system settings. If prints are stuck in the queue, clear the print spooler to resume normal operation.
For wireless printers, ensure your device and printer are on the same Wi-Fi network. Following these steps usually resolves common installation hiccups, helping you get back to printing quickly and smoothly.
Frequently Asked Questions
Can I Install a Printer on Multiple Computers Simultaneously?
Yes, you can install a printer on multiple computers simultaneously if it’s a network printer. Just connect each computer to the same network, then add the printer through the system’s printer settings on each device.
Make sure your printer supports network connectivity, either via Wi-Fi or Ethernet. This allows multiple computers to access it without needing a direct physical connection.
If it’s a USB-only printer, you might need to connect it to one computer and share it over the network for others to use. Check your printer’s documentation for specific setup instructions.
How Do I Connect a Printer to a Mobile Device?
You can connect your printer to a mobile device using Wi-Fi, Bluetooth, or a USB cable. Just enable your printer’s wireless mode, download the printer app, and follow the instructions to print directly from your phone.
Make sure your mobile device and printer are on the same network if you’re using Wi-Fi. For Bluetooth, pair the devices through your mobile settings.
If using a USB cable, you might need an adapter compatible with your phone. Once connected, you’ll be able to print documents and photos easily from your mobile device.
What Are the Best Printers for Home Office Use?
You’ll want reliable, compact models like the HP OfficeJet Pro 9015 or Brother HL-L2350DW for efficient printing. Both offer great quality, wireless connectivity, and affordable ink options, perfect for your home office needs.
How Often Should I Update My Printer Drivers?
You should update your printer drivers as often as a gardener tends their plants—regularly and whenever new updates bloom.
Checking monthly helps your printer run smoothly, avoiding pesky glitches and keeping your prints crisp and vibrant.
Can I Share My Printer Over a Network Securely?
Yes, you can share your printer securely by enabling password protection, using a strong network password, and limiting access to trusted users.
Also, keep your printer’s firmware updated to protect against vulnerabilities.
Conclusion
Installing your printer is like planting a seed—you start with unboxing, then connect it to your computer, install drivers, and configure settings. With each step, your printer grows closer to life, ready to bring your documents to paper.
If issues pop up, troubleshooting is your watering can, helping everything flourish smoothly. Soon, you’ll have a reliable printing companion right at your fingertips, turning digital files into tangible results with ease.
By following these simple steps to install printer, you ensure your device works efficiently and meets all your printing needs. Proper installation and setup are key to enjoying hassle-free printing every time.