How to Pair Canon Printer With Wifi
To pair your Canon printer with Wi-Fi, start by ensuring your printer is on and close to your router.
Access the printer’s wireless settings through its control panel, then select your Wi-Fi network and enter the password carefully.
Next, download and install the Canon printer software on your computer to finalize setup.
Once connected, verify by printing a test page.
If you want to troubleshoot or explore more detailed setup tips, you can learn how to optimize the process further.
Key Takeaways
- Power on the Canon printer and ensure it is within range of your active Wi-Fi network with known SSID and password.
- Access the printer’s control panel, navigate to Wireless Settings, and select the Wi-Fi setup or Wireless LAN setup option.
- Scan for available networks, select your Wi-Fi network, and enter the password carefully to establish the connection.
- Download and run Canon’s official printer driver software on your computer, then follow on-screen prompts to add and connect the printer wirelessly.
- Verify the connection by printing a network configuration page or test print and checking the Wi-Fi icon on the printer display.
Check Printer Compatibility and Network Requirements
Before you try connecting your Canon printer to WiFi, make sure it’s compatible with your network. Check your printer’s specifications to see if it supports wireless connections; most modern Canon models do, but some older ones might not. Verify the WiFi standard your network uses—typically 802.11 b/g/n—and confirm your printer supports it.
Also, ensure your router operates on a 2.4 GHz band since many printers can’t connect to 5 GHz networks. If your network uses a hidden SSID or requires special authentication, your printer might struggle to connect. Finally, check if your printer’s firmware is up to date, as outdated firmware can cause compatibility issues.
Taking these steps saves you time and frustration during setup.
Prepare Your Canon Printer for WiFi Setup
Once you’ve confirmed your printer is compatible, you’ll want to get it ready for WiFi setup by ensuring it’s powered on and within range of your router. Begin by turning on your Canon printer and checking the display panel for any error messages or alerts.
Make sure your printer’s firmware is up to date; you can usually do this via the settings menu or the Canon support website. Also, reset the network settings on your printer to clear any previous connections—this option is often found under network or wireless settings.
Finally, have your WiFi network name (SSID) and password handy, as you’ll need them in the next steps to connect your printer smoothly to your wireless network.
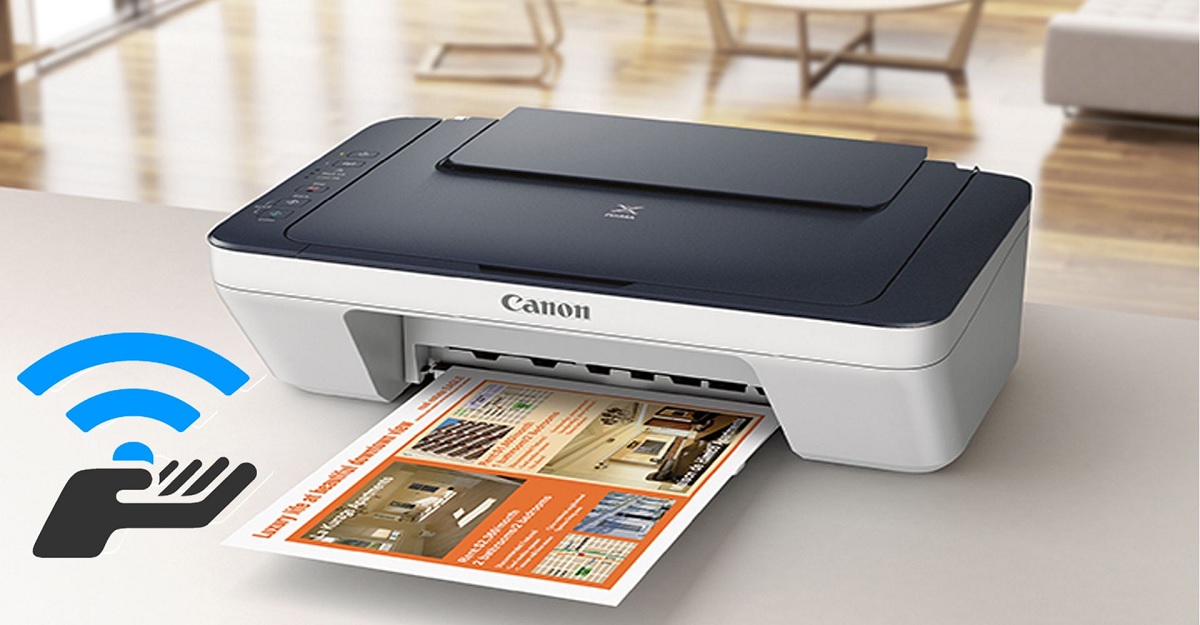
Connect the Printer to Your Wireless Network
Although the exact steps can vary by model, you’ll typically start connecting your Canon printer to your WiFi by accessing the wireless setup menu on the printer’s control panel. Use the arrow keys or touchscreen to find “Wireless LAN setup” or a similar option.
Select your WiFi network from the list of available networks. If prompted, enter your WiFi password carefully using the on-screen keyboard. Confirm the connection once the printer displays a success message or shows a WiFi icon.
Some models may offer a WPS button method, allowing you to press the WPS button on your router and then on the printer to connect automatically. Once connected, the printer will be ready to communicate with your network.
Install Canon Printer Software on Your Computer
Now that your printer is connected to the WiFi, you’ll need to download the Canon software package on your computer. Just follow the installation steps carefully to make sure everything sets up correctly.
This software helps your computer communicate with the printer seamlessly.
Download Software Package
Before you can connect your Canon printer to WiFi, you’ll need to download and install the appropriate software package on your computer. Start by visiting Canon’s official support website. Enter your printer model in the search bar to find the exact drivers and utilities designed for your device.
Choose the software compatible with your operating system—Windows or macOS. Download the full driver and software package rather than individual components to make certain you have everything needed for setup and maintenance. Avoid third-party sites to prevent malware or outdated files.
Once downloaded, the installer file will be saved to your computer, ready for you to run. This step is essential to enable smooth communication between your printer and computer over the wireless network.
Follow Installation Steps
Once you’ve downloaded the software package, you’ll want to run the installer and carefully follow the on-screen prompts to complete the setup. The installer will guide you through connecting your Canon printer to your WiFi network and configuring the necessary settings.
Here’s what you should expect during the installation:
- Agree to the license terms and privacy policy.
- Select your printer model from the list.
- Connect the printer to your WiFi by entering your network name and password.
- Complete the installation and print a test page to confirm the connection.
Following these steps guarantees your Canon printer is properly paired with your WiFi, allowing you to print wirelessly without any hassle. If you encounter issues, restarting your devices often helps.
Verify Wireless Connection and Print a Test Page
Now that your Canon printer is set up, you’ll want to check its network status to make sure it’s connected to WiFi. Access the printer settings menu to find this information and confirm the connection.
Finally, print a wireless test page to verify everything is working properly.
Check Printer Network Status
To confirm your Canon printer is properly connected to your WiFi network, you’ll want to check its network status first. This makes sure your printer is communicating with your router and ready to print.
Here’s how to do it:
- Access the printer’s control panel or touchscreen.
- Navigate to the network settings or WiFi status menu.
- Look for a status indicator showing “Connected” or the network name (SSID).
- Print a network configuration or test page directly from the printer to verify connectivity.
If the printer shows it’s connected and the test page prints successfully, your setup is complete. If not, double-check your WiFi credentials and try reconnecting.
This quick check helps prevent any surprises when you start printing wirelessly.
Access Printer Settings Menu
How can you confirm your Canon printer is truly connected to your WiFi before printing? Accessing the printer settings menu lets you verify the wireless connection status quickly.
Here’s how you can navigate the menu and check key details:
| Step | Action |
|---|---|
| 1. Power On Printer | Make sure your printer is on |
| 2. Open Menu | Press the Menu button on the panel |
| 3. Navigate to Setup | Use arrow keys to select Setup |
| 4. Select Wireless LAN Settings | Confirm WiFi is enabled |
| 5. Check Connection Status | View SSID and connection info |
Once you see your network name and status as connected, you’re all set. This verification guarantees your printer communicates properly with your WiFi before printing anything.
Print Wireless Test Page
After confirming your Canon printer is connected to your WiFi network through the settings menu, you can proceed to verify this connection by printing a wireless test page. This step guarantees your printer is properly communicating with your network and ready for wireless printing.
To print a test page:
- Navigate to the printer’s control panel or settings menu.
- Select the “Wireless LAN Setup” or “Network Settings” option.
- Choose “Print Wireless Test Page” or a similar option.
- Review the printed page for network status and connection details.
If the test page prints correctly, your wireless setup is successful. If not, double-check your WiFi credentials and router settings before trying again. This simple test helps you avoid issues during regular printing tasks.
Troubleshooting Common WiFi Connection Issues
Although setting up your Canon printer on WiFi is usually straightforward, you might run into some connection issues along the way. If your printer isn’t connecting, first check that your WiFi network is working properly and that you’re within range. Make sure your printer’s firmware and drivers are up to date.
Verify you’ve entered the correct network name (SSID) and password. If the connection drops frequently, try restarting your router and printer. Also, ensure no firewall or security settings are blocking the printer.
If your printer shows “offline,” try removing it from your device’s list and re-adding it. Finally, resetting your printer’s network settings can often clear hidden glitches. Following these steps should get your Canon printer back online smoothly.
Frequently Asked Questions
Can I Print From My Smartphone Using the Canon Printer’s Wifi?
Yes, you can print from your smartphone using your Canon printer’s Wi-Fi. Just connect your phone to the same network, install the Canon PRINT app, and you’ll be able to print photos, documents, and more easily.
How Do I Update the Printer Firmware Over Wifi?
You can update your Canon printer’s firmware over WiFi by accessing the printer’s menu, selecting ‘Setup’ or ‘Settings,’ then ‘Device settings,’ followed by ‘Firmware Update.’
Make sure your printer’s connected to the internet during this process.
Is It Possible to Connect Multiple Devices to One Canon Printer Wirelessly?
Absolutely, you can connect multiple devices to one Canon printer wirelessly—just like a telegram reaching several friends at once.
Simply guarantee all devices are on the same Wi-Fi network, then add the printer to each device’s settings.
Can I Use Wifi Direct Instead of My Home Network for Printing?
Yes, you can use WiFi Direct instead of your home network to print. It lets you connect your device straight to the Canon printer without a router, making printing quick and easy when you’re nearby.
This method is especially convenient if your home network is down or if you want to avoid sharing your network password. WiFi Direct creates a direct wireless connection between your device and the printer.
Keep in mind that the range may be limited compared to a traditional network. Also, some advanced printing features may require a network connection.
How Do I Secure My Canon Printer’s Wireless Connection From Unauthorized Access?
You can’t just throw open your printer’s wireless gates! Set a strong WPA3 password, disable WPS, update firmware regularly, and enable MAC address filtering to keep unauthorized users from sneaking into your Canon printer’s Wi-Fi connection.
Conclusion
Now that you know how to pair your Canon printer with WiFi, you’re ready to enjoy hassle-free printing. Remember, “a stitch in time saves nine”—address any connection issues early to keep things running smoothly.
By following these simple steps, you’ll have your printer connected in no time, making your printing tasks easier and more efficient. Don’t hesitate to troubleshoot if needed, and happy printing!
Connecting your Canon printer with WiFi ensures seamless wireless printing, giving you the convenience to print from multiple devices. Keep these tips in mind for a smooth Canon printer WiFi pairing experience every time.